MAXQDA lets you insert timestamps into a transcript retroactively in order to link places in the text with the corresponding locations in the audio or video file. This can be helpful in several cases:
- After the transcription, an important text passage was identified where access to the original sound should be possible.
- A transcript without timestamps was imported and the timestamps automatically set during import are to be supplemented or changed.
- An incorrectly set timestamp is to be corrected.
Requirement: an audio or video file is associated with the transcript
A prerequisite for inserting time stamps in a transcript is that an audio or video file has been assigned to it in the “Document System”. You can see whether this is the case by checking the symbol of the text document. Transcripts with assigned audio file have a note as symbol and transcripts with assigned video file have a camera:

In case your transcript does not have an audio or video file associated with it yet, you can accomplish it this way:
- Right-click the document and select Link Audio/Video File.
- In the file dialog that appears, select the associated media file.
- A dialog appears in which you can specify that timestamps should be set automatically at a specified distance (the timestamps are distributed linearly across the transcript, so clicking on a timestamp only positions the playback approximately at the corresponding position).
Inserting timestamps into a transcript
Preparations:
- Open the transcript by double-clicking on the document name in the “Document System” so that it is displayed in the “Document Browser”.
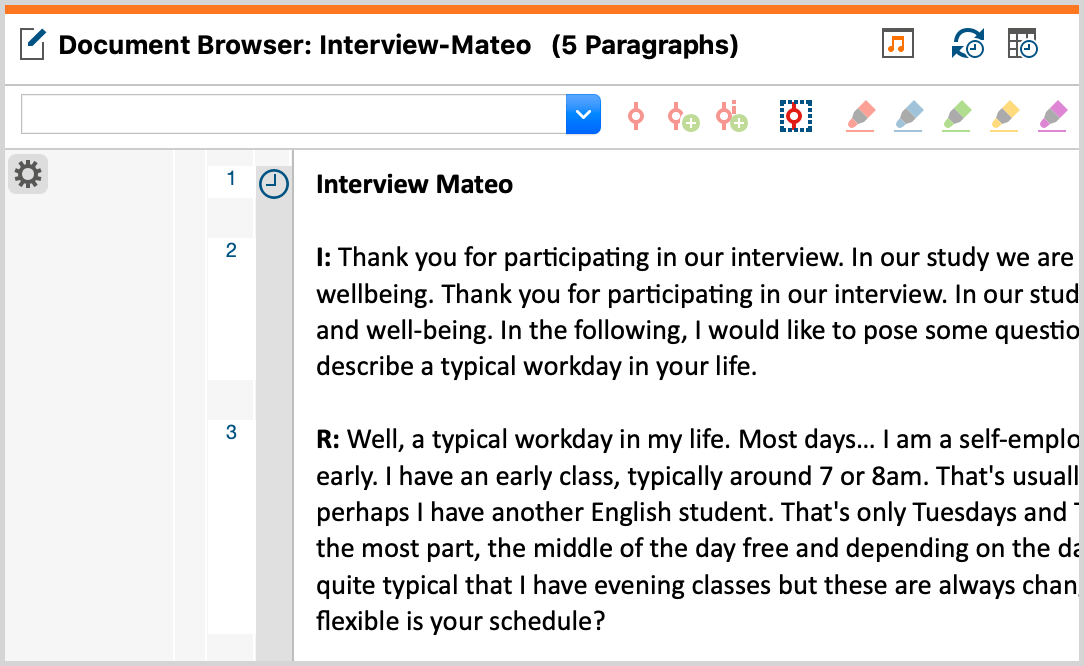
- To the left of the text, you should now see the column for the timestamps. You can recognize them by the clock symbol that appears at the very top of the column:
- If the column is not visible, right-click in the text and check if the Display Timestamp Column option is enabled.
- Open the media player by right-clicking on the document name in the “Document System” and selecting the Open Audio File or Open Video File option. (Alternatively, you can also click on the small note or camera icon in the “Document Browser” toolbar).
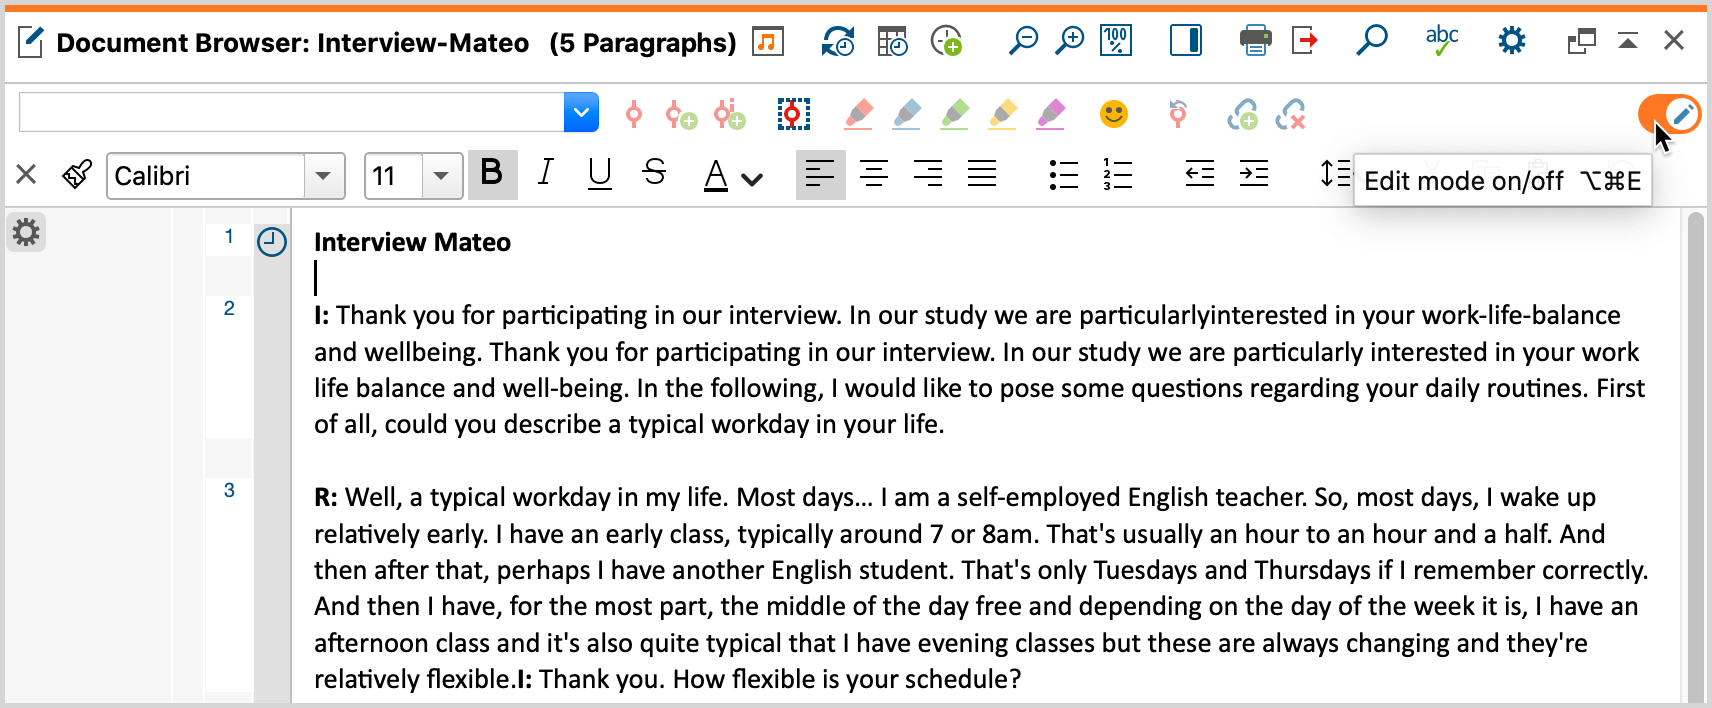
- Switch on Edit Mode by clicking on the pencil icon in the top right corner of the “Document Browser”.


Start playback and insert timestamp:
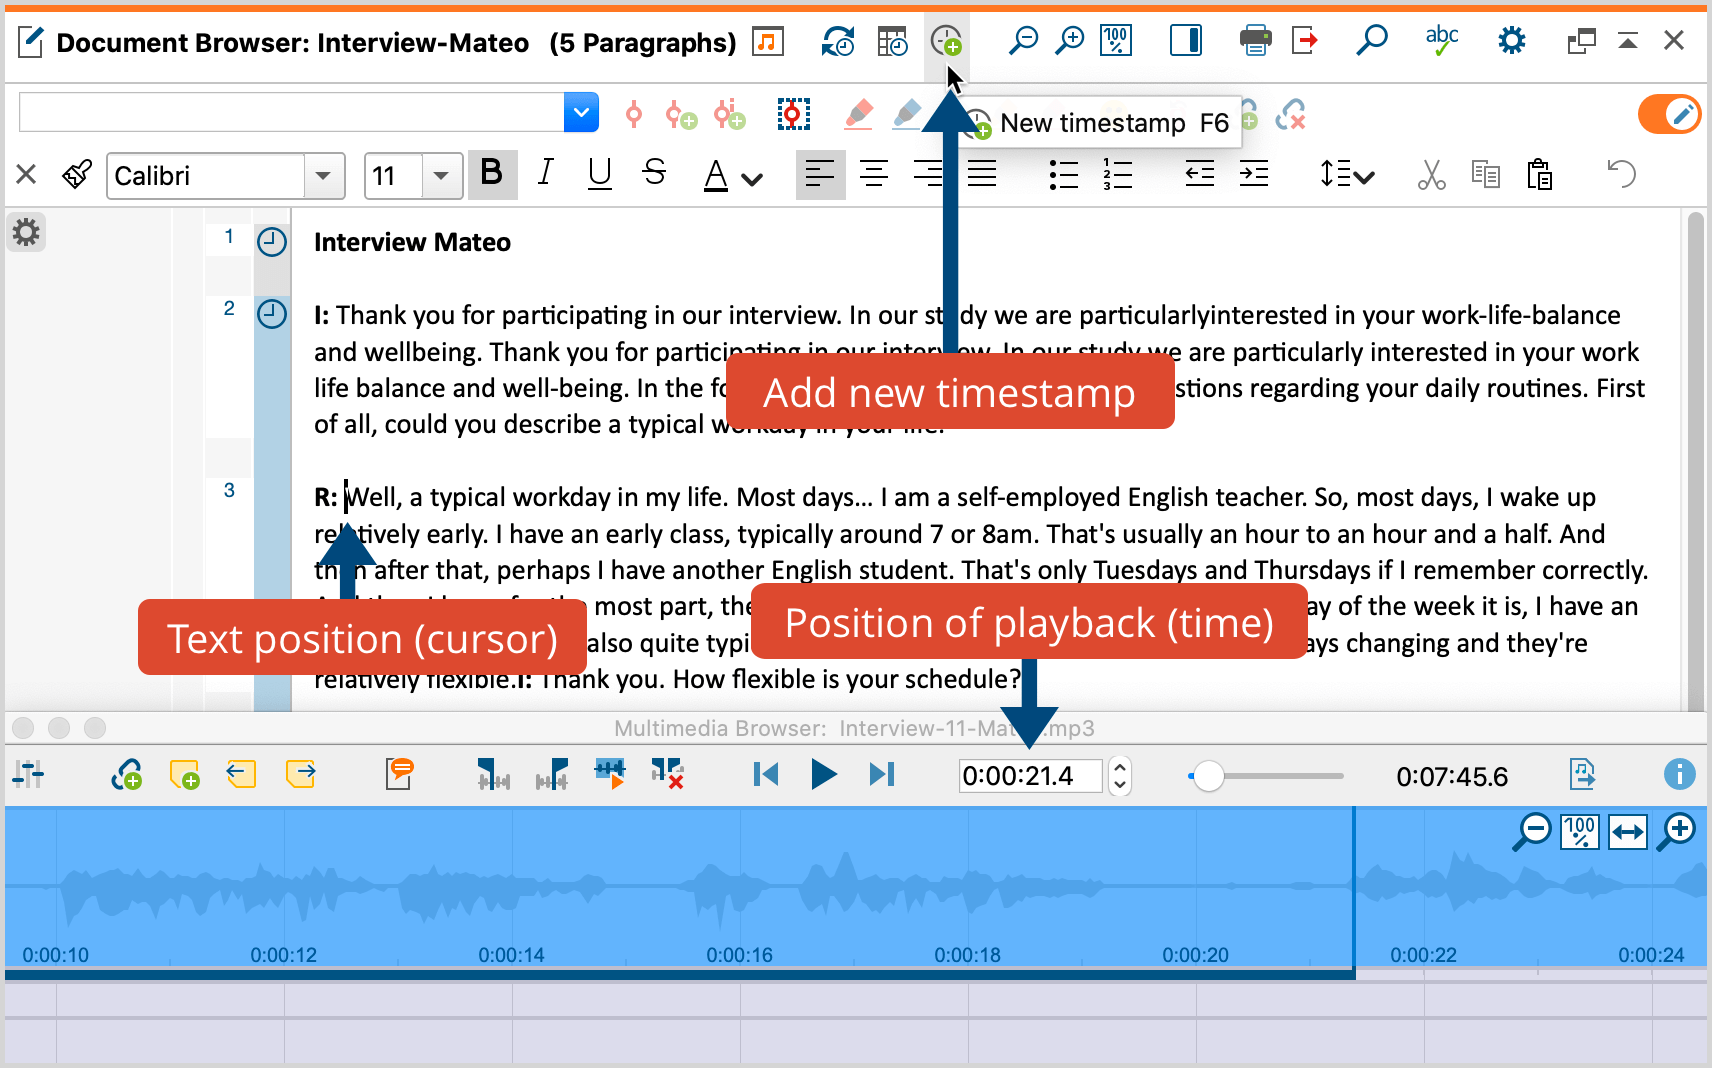
- Place the blinking text cursor at the text position where you want to insert a timestamp.
- Position the playback in the "Multimedia Browser" to the corresponding audio or video location. You can start and pause playback by pressing the F4 or F5 function key or by pressing twice the Ctrl key (Windows) and Shift ⇧ key (macOS). For quick navigation, use the slider in the “Multimedia Browser” or press F12 and ⇧+F12 to fast-forward and rewind five seconds. If your transcript already has timestamps, click a timestamp before the insertion point to start playback at that point.
- Now click on the icon New timestamp in the "Document Browser" or press F6.
In the timestamp column, you can see that for every new timestamp a symbol is inserted at the desired position.

Timestamps can’t be inserted at will, however, MAXQDA instead checks whether the chronology of timestamps is retained by inserting a timestamp. If, for example, the current playback position of an audio file is at 3 minutes, but before the current text position a timestamp already exists at 4 minutes, no further timestamp can be added.
