You can import audio and video files into MAXQDA in various ways:
- with the mouse, drag and drop text files from the Windows Explorer or macOS Finder directly into the “Document System” window,
- click the Import Documents icon
 in the "Documents System", or
 - click on the Audios or Videos icon on the Import tab.

There are some special considerations regarding audio and video files.
MAXQDA supports the following formats as standard:
| Audio | Windows: MP3, WAV, WMA, AAC, M4A Mac: MP3, WAV, AAC, CAF, M4A |
| Video | MP4, MOV, MPG, M4V, 3GP, 3GGP Windows: additionally AVI and WMV For video, a MP4 file with the video codec H.264 / AVC is recommended. |
Audio and video files are generally not imported directly into a MAXQDA project. Instead, they are stored in the MAXQDA folder for external files and linked to a text document in which you can, if necessary, save a transcript.
When importing an audio or video file, MAXQDA creates a new text document with the name of the media file and links the newly added document to the media file. The media file itself is copied in the MAXQDA externals folder. If a file with the same name already exists in the externals folder, MAXQDA asks if the existing file should be overwritten. You can adjust the location of the folder for external files in the global MAXQDA settings. The settings are called up via the gear wheel at the upper right edge of the main window.
For detailed information, see External Files.
In the "Document System", you will recognize text documents with the associated media file by their document symbols: a musical note ![]() for audio files and a video camera
for audio files and a video camera ![]() for video files and a play icon you can click to open the file in media player.
for video files and a play icon you can click to open the file in media player.

Assigning an existing transcript to an audio or video file during import
During the import of an audio or video file, MAXQDA asks you whether there already is a transcript that you want to assign to the media file. If you select Yes a dialog window pops up where you can select the transcript file.
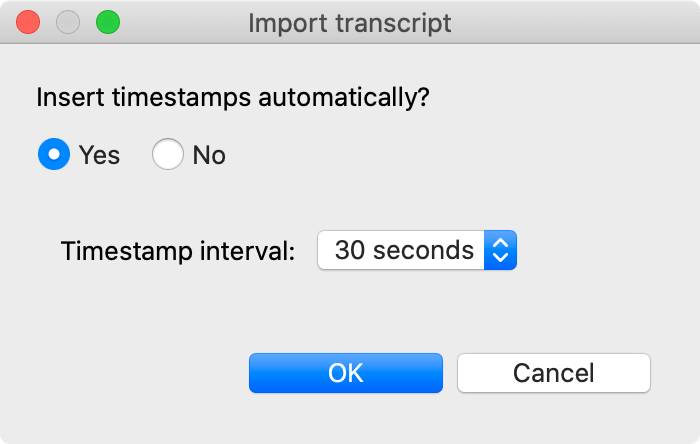
If the selected transcript does not contain timestamps, MAXQDA will ask you whether you want them to be generated automatically:

MAXQDA will automatically place timestamps in the transcript at the selected intervals, making it easier to listen to the original sound of a selected text passage.
Assigning audio/video files to a text document
You can also assign a media file to an existing text document. To do this, right-click on the document in the "Documents System" and select Link Audio/Video File.
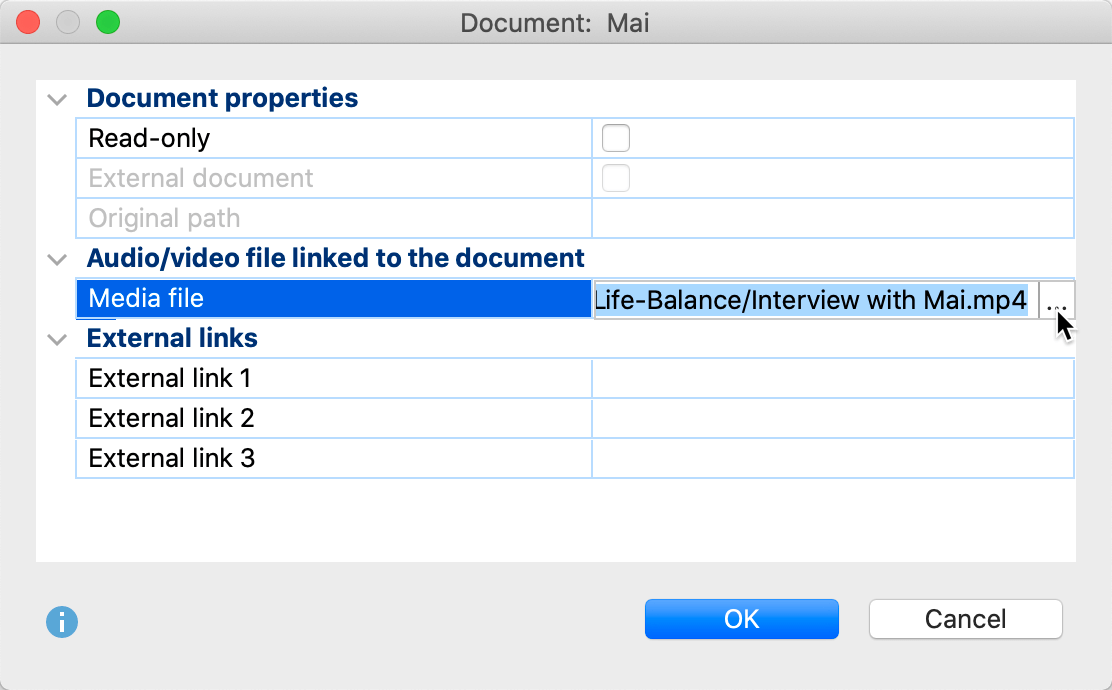
To change the assignment of an audio or video file, right-click on the document in the “Document System” and select Properties. In the dialog that appears, an alternative file can be selected by clicking on the three dots in the "Media file” line

Play and edit audio and video files
Audio and video files can be played and edited in MAXQDA's "Multimedia Browser". For detailed information, see Analyzing Videos.
