You may wish to continue to work with the segments in the "Retrieved Segments" window. MAXQDA makes it possible for you to print out these segments, copy them to the clipboard, or to export them as a file.
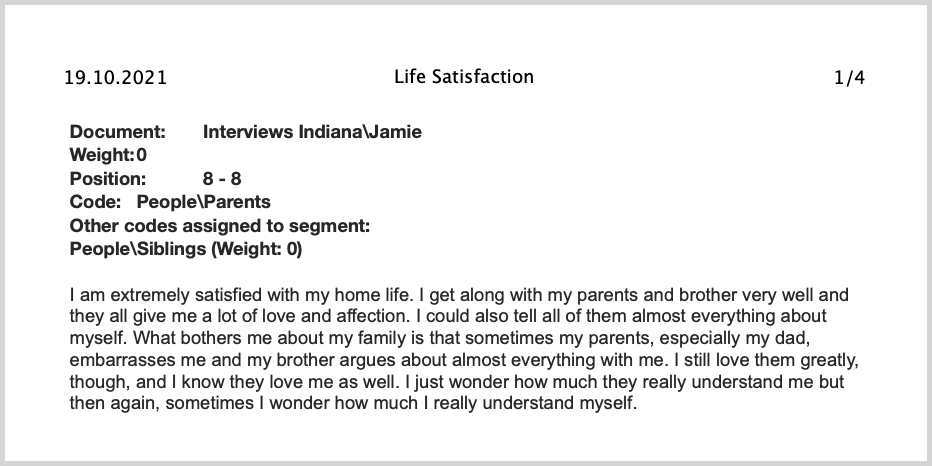
Printing retrieved segments
To print out the retrieved segments,
- Click on the Print retrieved segments icon
 in the “Retrieved Segments” window toolbar.
 - Click in the window to place it in focus (recognizable by the green marker in the window title), and use the keyboard shortcut Ctrl + P (Windows) or ⌘ + P (macOS) or,
- Switch to the Reports tab, click the Print icon and select the Retrieved Segments option.
You will then see the standard option for selecting your printer. In this window, you can also select the print layout and choose to print out only certain pages.

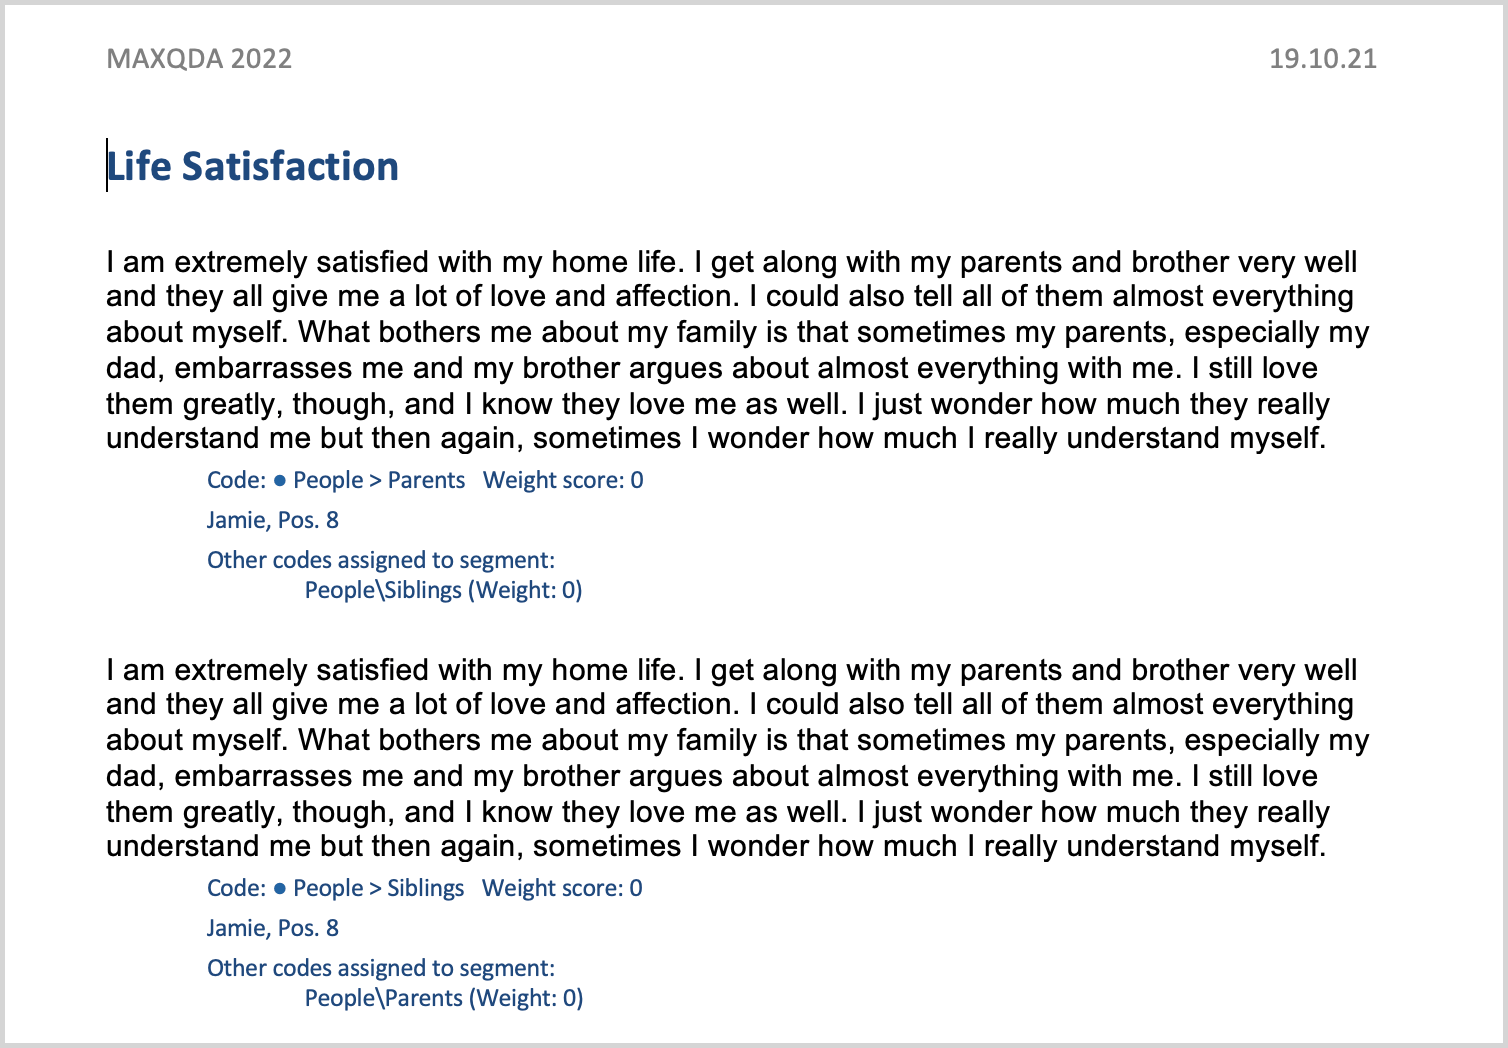
If you want to be able to edit aspects of the formatting, it is recommended that you first export the retrieved segments, open them for edit in a word processor, and then print them out.
Exporting retrieved segments
To export your retrieved segments, click the Export icon ![]() in the toolbar of the window. Alternatively, open the function from the ribbon menu: Reports > Export > Retrieved Segments.
in the toolbar of the window. Alternatively, open the function from the ribbon menu: Reports > Export > Retrieved Segments.
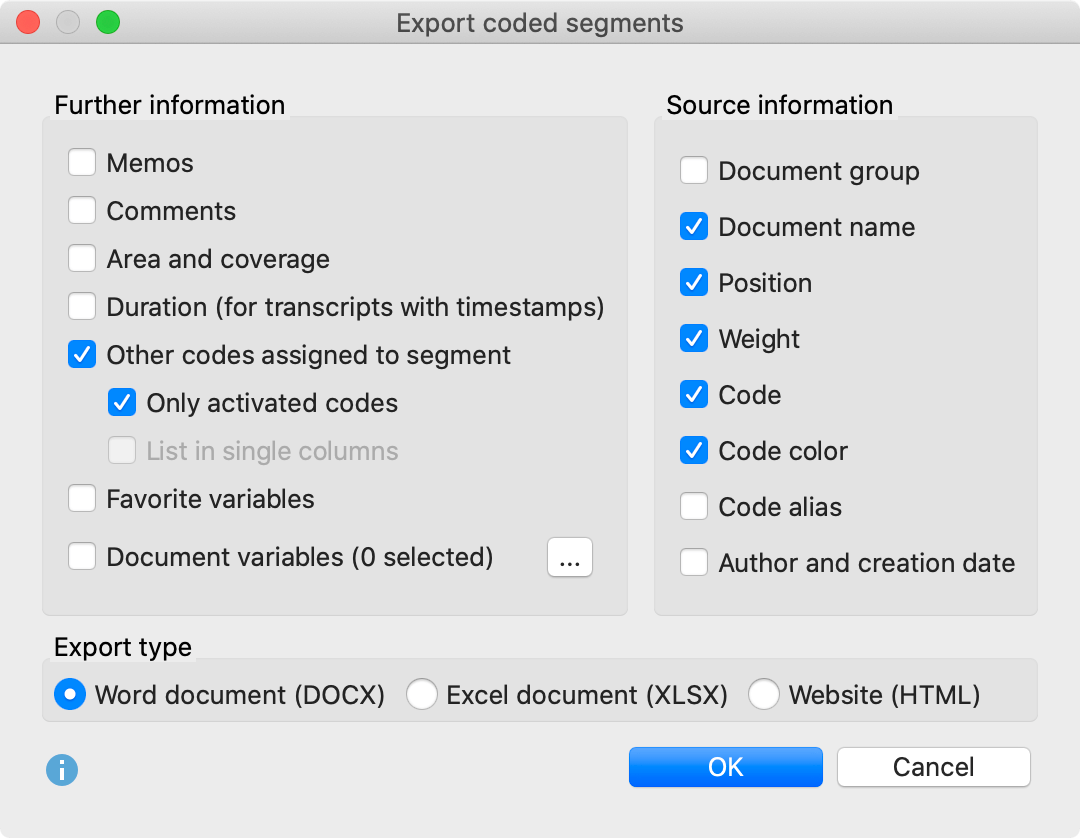
The following option menu will appear:

In the left window, specify which supplementary information should be exported in addition to the coded segments, including:
Memos - If you select this option, all memos assigned to the coded area of the segment, displayed in the "Retrieved Segments" window, will also be exported. When exported as an Excel document or as a web page, all memos from one coded segment will be included in a single cell.
Duration (for transcripts with timestamps) - For segments from a transcript, both the time at which an coded text starts and the time span of the coded text are exported. You can then check when exactly a statement in an interview was made. The specific points in time and time spans are determined according to the timestamps in the transcript and the number of characters of a coded segment and, if necessary, extrapolated if the coded segment does not exactly match the time stamps.
Other codes assigned to the segments - For each coded segment, the export file writes which codes were assigned to it. Each overlap with another code is listed, including its weight. With the option Only activated codes, only the activated codes are taken into account.
Favorite variables – When this option is selected, all variables that are selected as "favorites" in the "List of document variables“ will be exported. For export in XLS/X or HTML format, each favorite variable will be assigned to its own column.
Document Variables (x selected) - Click on the button with the three points to select at which point variables should be exported. With each coded segment, the variable values of the corresponding documents are then additionally exported. When exporting as an Excel document or as a webpage in HTML format, each variable has its own column.
In the section to the right, you can specify which source data should be exported with each segment.
Choose between the three export formats: Word Document (DOCX), Excel Document (XLSX), and Web page in HTML format. After clicking on OK, you can enter the file name and location, whereupon the export is started and the exported file is opened with the preset program for the respective file type.

Copying retrieved segments to the clipboard - including source information
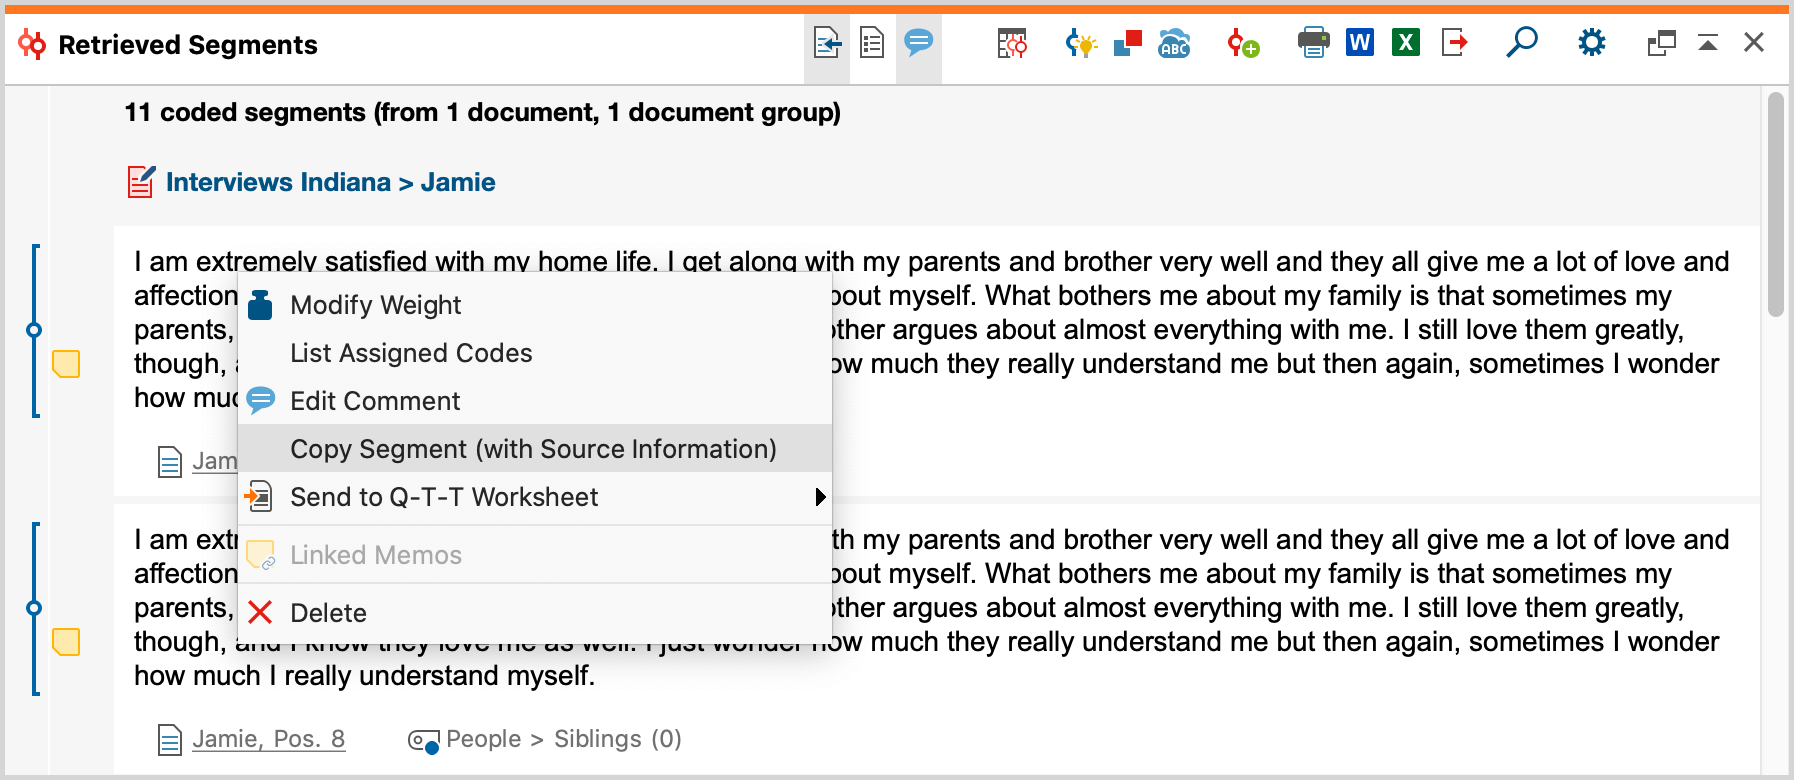
In a research project, citations (e.g. interview passages) are often integrated into the final report. It is important to note the source information of these citations - the document and paragraph or line from which they were taken. MAXQDA simplifies this process with the function Copy Segment (with Source Information). You can access this function by right-clicking on the source information in the “Retrieved Segments” window.

(1) a coding stripe in the "Retrieved Segments" window,
(2) a coding stripe in the "Document Browser", or
(3) a line in the "Overview of Coded Segments".
When you open the function from the context menu, MAXQDA copies the selected segment into the clipboard. Now you can paste the citation into your word processing program by pressing Ctrl+V (Windows) or ⌘+V (macOS). At the end of the citation, the document name from the “Document System,” as well as the paragraph or line number, will automatically be inserted.

Store view in Questions – Themes – Theories
In the Questions – Themes – Theories window, you can collect and comment on all the important results of your project. Click the ![]() Send to QTT Worksheet icon in the upper right corner to send the currently selected coded segments to a new or existing worksheet.
Send to QTT Worksheet icon in the upper right corner to send the currently selected coded segments to a new or existing worksheet.
