Word clouds are used to visualize the most common words in a text. They are ideal for exploring large amounts of text and creating informative visualizations for presentations.
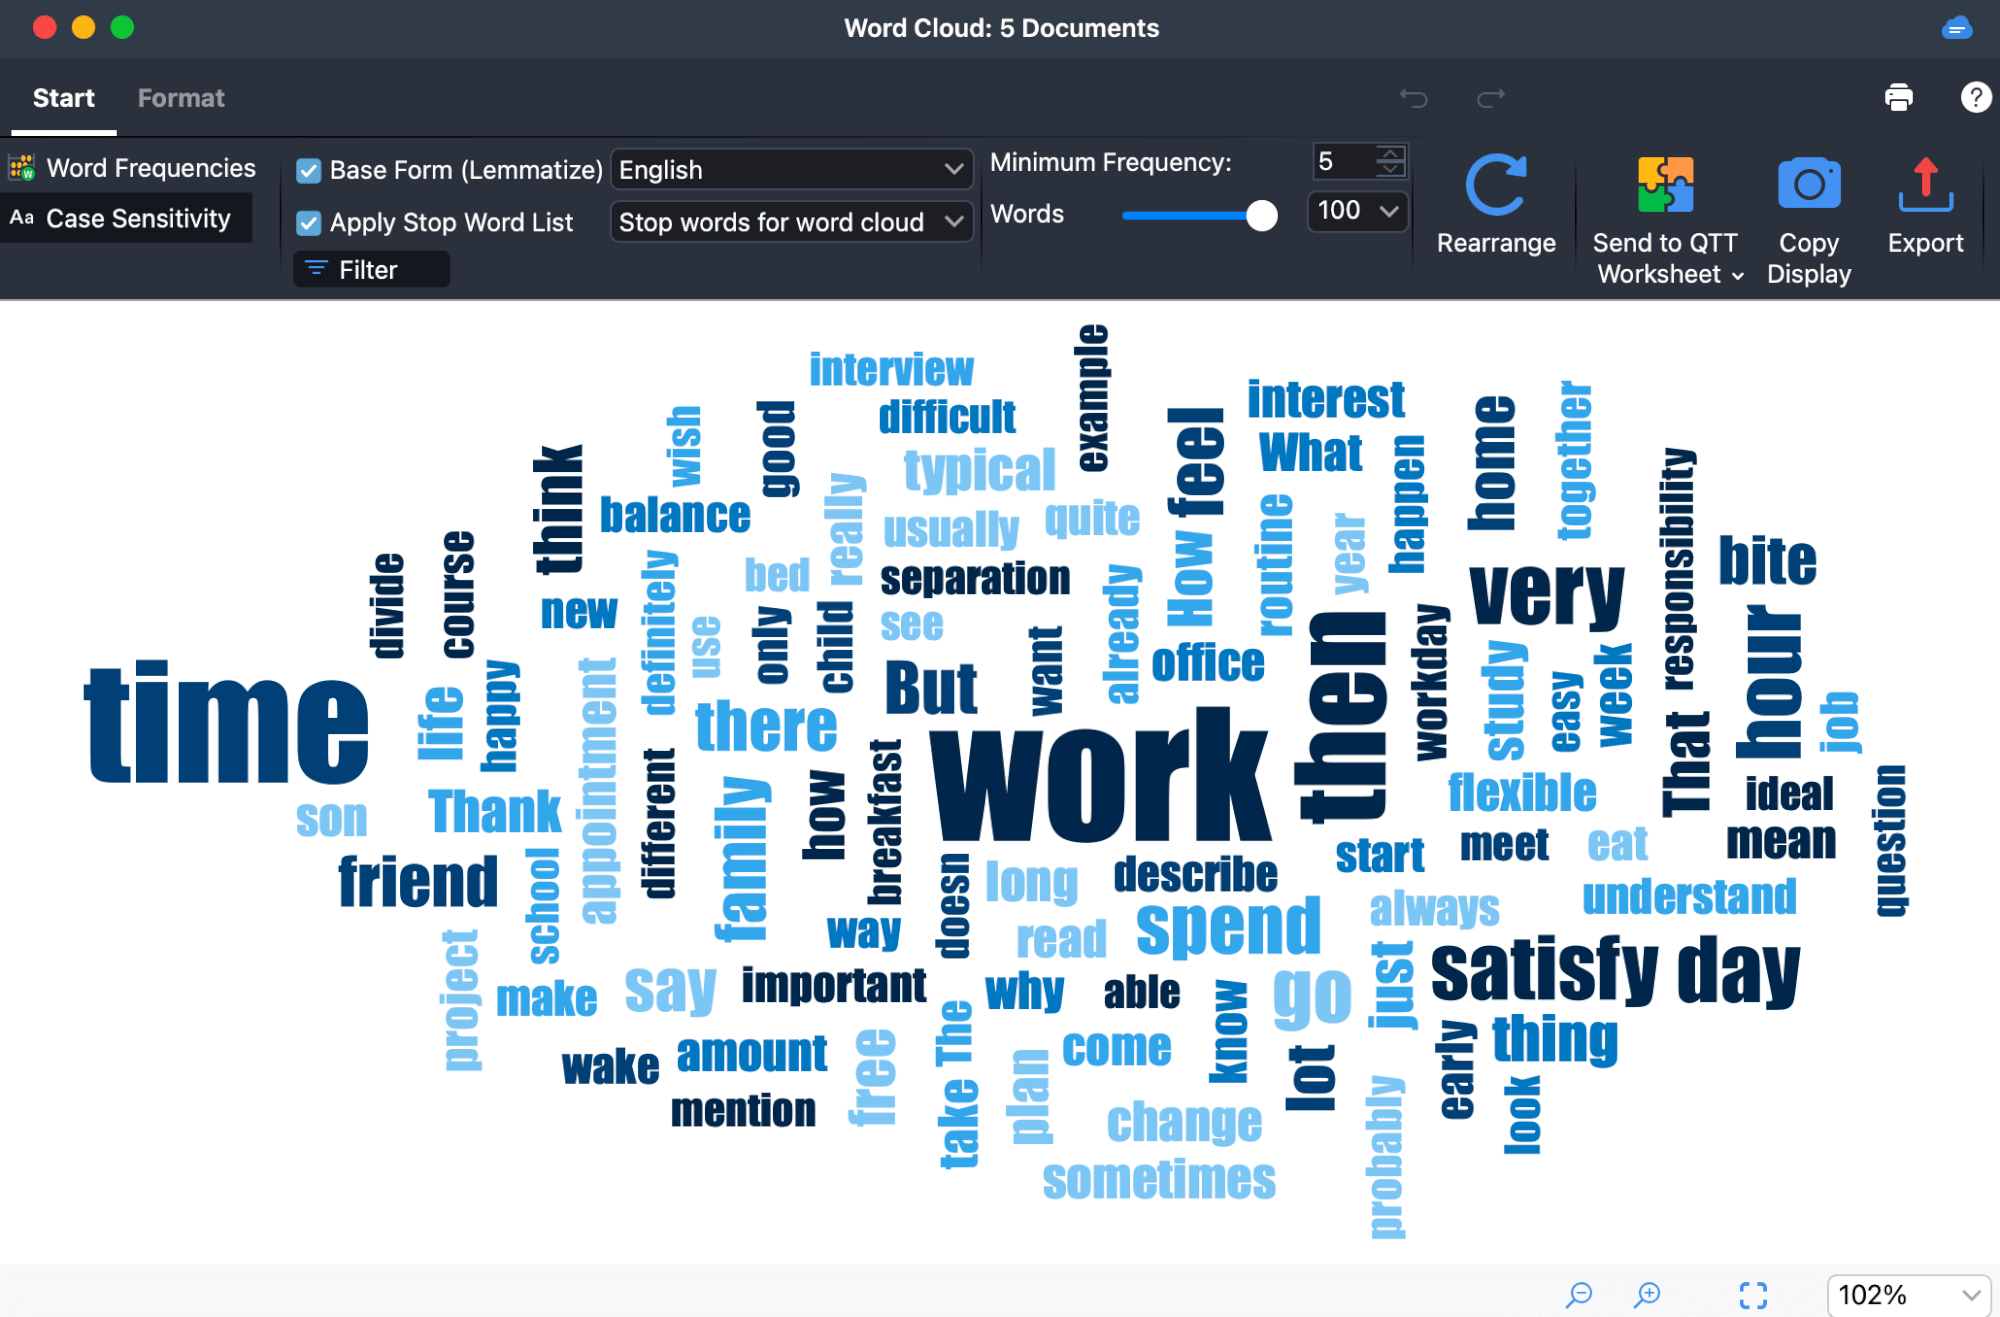
Generating a word cloud
Word Clouds can be generated for individual documents, document groups, document sets, or for all the documents in a project. Right-click on the level in the “Document Browser” for which you want to generate the word cloud and select the entry Word Cloud. You can also open the Word Cloud from the "List of Retrieved Segments", the Overview of Coded Segments and Overview of Paraphrases.
Alternatively, you can also open the Word Cloud function via the icon with the same name in the Visual Tools tab. A dialog box will then open in which you can select the relevant documents.
Stop word list: Excluding words in the Word Cloud
To prevent the word cloud from containing non-interesting words, you can apply a list of stop words to exclude. Therefore, you should activate the option Apply Stop Word List in the Start tab and select a stop word list. Every new project in MAXQDA already contains stop word lists for several languages from which you can choose.
Add words from the word cloud to stop word lists
You can add words from the word cloud to the currently selected stop word list at any time.
To do this, call Start > Word Frequencies![]() in the word cloud. The table that appears shows all the words that occur in the text in the order of their frequency.
in the word cloud. The table that appears shows all the words that occur in the text in the order of their frequency.
Double-clicking on the green icon![]() in front of a specific word will add it to the stop word list, which means it won’t be considered for the word cloud anymore. You can also select several words in the list (using Ctrl+ or ⌘+the left mouse button or ⇧+the left mouse button for an area in the list) and then right-click and select Add to Stop Word List. An icon with the same name is also available in the toolbar.
in front of a specific word will add it to the stop word list, which means it won’t be considered for the word cloud anymore. You can also select several words in the list (using Ctrl+ or ⌘+the left mouse button or ⇧+the left mouse button for an area in the list) and then right-click and select Add to Stop Word List. An icon with the same name is also available in the toolbar.
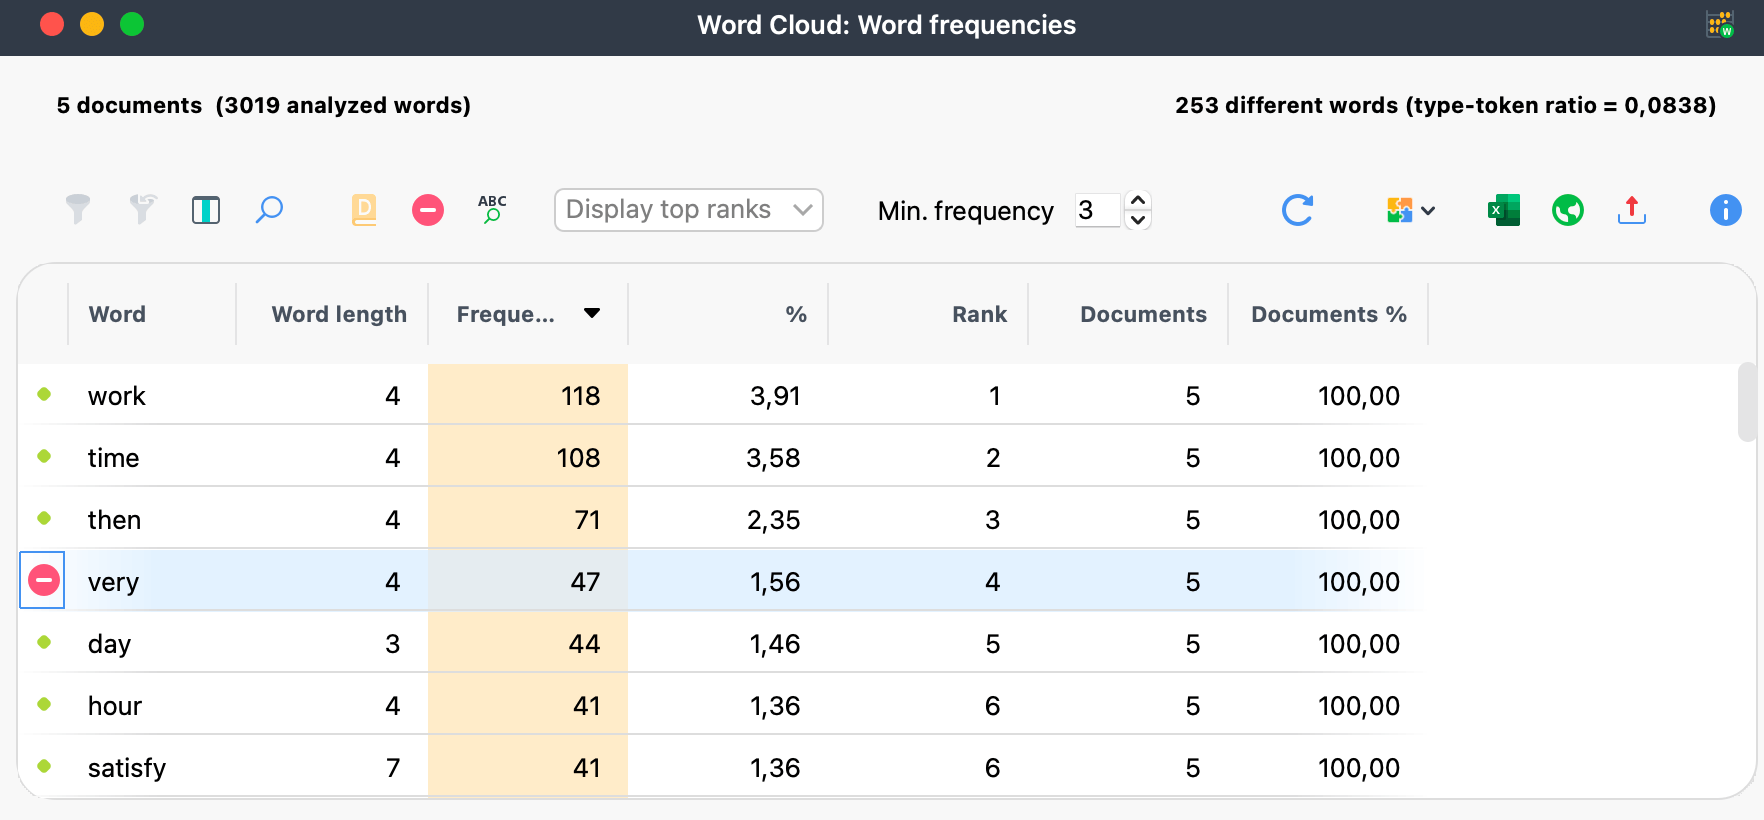
When you click the ![]() Rearrange and apply stop word list, the Word Cloud is regenerated excluding words from the stop word list.
Rearrange and apply stop word list, the Word Cloud is regenerated excluding words from the stop word list.
Editing the stop word list
To edit a stop word list, you can navigate to the MAXDictio menu ribbon and select Stop Word Lists. You can remove words from this list or add new words, although the way of doing this described above, by clicking in the frequency list, is actually much easier. Here you can also save and load already defined stop word lists to exchange them between projects.
Working with the word frequency list
Via Start > Word Frequencies![]() you can open a list of all the words contained in the analyzed texts. This list shows, amongst other things, how often each individual word occurs. It is also possible to combine several words into one. To do this, click and drag one or more words onto another word with your mouse.
you can open a list of all the words contained in the analyzed texts. This list shows, amongst other things, how often each individual word occurs. It is also possible to combine several words into one. To do this, click and drag one or more words onto another word with your mouse.
Adjusting the display
You can use the numerous options in the Start and Format tabs to customize the appearance of the word cloud, including the number of words displayed, their font, their shape, and color.
The Start tab
![]() Word Frequencies – Opens a list of all words contained in the analyzed texts (without the stop words) and shows their frequencies. Words can easily be transferred from the word frequency list to the stop list.
Word Frequencies – Opens a list of all words contained in the analyzed texts (without the stop words) and shows their frequencies. Words can easily be transferred from the word frequency list to the stop list.
![]() Case Sensitivity – If this option is activated, a distinction is made between capitalized and non-capitalized words. For example, the words "earth", "Earth" and "EARTH" are treated as three different words.
Case Sensitivity – If this option is activated, a distinction is made between capitalized and non-capitalized words. For example, the words "earth", "Earth" and "EARTH" are treated as three different words.
Ignore Numbers – Excludes all "words" consisting only of numbers.
Lemmatize Words – When this option is activated, the inflected forms of a word are grouped together, for example, “go”, “went”, “gone” are all treated as “go” and “houses”, “housed”, “housing” are all treated as “house”. If a word has been lemmatized, you can see a list of all its lemmatized forms in the tooltip by hovering your mouse over the word.
Apply Stop Word List – Opens the list of all available stop word lists and the option to manage the stop word lists.
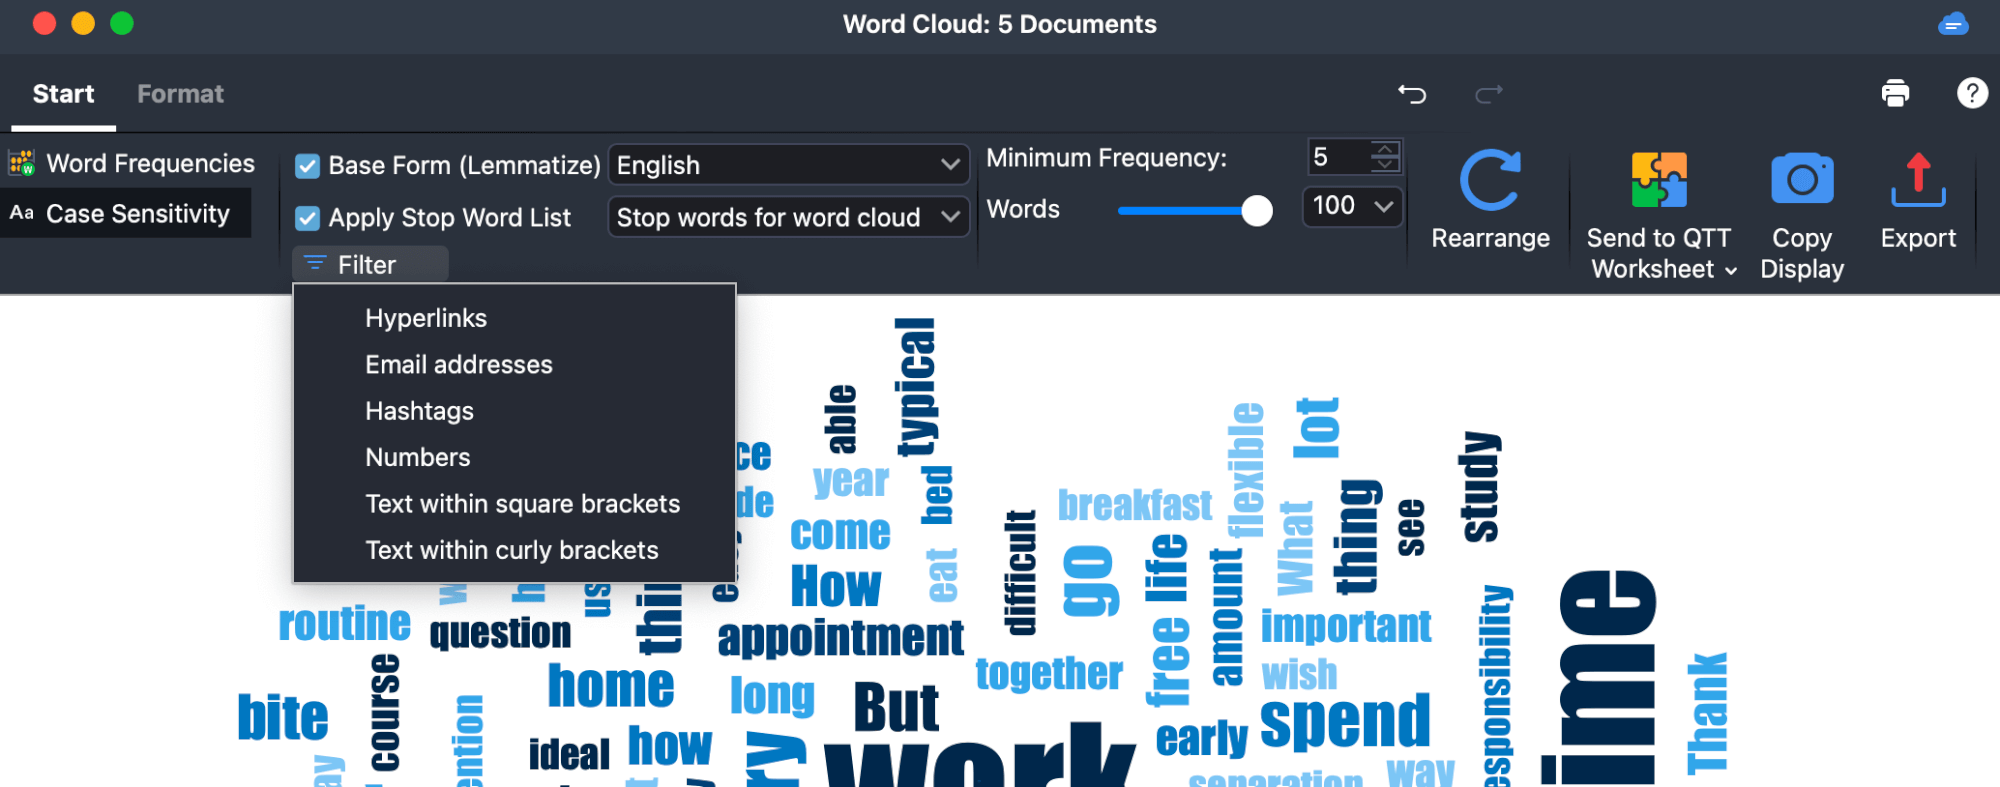
![]() Filter – Select text elements to be excluded from the word cloud, e.g. hyperlinks, email addresses.
Filter – Select text elements to be excluded from the word cloud, e.g. hyperlinks, email addresses.
![]() Word Types – opens a selection menu that lets you narrow the displayed words to specific types, such as adjectives, nouns, conjunctions, and more. It utilizes part-of-speech tagging and supports multiple languages. In the dialog box, select the language and word type for analysis. MAXQDA effectively identifies most word types, although there may be occasional minor inaccuracies in certain word classifications. If you are analyzing Japanese text, remember to first go to Preferences > Word Separation and activate the options Text language is Japanese, and (optionally) Ignore particles (Japanese).
Word Types – opens a selection menu that lets you narrow the displayed words to specific types, such as adjectives, nouns, conjunctions, and more. It utilizes part-of-speech tagging and supports multiple languages. In the dialog box, select the language and word type for analysis. MAXQDA effectively identifies most word types, although there may be occasional minor inaccuracies in certain word classifications. If you are analyzing Japanese text, remember to first go to Preferences > Word Separation and activate the options Text language is Japanese, and (optionally) Ignore particles (Japanese).
Minimum Frequency – Defines the minimum number of times a word must occur order to be displayed.
Words – Specifies how many words are visualized. You can use the slider to incrementally remove rarer words. If several words occur with the same frequency, words starting with letters earlier in the alphabet are selected first.
![]() Rearrange – Regenerates the word cloud and rearranges the word placement.
Rearrange – Regenerates the word cloud and rearranges the word placement.
The 'Format' tab

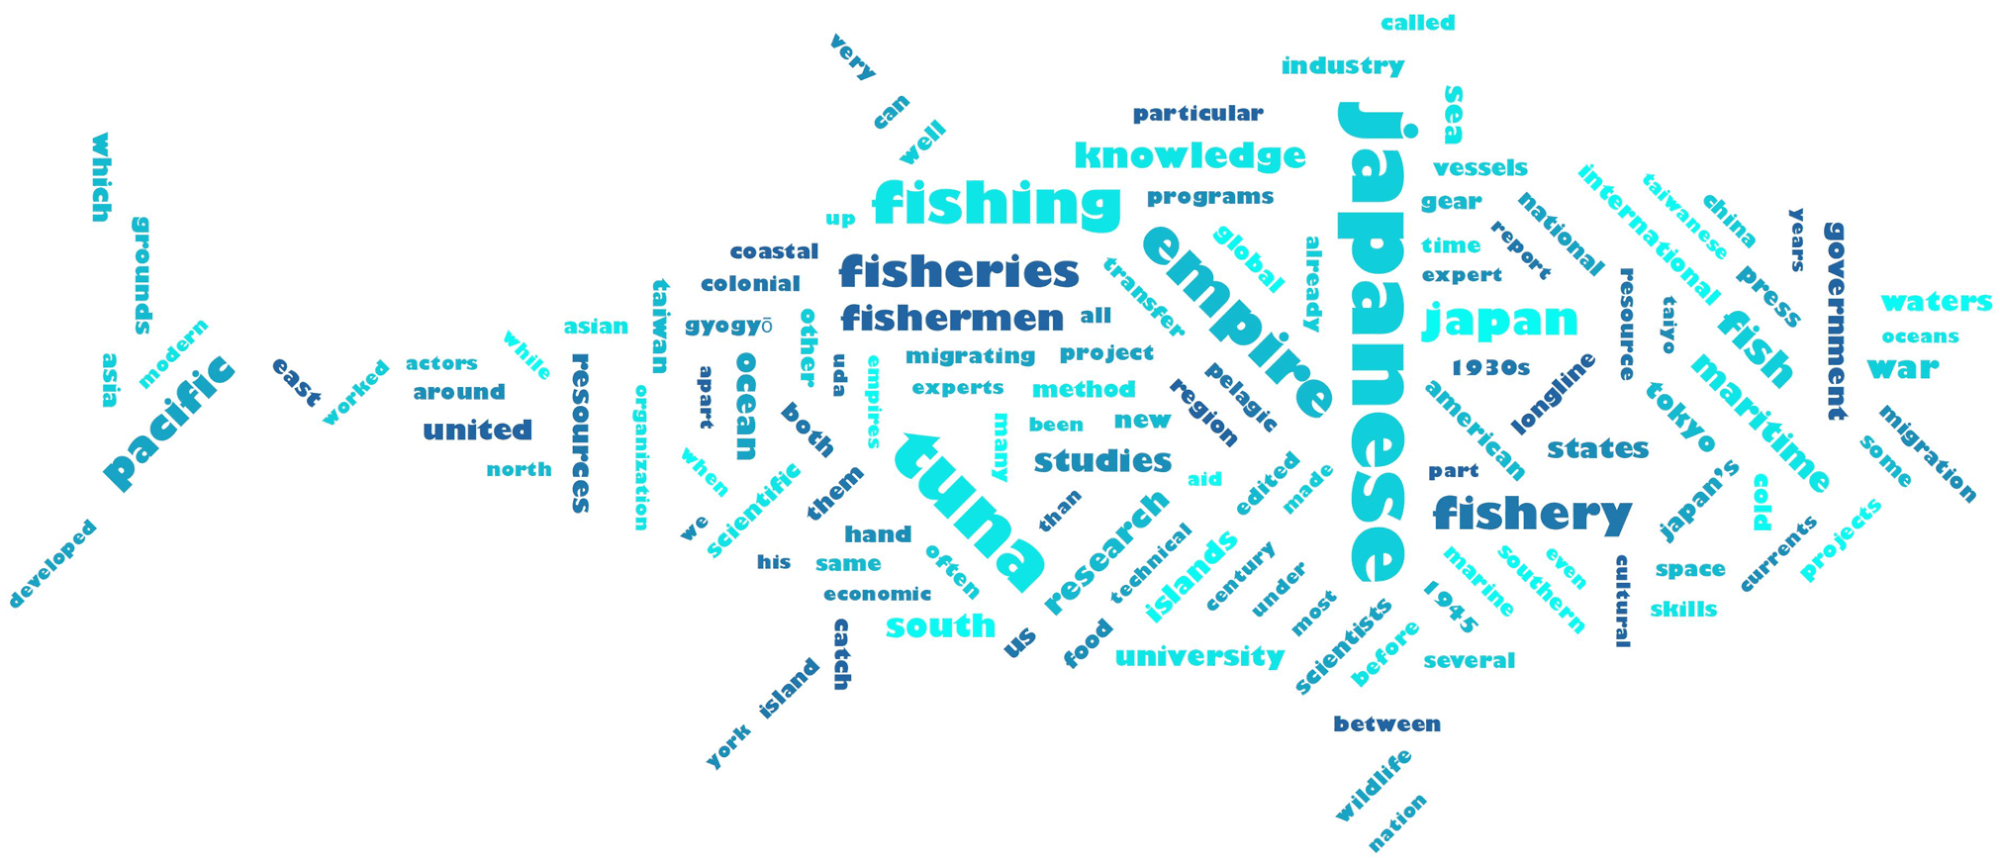
![]() Shape – Allows to define the outer borders of the Word Cloud. There are various variations to choose from:
Shape – Allows to define the outer borders of the Word Cloud. There are various variations to choose from:
- predefined forms (circle, ellipse, square, triangle)
- most frequent word
- a word you have entered
- a custom-selected image (is converted into a black and white image with the black area filled in, hence black and white images are best)
![]() Alignment – Lets you define the alignment of words. The following options are available:
Alignment – Lets you define the alignment of words. The following options are available:
- Horizontal: All words are displayed horizontally
- Vertical: All words are displayed vertically
- Horizontal and vertical: Words are randomly aligned horizontally and vertically, the most common word is always displayed horizontally
- 30/45 degrees: Some words are additionally displayed at the selected angle diagonally upwards or downwards.
![]() Colors – Lets you choose from a range of different color schemes.
Colors – Lets you choose from a range of different color schemes.
![]() Font / Bold – Lets you specify the font.
Font / Bold – Lets you specify the font.
Word Distance – Defines the minimum distance between words
Smallest Word – Defines the size of the smallest word. The smaller this size is, the greater the difference in size compared to the most common words will be.
Size by – Defines the size of the words. Here you can choose from the following:
- Frequency: The more frequently a word occurs, the larger it is.
- Rank: The higher the rank of a word in the word frequency list, the larger the word. If you choose this option, the absolute difference between the word frequencies is irrelevant.
- Number of documents: The larger the word, the more documents it appears in. The number of documents can be seen in the list of word frequencies. This option only makes sense if you are analyzing several documents, as otherwise there will be no size difference between the words.
Scale – Influences the differences in size between common and rare words. The following options are available, which refer to the dimensions set under "Size by":
- Linear: The font size is linearly proportional to the word frequency.
- Most frequent greater: The font size is proportional to the square of the word frequencies. This makes the common words appear larger compared to the “Linear” option.
- Most frequent smaller: The font size is proportional to the root of the word frequencies. As a result, the common words appear smaller in relation to the "Linear" option.
Largest word – Lets you set the placement of the largest word: centered, somewhere near the edge, or at random.
![]() Rearrange – Regenerates the word cloud and rearranges the word placement.
Rearrange – Regenerates the word cloud and rearranges the word placement.
Interacting with words in the word cloud
Display word frequency
The word cloud is interactively linked to the original texts, providing additional information on each word:
- Clicking on a word opens a detailed window listing all occurances of the word in the analyzed documents.
- Hovering over a word displays its frequency as a tooltip, giving you a quick sense of how often it appears in the selected documents.
Autocode a word's search hits
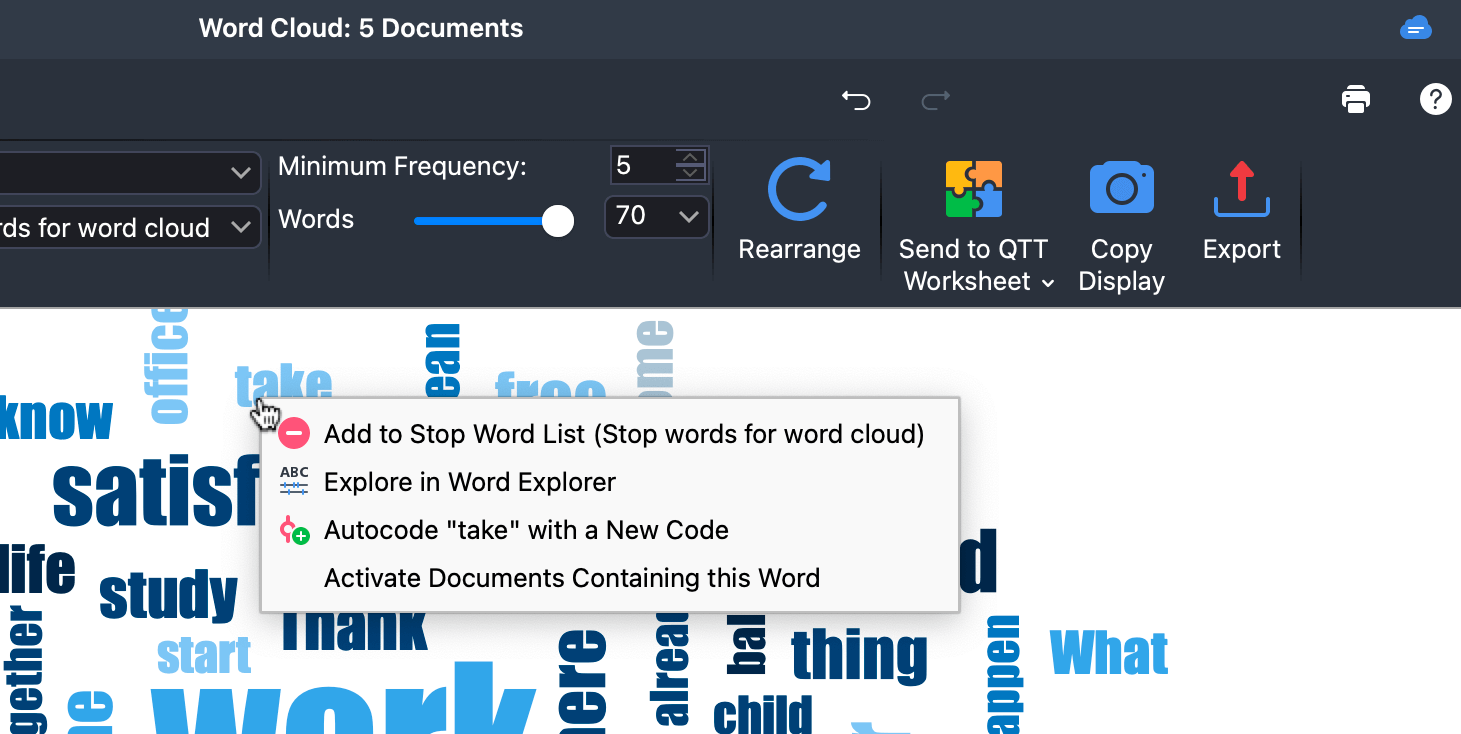
You can quickly apply a new code to all occurrences of a displayed word, enabling you to focus on specific instances and conduct in-depth analysis. For example, if you're interested in exploring sentences containing a particular word, autocoding makes it easy to identify and analyze these cases.
To autocode a word's search hits right-click on a word in the Word Cloud and select ![]() Autocode '[word]' with a New Code. This opens the autocode preferences window, allowing you to specify the new code's name, color, and weight. Additionally, you can choose from various options to define the range of text to be coded, such as coding only the search hit or the entire sentence where it occurs.
Autocode '[word]' with a New Code. This opens the autocode preferences window, allowing you to specify the new code's name, color, and weight. Additionally, you can choose from various options to define the range of text to be coded, such as coding only the search hit or the entire sentence where it occurs.
Examine a word in the Word Explorer
You can launch MAXQDA's Word Explorer by right-clicking on a word and selecting the option![]() Explore in Word Explorer.
Explore in Word Explorer.
The Word Explorer allows you to investigate the usage and context of specific terms across your project, including documents, memos, summaries, and paraphrases, providing you with insights into word frequency, co-occurrence, and contextual relevance for your analysis and reporting purposes. Follow this link to learn more about the Word Explorer.
Activate documents containing a word
Right-click on a word and select Activate Documents Containing This Word to activate the documents with this search hit. Note that this activation only includes documents used to create the word cloud.
Save chart in "Questions – Themes – Theories"
In the Questions – Themes – Theories (QTT) you can collect and comment on all the important results of your project. Click the ![]() Send to QTT Worksheet icon in the Start menu ribbon to save the current view in a new or existing worksheet.
Send to QTT Worksheet icon in the Start menu ribbon to save the current view in a new or existing worksheet.
Exporting Word Clouds
In the Start tab, there are options to the right to ![]() copy the word to the clipboard or to
copy the word to the clipboard or to ![]() export it as a graphics file.
export it as a graphics file.
