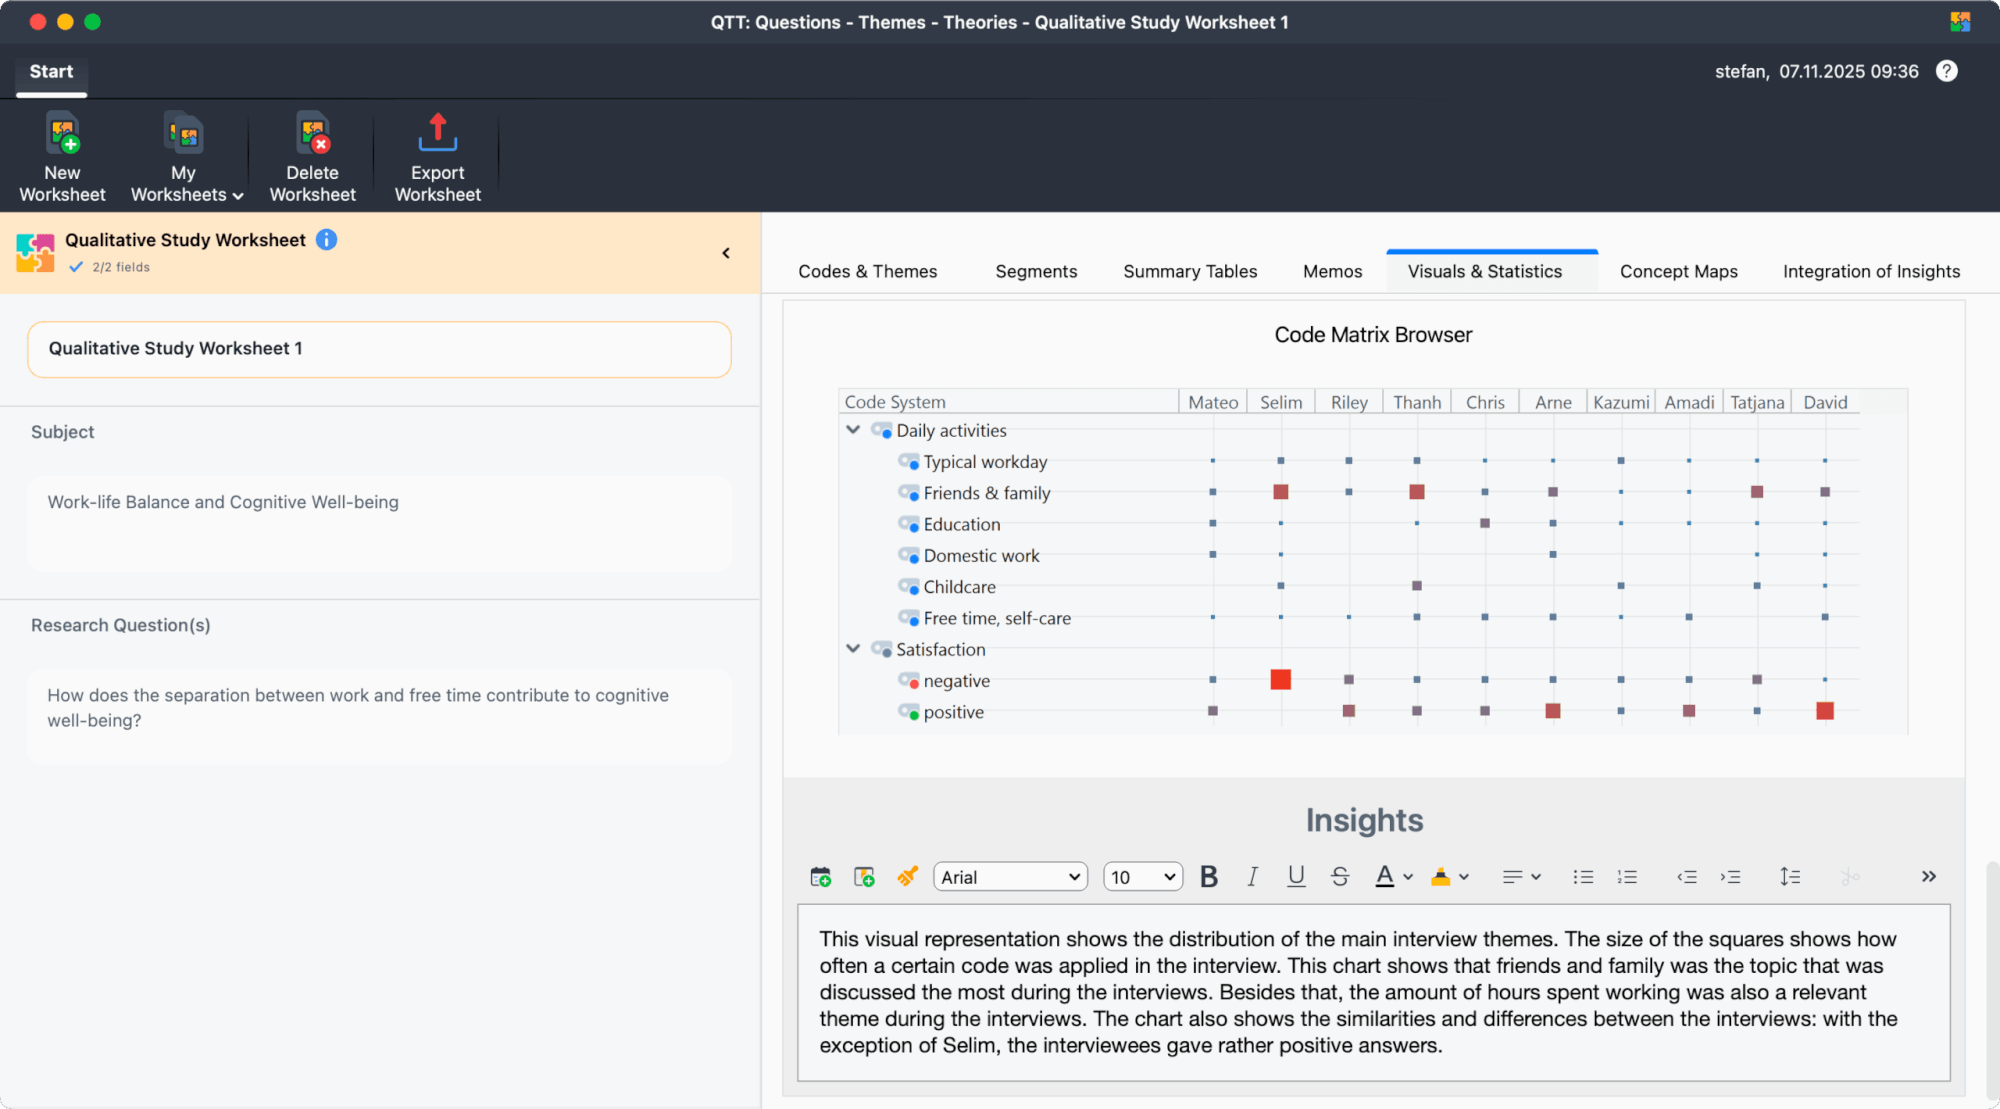
Qualitative Study Worksheets are designed to help you organize and synthesize findings from your qualitative research. They provide a focused space where you can collect coded segments, memos, visuals, and analysis results related to a specific topic or research question. Use these worksheets to explore themes, develop insights on your questions, and develop hypotheses and theories.

Creating a New Qualitative Study Worksheet
To create a new Qualitative Study Worksheet:
- Open the QTT workspace via Analysis > QTT: Questions - Themes - Theoriesin MAXQDA’s main menu.
- Click New Worksheetin the QTT window.
- On the landing page that appears, click on the Create Worksheetbutton in the Qualitative Study Worksheet tile.
The worksheet will be created and opened.
The Worksheet Sidebar
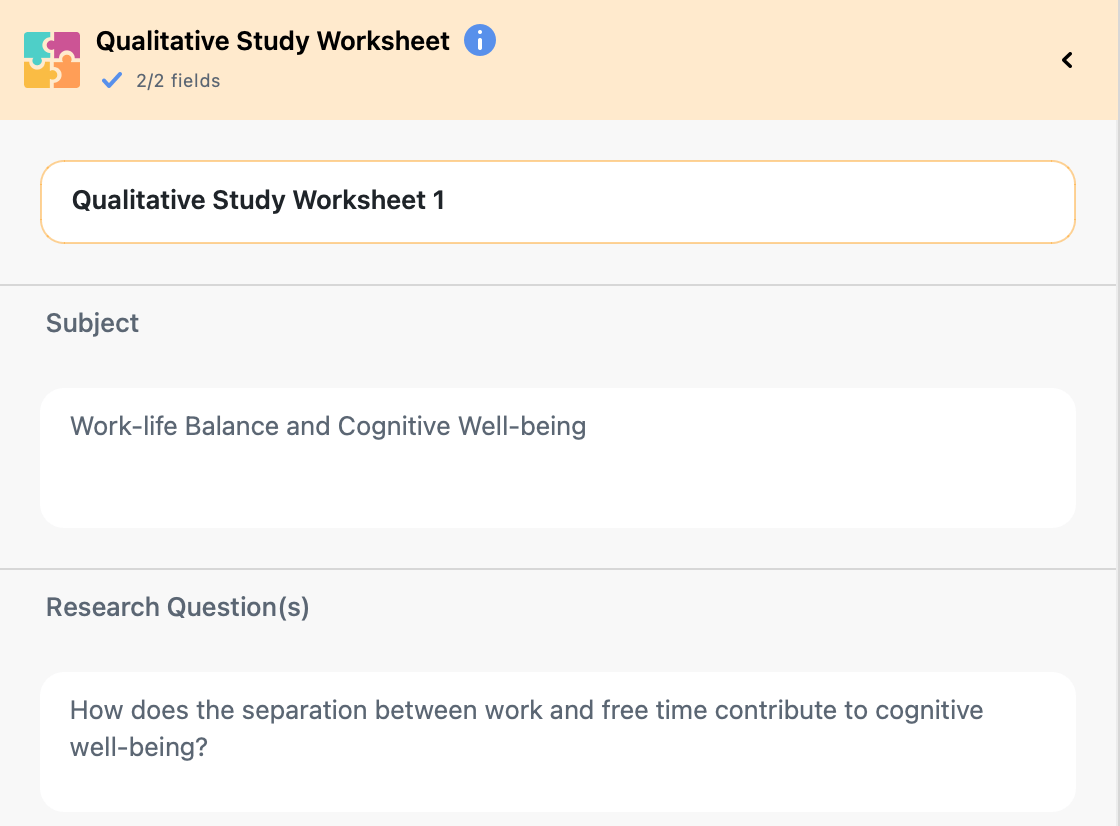
When you create a new Qualitative Study Worksheet, a sidebar automatically appears on the left side of the worksheet. This sidebar allows you to document key information about your worksheet and can be collapsed or expanded as needed.

The sidebar contains the following text fields:
- Title of your worksheet (in bold) – Change the name of the worksheet according to your needs.
- Subject – Use this field to describe the subject and topic addressed in your study.
- Research Question(s) – Enter your research question(s) and the concepts you address in them.
In the ribbon bar at the top right of the worksheet window, next to the help icon, you’ll see information about when the worksheet was last edited. Hover over this information to see, when it was originally created.
Worksheet Sections
QTT worksheets are organized into sections, each designed for a specific type of content. The following sections are automatically created in a new Qualitative Study Worksheet:
- Codes & Themes – Related codes and themes from your code system
- Segments – Important coded segments from your documents
- Summary Tables – Relevant summary tables featuring summaries per category per case
- Memos – Related memos from your project
- Visuals & Statistics – Visualizations and charts from MAXQDA’s Visual Tools and statistics features
- Concept Maps – Concept maps created in MAXMaps
- Integration of Insights – A special section where you can view insights from all other sections together and develop overall conclusions
Managing Sections
The tab bar with section names is interactive:
- Click on a tab to switch to that section.
- Drag and drop a section tab with the mouse to adjust the order of sections.
- To remove a section from the worksheet, right-click on the tab name and select the corresponding option.
- To add a removed section back, click the +Add Section button that appears when not all available sections are displayed as tabs. Please note that each section can exist only once per worksheet.
Adding Elements to Your Worksheet
Once your Qualitative Study Worksheet is created, you can begin adding elements such as codes, coded segments, memos, visualizations, and more to each section. For detailed instructions on how to add elements to your worksheet, see Working With QTT Worksheets.
Managing Multiple Worksheets
You can create multiple Qualitative Study Worksheets in a single project. To switch between worksheets, click My Worksheets in the menu bar of the QTT window. The name of the currently selected worksheet is always visible in the title bar at the top of the QTT window.
To delete a worksheet, click on the Delete Worksheet icon in the menu bar of the QTT window.
