What is Creative Coding?
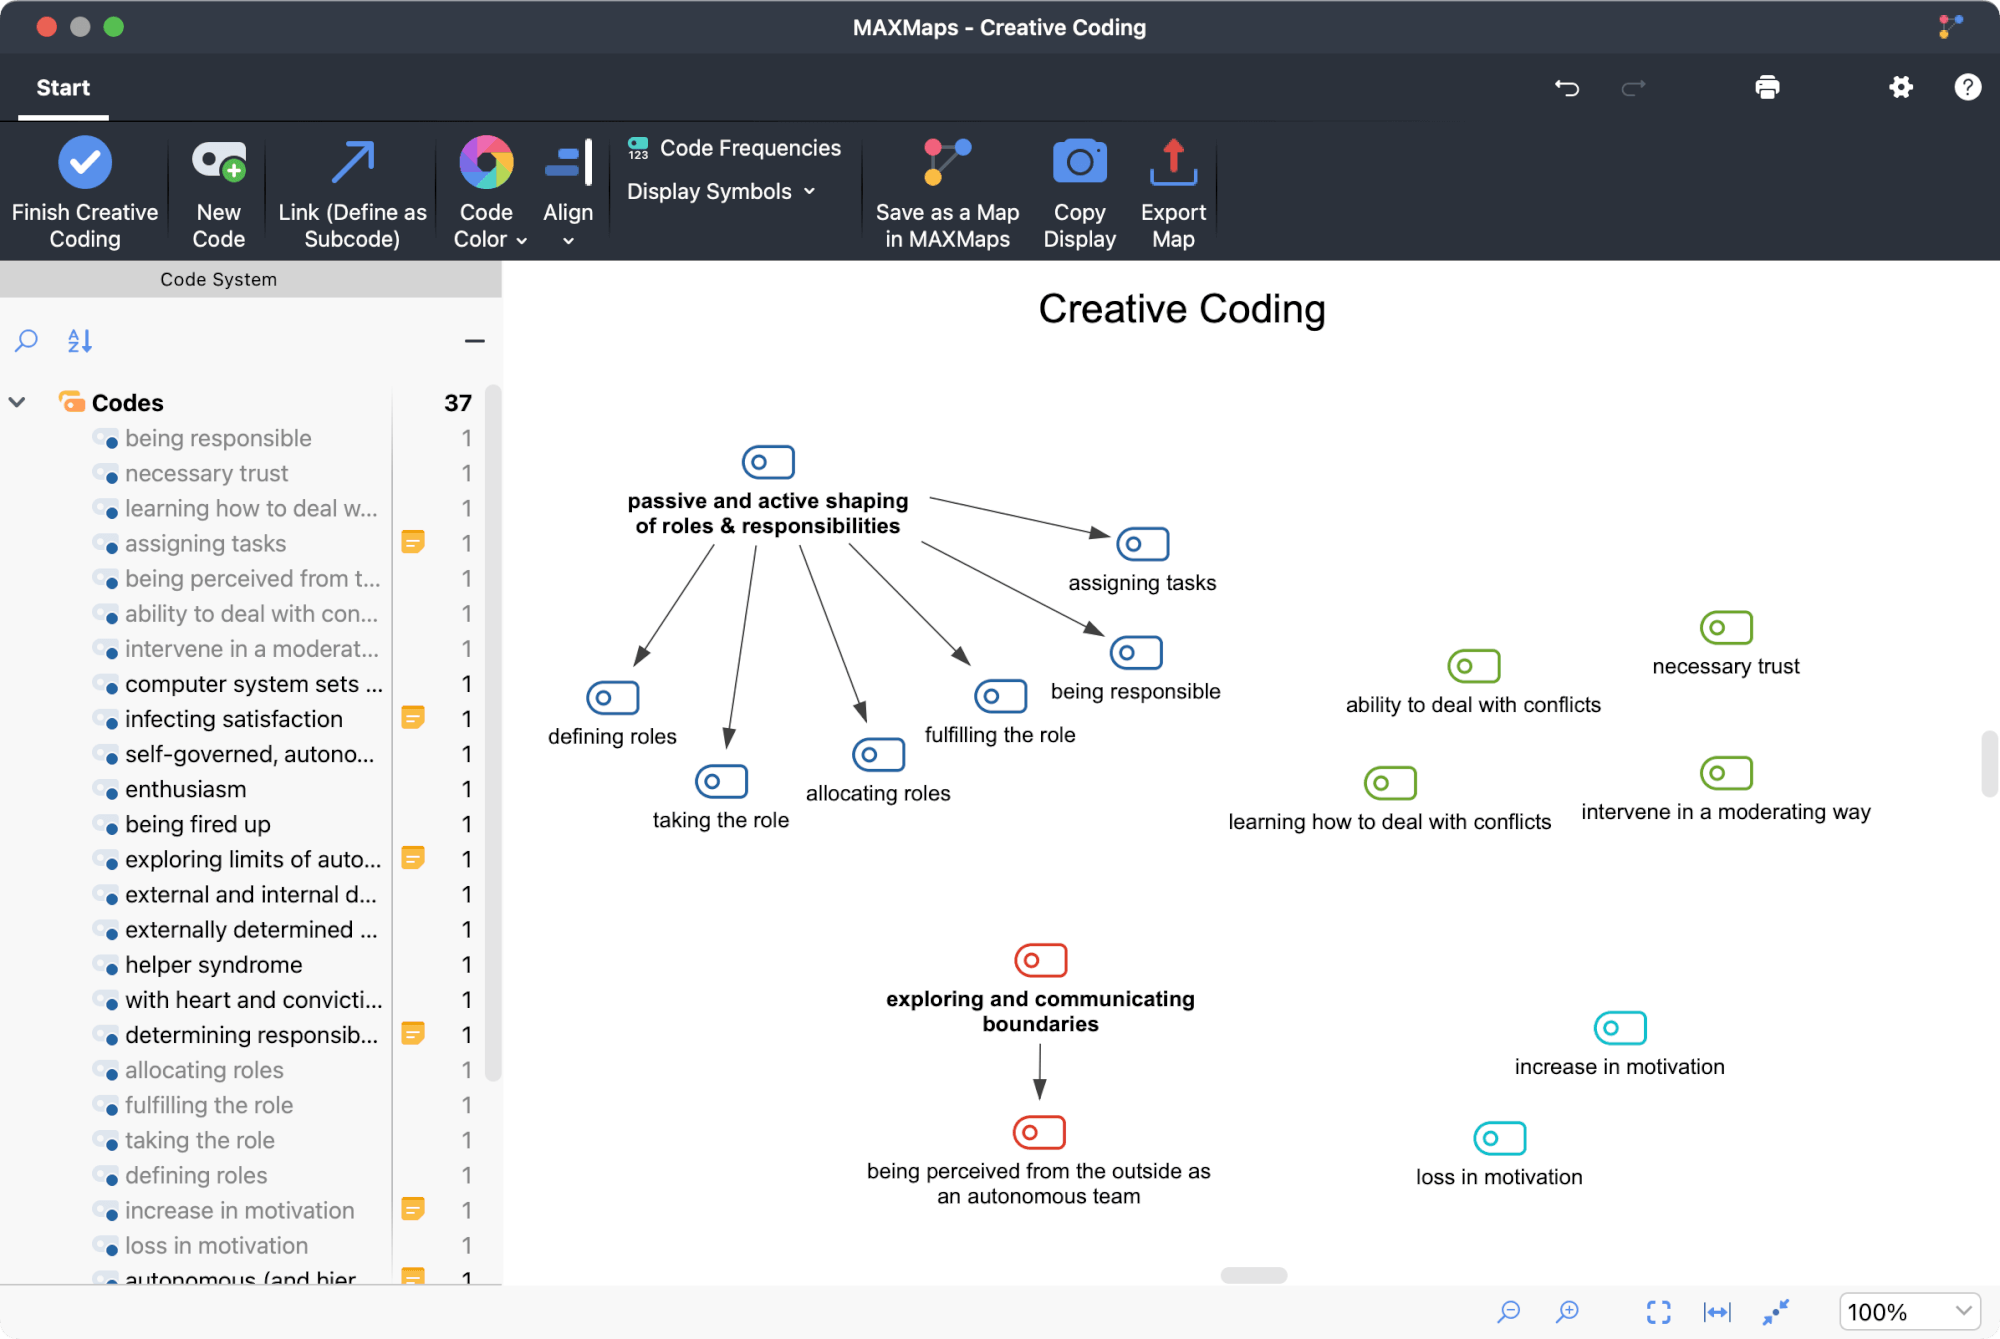
Creative Coding is a MAXQDA tool designed to help you organize and structure open codes.
In an open coding process, researchers generate numerous codes that may vary in scope and level of abstraction. Creative Coding facilitates the creative process of sorting and organizing these codes while establishing relationships between them. Using a spacious workspace, you can:
- Flexibly move, group, and arrange codes
- Create parent codes and develop a hierarchical code structure
- Combine similar codes into a single code
- Modify code names and colors
Creative Coding is particularly useful for studies following a grounded theory approach.

How to Start Creative Coding?
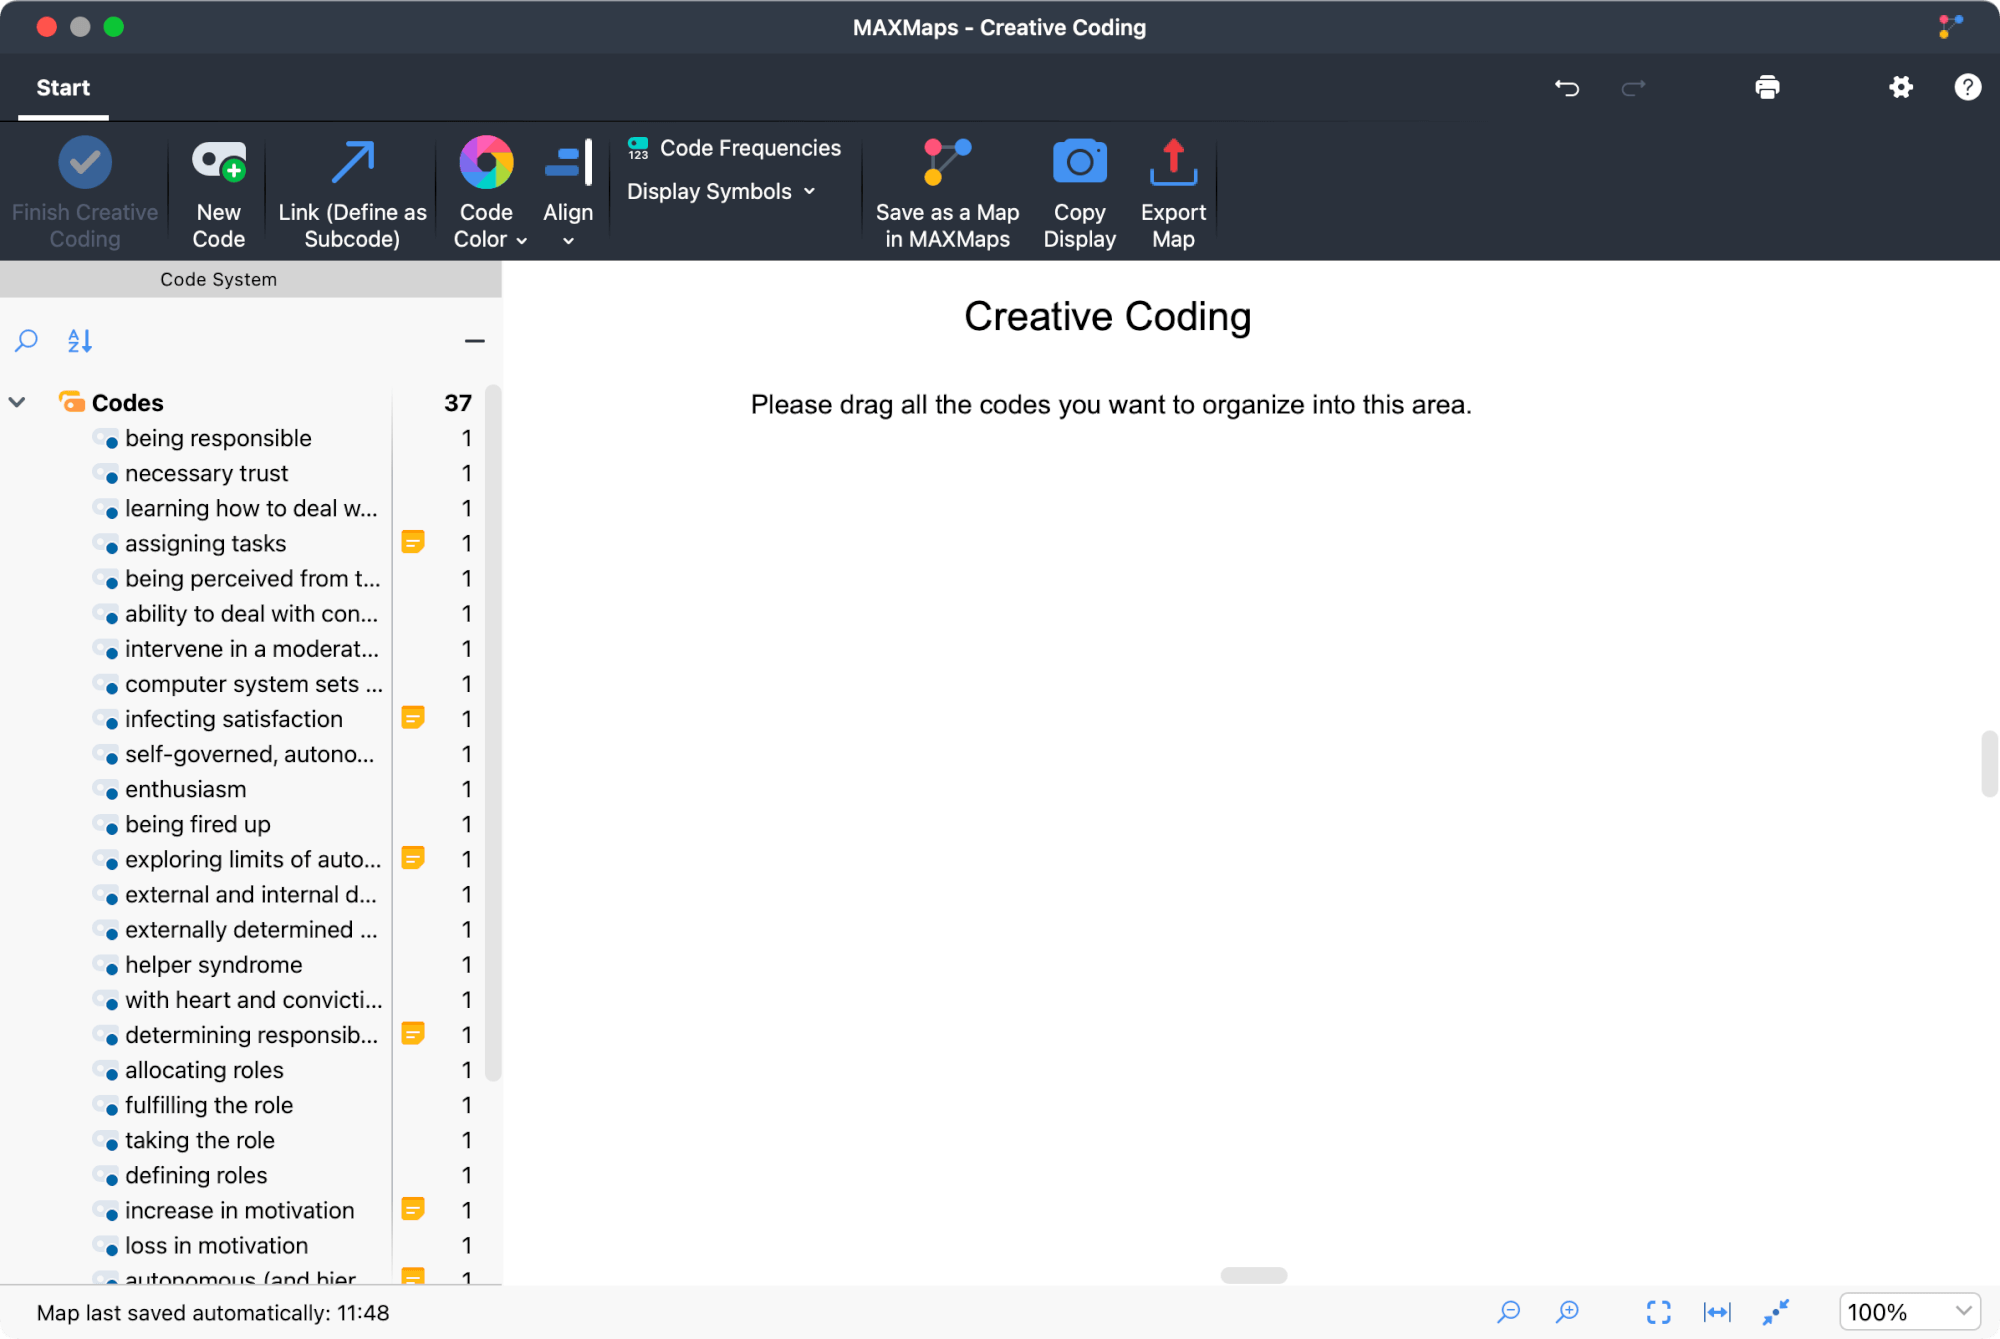
To start the Creative Coding feature, click Creative Coding in the Codes menu tab. MAXMaps will then activate Creative Coding Mode and the following workspace will appear:

The left panel displays MAXQDA's current code system. On the right, you'll find a blank canvas where you can organize your codes.
Adding Codes to the Workspace
You can drag individual codes from the code tree onto the white canvas at any time using your mouse. When you drag a parent code, its unselected subcodes are automatically added as well.
To select multiple codes, hold down the Ctrl key (Windows) or Option key ⌥ (macOS), then drag your selection onto the Creative Coding canvas. To select a range of codes, click on the first code, then Shift-click ⇧ on the last code in the range.
For lengthy code systems, use the magnifying glass icon above the codes to search for specific codes. You'll also find a sort icon there, which allows you to alphabetically sort codes within each hierarchy level.
Remove Codes
To remove a code from the canvas, right-click the code and select Remove from Map in the menu.
Organizing Codes
In Creative Coding, you can freely move codes by dragging them with your mouse. To move multiple codes at once, draw a selection box around them and move the entire group.
You can either place several codes from the code tree onto the canvas and then organize them, or you can start organizing the codes right away. The following features are available for code organization:
- Create relationships between codes
- Create new codes
- Merge codes
- Change code colors
- Undo changes
- Display code frequencies and segments
Creating relationships between codes
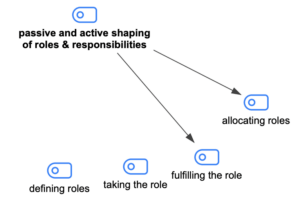
Arrows represent relationships between codes: an arrow pointing to a code indicates that it's a parent code of the code it points to (which becomes a subcode).
To define a subcode:
- Switch to "Link" mode by clicking the Link (Define Subcode) icon on the Start menu tab in the Creative Coding window. You can also use the keyboard shortcut Ctrl+L (Windows) or ⌘+L (macOS) to toggle this mode.
- Click on the intended parent code and drag an arrow to the subcode while holding down the mouse button.

To prevent circular references, any existing assignments of the subcode to other codes are removed.
To delete an arrow, right-click it and select Remove from Map.
Adding new codes
You may want to group several codes under a more abstract category. For this purpose, you can create new codes at any time by clicking the New Code symbol in the Start menu tab. MAXQDA will then insert the new code in the top left corner of the workspace.
You can rename the code by double-clicking on its label.
Merging codes
To merge two codes:
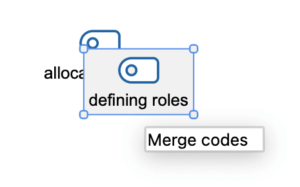
- Drag one code onto another while holding down the mouse button. Release when you see the "Merge codes" tooltip appear.
- A confirmation dialog will pop up to prevent accidental merging. Once confirmed, the dragged code disappears from the map, and its coded segments are assigned to the target code.

If you've enabled code frequency display in the Start menu tab (see below), you'll immediately see an increase in the target code's coding count. Note that this number might be less than the sum of both codes' original frequencies if some segments were already coded with the target code.
The merge is temporary until you exit Creative Coding and update the code system. Only then are the coded segments permanently assigned to the target code and the original code deleted from the code system.
You can check Don't ask again to skip the confirmation dialog for the rest of your Creative Coding session.
If both codes have memos attached, MAXQDA will prompt you about how to handle the memo content from the merged code.
Changing code colors
To change the color of codes:
- Ensure that Link mode is off (you can click anywhere on the white canvas to deactivate it).
- Click on the code you want to recolor. To select multiple codes, either drag a selection box around them or Ctrl-click (Windows) or ⌘-click (macOS) on each code.
- Click on Code Color in the Start menu tab and choose a color.
When you change a parent code's color, MAXQDA will offer to update its subcodes' colors as well.
Modifying code and code name display
When you select one or more codes, the Format menu tab appears at the top of the window. Here, you can customize the code display, such as enlarging the label or applying bold formatting.
Tip: If you prefer to work with code names only, you can hide the colored code symbols at any time. To do this, click on the Display Symbols option in the Start menu tab and uncheck the box for displaying code symbols.
Undoing changes
Recent actions can be undone step-by-step by clicking the Undo Changes symbol in the top right corner of the user interface.
Displaying Code Frequencies, Memos, and Coded Segments
When organizing codes, it's often useful to see how many segments are assigned to each code. To enable this feature, turn on the Code Frequencies option in the Start menu tab. This will display the number of segments in parentheses after each code name.
You may also find it helpful to review the memos and coded segments associated with a code. Right-clicking on a code opens a context menu with the following options:
- Memo - Create a new code memo or open an existing one.
- Overview of Coded Segments - View all segments assigned to the code.
- Overview of Linked Memos - Display all memos linked to the code.
These features can provide valuable context as you organize and structure your codes.
Saving the Current State of the Process as a MAXMap
Restructuring your code system with Creative Coding can be a lengthy process that evolves through various stages. You might start by grouping individual codes thematically, then progress to introducing more abstract categories as parent codes and merging similar subcodes.
To document this process at different stages, use the Save as a Map in MAXMaps function in the Start menu tab. Clicking this icon creates a snapshot of your current map and saves it as a standard MAXMap. After exiting Creative Coding, you can access these saved maps via Visual Tools > MAXMaps.
This feature allows you to track the evolution of your code structure and provides a visual history of your analysis process.
Finalizing Creative Coding and Updating the Code System
Changes made in Creative Coding mode don't affect your existing project until you end the session.
To finish, click Finish Creative Coding (located to the left) in the Start menu tab. You'll see the following prompt:

These options are available:
Yes – This option applies your changes to the existing code system:
- Codes without a parent on the Creative Coding canvas are alphabetically inserted at the top of the “Code System” window, including newly created codes.
- Subcodes are inserted based on their hierarchical position.
- Code color changes are applied.
- Merged codes are combined: the original code is deleted, and its coded segments are assigned to the target code.
- The Creative Coding canvas is saved as a standard MAXMap for documentation.
No - This ends Creative Coding without applying changes to the code system. All modifications made in Creative Coding are discarded.
Cancel - This returns you to Creative Coding.
Can I Resume a Creative Coding Session?
No, you cannot resume a terminated Creative Coding session later. Each time you start Creative Coding, you'll see the current code tree status and an empty workspace, allowing you to drag codes onto the surface for organization again.
