Importing table documents
You can import Excel documents into MAXQDA in several ways, for example:
- drag and drop text files from the Windows Explorer or macOS Finder directly into the “Document System” window,
- click on the plus icon in the “Document System” window, or
- click on the Texts, PDFs, Tables icon in the Import tab.

For general information on importing and organizing files, see Import and Group your Data.
What happens when an Excel spreadsheet is imported into a MAXQDA project?
- The first worksheet in the Excel workbook will be imported.
- Hidden columns and filtered rows in Excel will also be imported.
- The columns will be numbered according to their order. The number is displayed at the beginning of each column heading and cannot be changed post-import.
- The entries in the first row of the table will be used as headings.
- The order of the rows will be preserved.
- The font will be standardized.
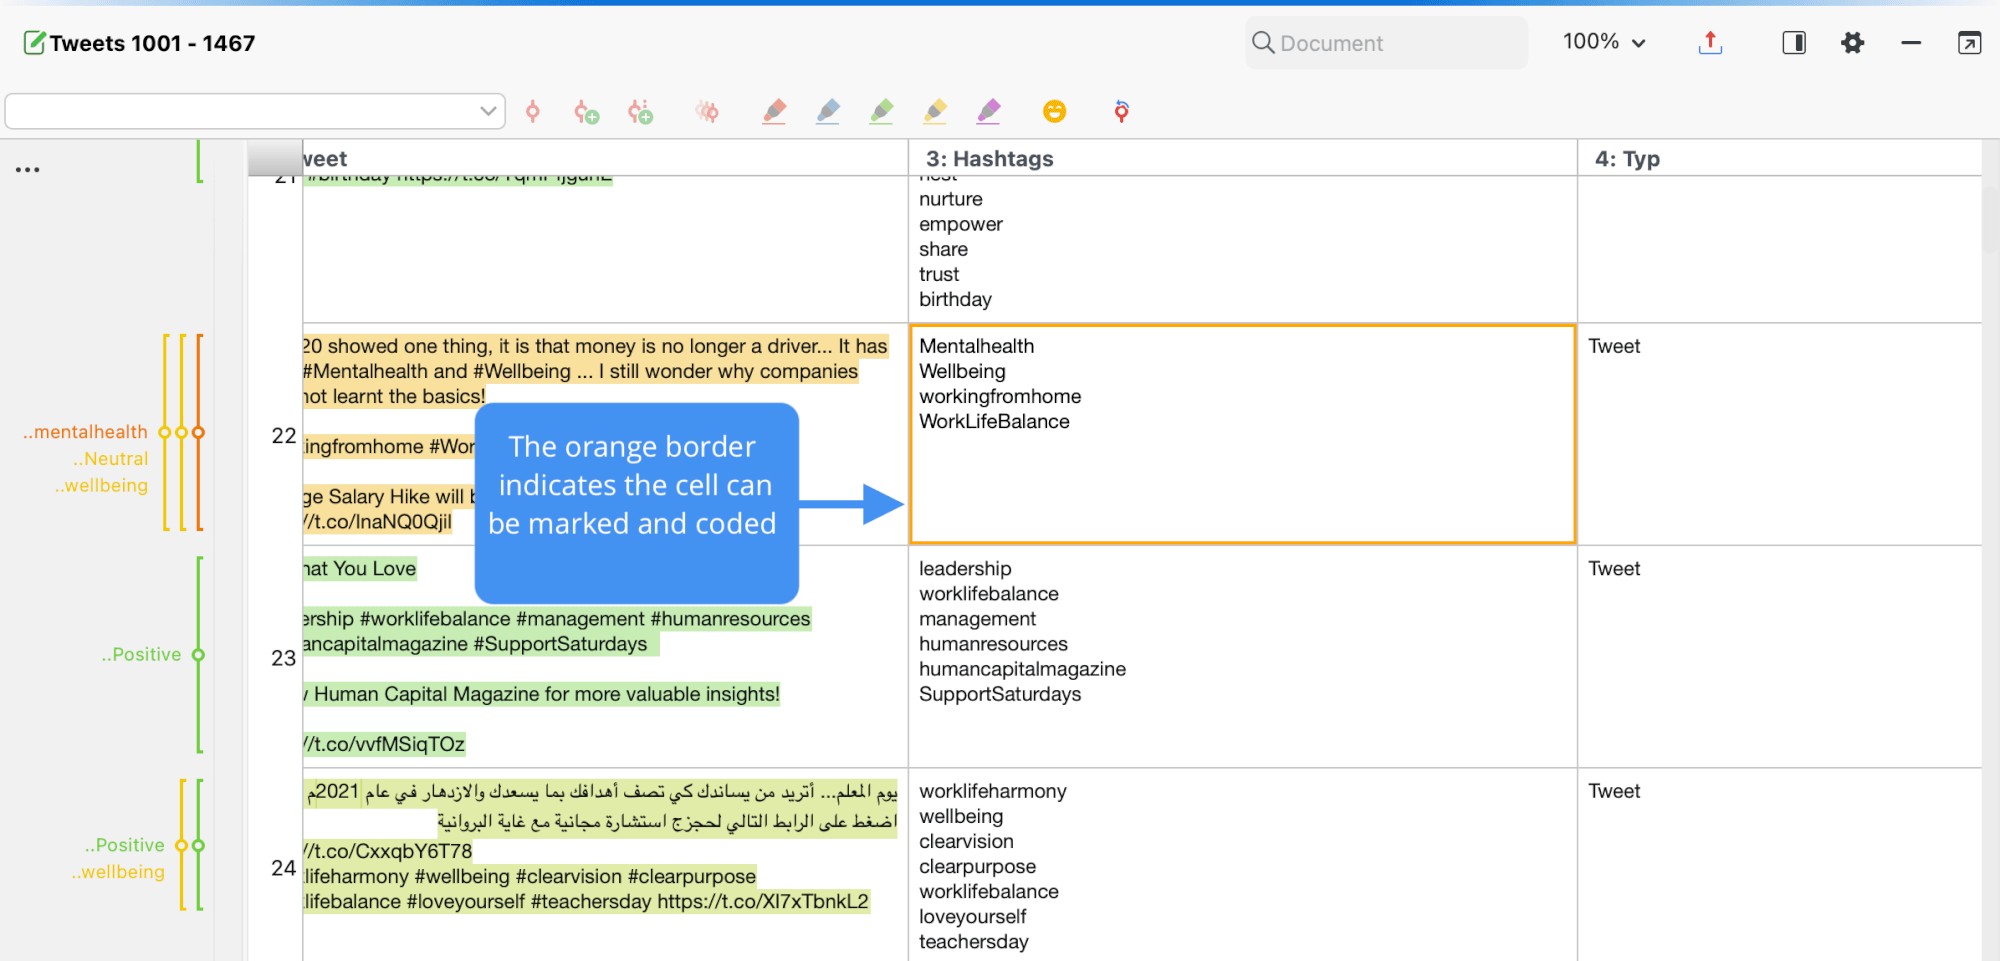
The table view in the “Document Browser”
For table documents, a standardized font is used and it is not possible to modify the text format. You can enlarge or reduce the display font by using the zoom icons in the “Document Browser”. The height of the rows will be automatically set to the height of the largest cell.
Table columns
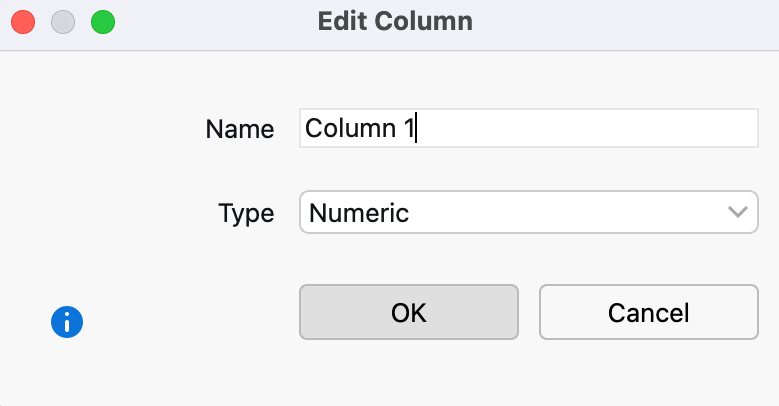
During the import, the first row of the imported Excel worksheet is copied as the column header. You can adjust this heading by right-clicking on a column and selecting Edit:

When you import a table, each column will be assigned a type automatically:
- Text
- Numeric
- Date/Time
To change a column type, select it from the drop-down menu Type.
The column widths and column positions can be modified using drag & drop. Like overview tables, table documents in MAXQDA can be sorted by clicking the column header. The original order can always be restored by right-clicking on the column header and selecting Reset Sorting. Alternatively, you can click on the empty column header just above the row number.
You can access the following options by right-clicking on the column header:
Hide Column – hides the column.
Edit – allows the modification of column name and column type.
Select Columns – opens a window in which the columns to be displayed can be selected.
Reset Sorting – restores original import order.
Table rows
The row numbers are fixed when the table is imported into MAXQDA and cannot be modified.
Coding table documents
Any text segment of any cell can be coded. First, double-click on a cell in order to select the contents. The cell will then be outlined in yellow, and you can mark a text segment. All of the usual MAXQDA coding options, including color-coding and coding with emoticons, are now available. It is not possible to code across multiple cells.

Coding Query function in table documents
The retrieval options for coded segments in table documents are identical to those for text documents. For example, overlap will be handled in the same way as it is with normal text. The retrieval functions also include hidden columns and consider the current sorting of the table.
The Near function, for example, in the Code Relations Browser and in Complex Coding Query, considers single columns in table documents. Only the vertical proximity of two codes, and not the horizontal or diagonal proximity, will be taken into account, and coded segments in different columns will never be found, when using the Near function.
Click on the source data in the “Retrieved Segments” to indicate the coded text in the “Document Browser” and will display the corresponding column.
Memos in table documents
As with all documents in MAXQDA, you can assign memos to table documents. You can assign a memo to a table document like this:
- Right-click a selected text section in a cell and select Insert Memo for Selection to compose a memo for the text section.
- Right-click on a cell and select New Memo.
- Double-click in the memo column to the left of the table to create a memo to the first character of the first cell at the click position height.
When you click on a memo symbol, MAXQDA will indicate to which text or cell this memo is assigned.
Table documents and the Visual Tools
In principle, hidden columns in table documents will be taken into account when using Visual Tools.
Code Matrix Browser functions as with any other type of document, as only the number of coded segments for a particular code will be analyzed.
Code Relations Browser functions as with overlapping in normal text. Overlap can only occur within a particular cell. The “Near” function will search only for coded segments in the same column.
Codeline Each row represents a paragraph in the Codeline – the column structure is ignored in this case. Hidden columns will be taken into account. Paragraphs will be sorted in their original order.
Document Comparison Chart As with the Codeline, each row in the table represents a paragraph – the column structure is ignored. Hidden columns will be taken into account. Paragraphs will be sorted in their original order.
Profile comparison chart works the same as for other documents. The code frequencies and variable values are compared for the entire document.
Document Portrait This tool operates differently than with regular documents. Columns will be more or less ignored; cells will be processed from left to right, then top to bottom. A one-dimensional structure is then created, which is displayed as usual in the Document Portrait.
Code trends and Word trends The table is read from top to bottom, each from left to right, row by row, that is, the rows are lined up.
Exporting table documents
Table documents cannot be printed directly from MAXQDA; they can, however, be exported in Excel format. Click the Export icon in the "Document Browser" or right-click on a document in the “Document System” and select Export Document.
