The “Retrieved Segments” window is a results window – it shows you all of the coded segments that were coded with any of the activated codes in any of the activated documents. The principle of the segment retrieval is as follows:
For all activated documents, the segments to which activated codes are assigned are compiled in the "Retrieved Segments" window.
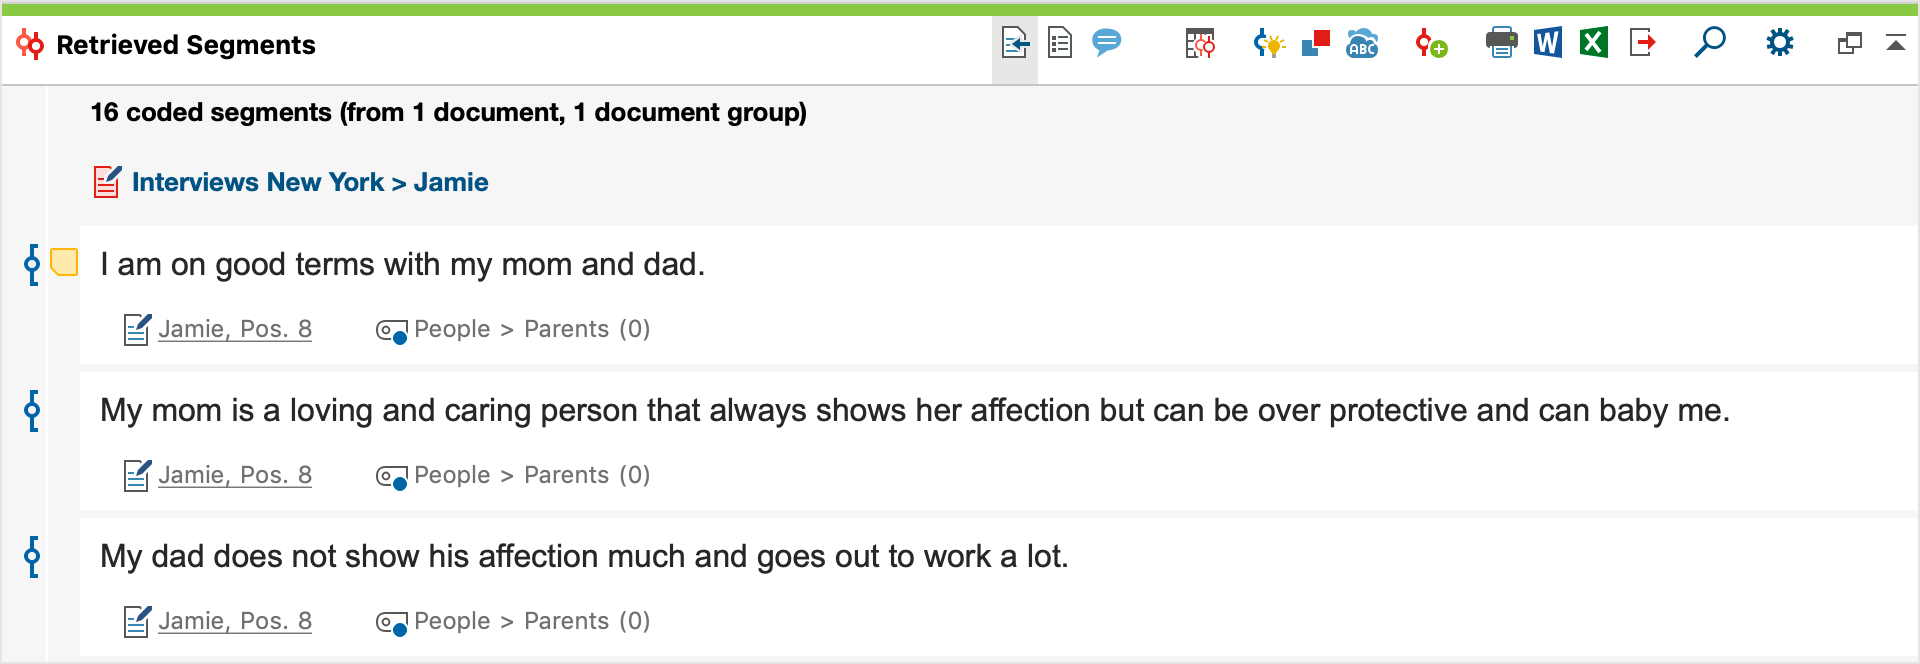
The top line shows you how many coded segments from how many different documents and document groups are currently listed.
Below each segment there is an indication of origin, which informs you about the document and the position of the segment in the document as well as about the assigned code. The last segment in the image above is from the document "Joanna", where the line 29 was coded with the blue code "Education". To the far left of the segments, coding strips are displayed in the color of the assigned code, very similar to the "Document Browser", but without the code name.
To the left of the segments there is a column for displaying memo symbols. If memos are assigned in the area of the segment, you will see the same memo symbols here as in the "Document Browser". As usual, the memo symbol is interactive:
- A single click with the mouse marks the segment assigned to the memo in the "Document Browser" and displays it in its sidebar, provided that these are visible and memos are enabled for display in the sidebar.
- A double click on the symbol opens the memo for editing.
Working with Comments for Coded Segments
As in the "Document Browser", you can switch on a sidebar to the right of the coded segments in which the comments on coded segments are displayed. You can display or hide the column with the comments by clicking (ICON) Display comments on coded segments in the toolbar of the window.
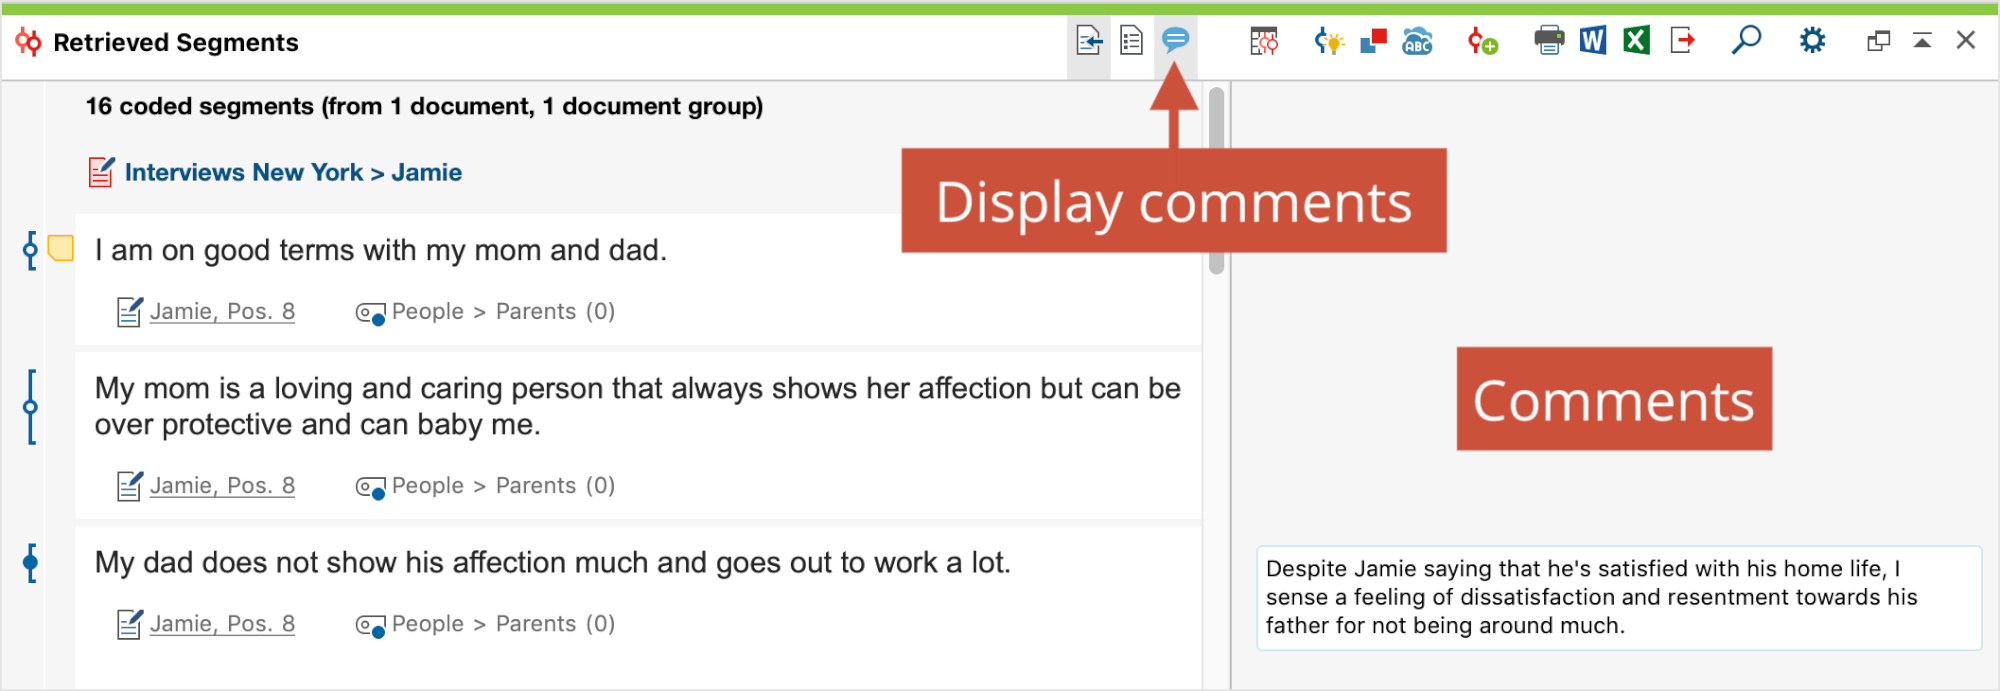
Double-click a comment in the sidebar to edit it. To create a new comment, right-click the encoded segment and select Edit Comment from the context menu.
Display Favorite Variables
It is often helpful to obtain further background information on the coded segments, for example how old the person was who expressed a certain opinion in the interview or in which industry a company operates, whose website texts are analysed. For this purpose, you can display the so-called favorite variables of the documents in the "Retrieved Segments" window at any time.
This is how you proceed:
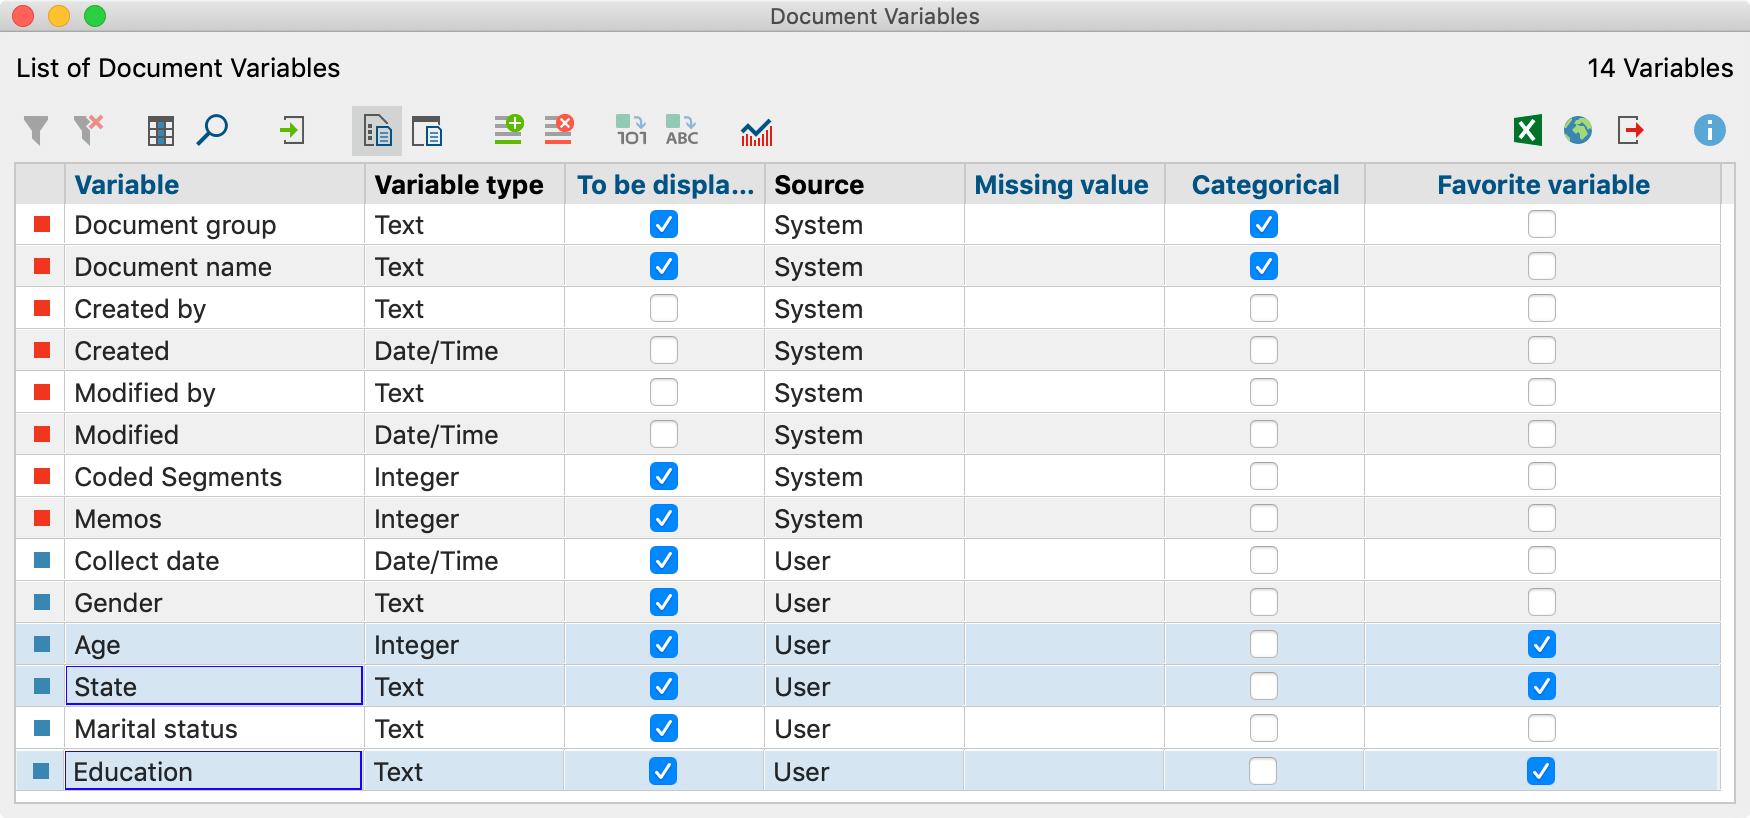
- Switch to the Variables tab and open the List of Document Variables.
- Check the "Favorites" column for all variables that are interesting for your analysis and close the window again.
- Click the Display Favorite Variables icon at the top of the "Retrieved Segements" window - if it was not already enabled.
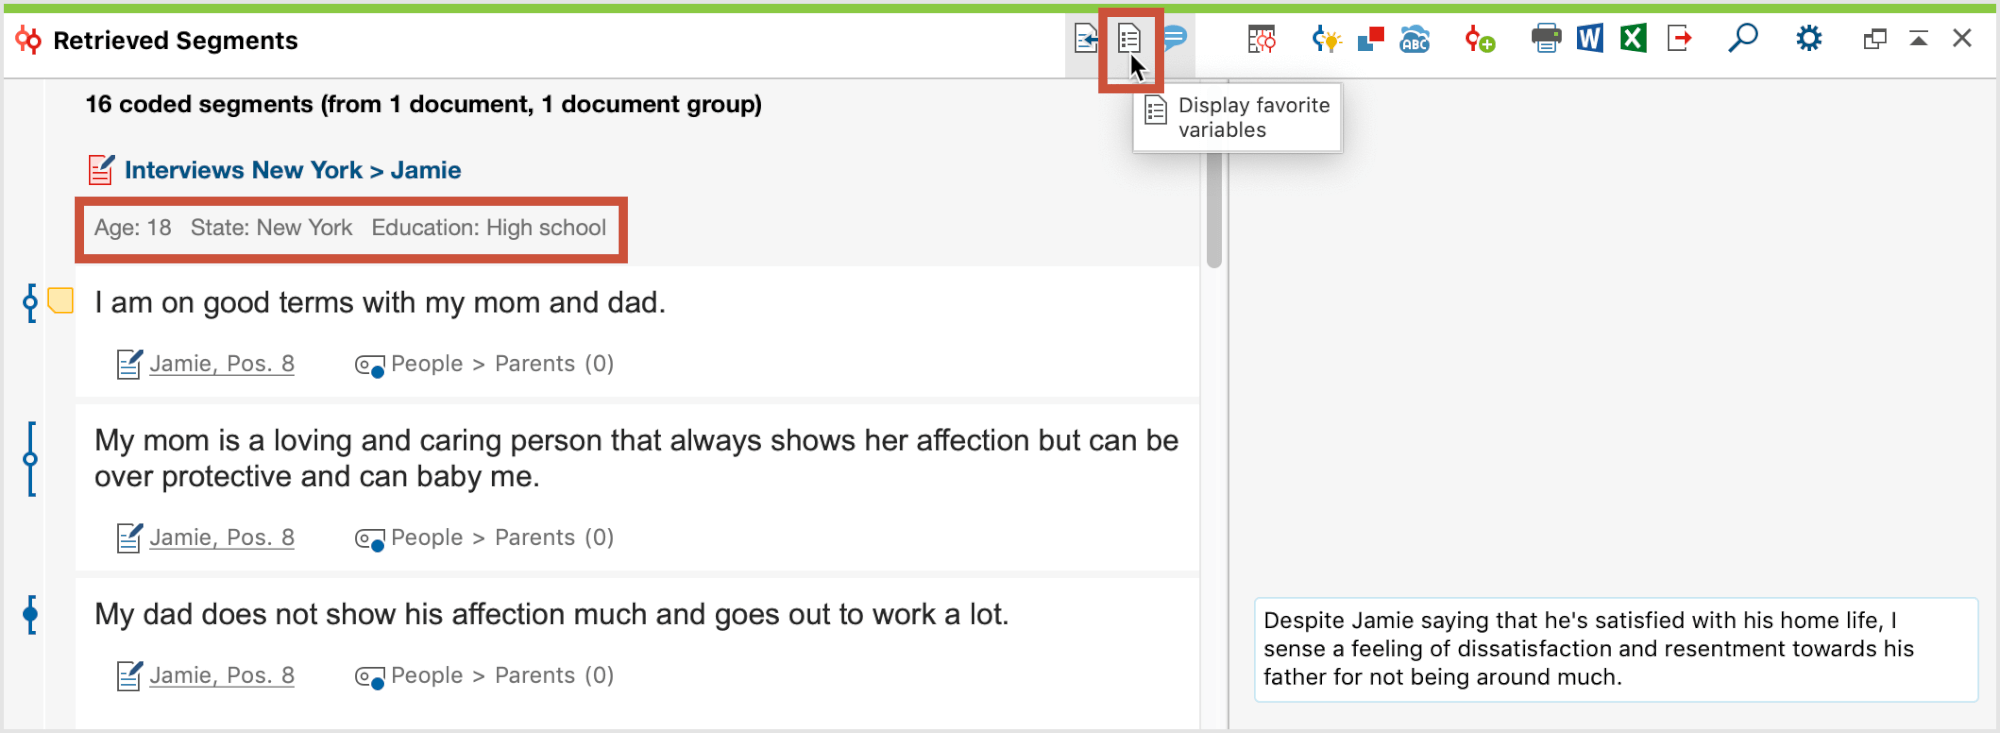
The selected variable information then appears directly below the document name: Jan, for example, is 25 years old, lives alone and is not convinced that climate change can be prevented.
Deleting coded segments and adjusting the weight
If you click with the right mouse button on a segment or its coding stripe, the following context menu appears, which you may already know from the "Document Browser":

Here you can delete the coded segment, i.e. it is permanently removed from the project and the coded segment is no longer displayed in the "Retrieved Segments" window.
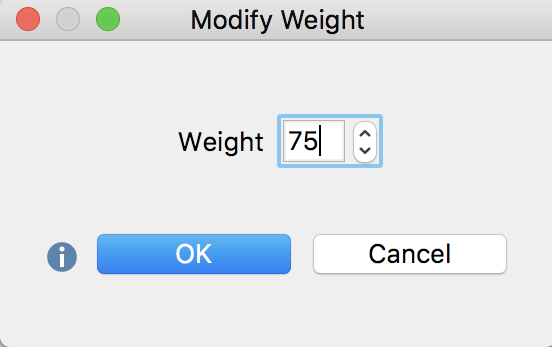
You can also change the weight of the clicked coded segment, which is displayed in brackets at the end of the assigned code name. After selecting the menu option Modify Weight, a dialog window appears in which the new value can be entered.
Sorting segments in the “Retrieved Segments” window
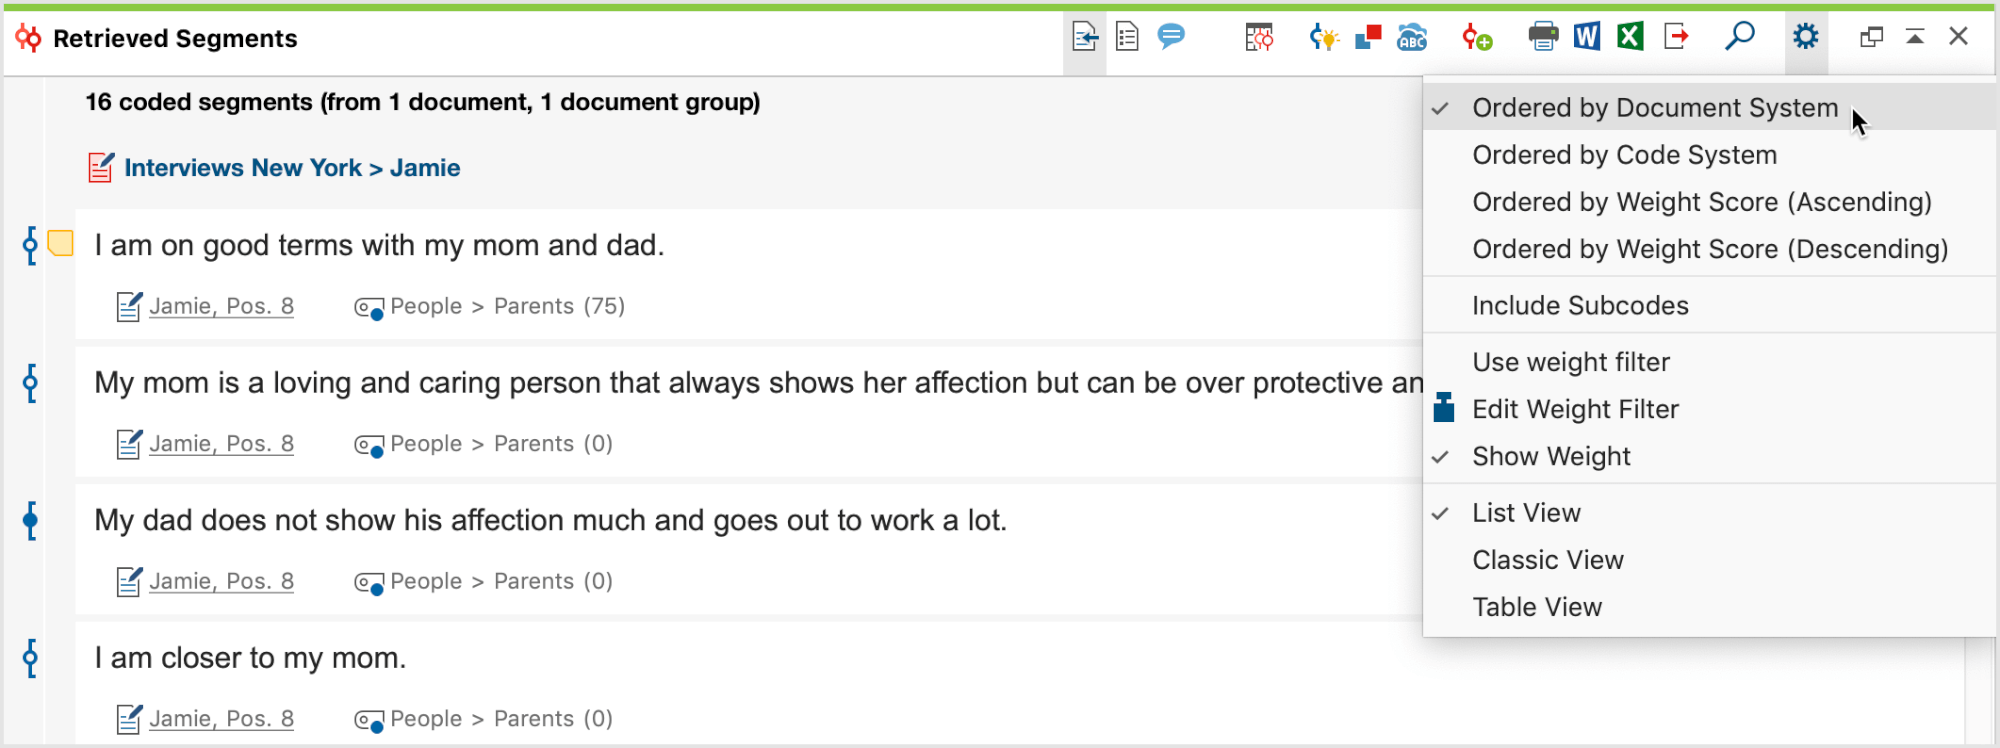
You can adjust the sorting of the coded segments at any time in the local settings of the window. To do this, click on the gear in the upper right corner of the window title:
You can also carry out other functions by right-clicking on a gray area of the “Retrieved Segments” window in which the info boxes appear.
There are three possible variations:
- Ordered by Document System – this means that the segments are listed in the same sequence as in the “Document System”. The list starts with the segments of the first activated document in the “Document System”, then those of the second activated document are given, and so on. Search results in this order would let you compare what one respondent said to different selected topics. For example, given that the first respondent’s answers were contained in one document or interview, followed by a second respondent’s answers in a separate second interview, all of the retrieved segments from the first interview would be listed before those from the second interview.
- Ordered by Code System – this means that the segments are listed in the same sequence as the codes in the “Code System”, starting with the uppermost activated code.
- Ordered by Weight Score (Ascending/Descending) – This sorts the segments according to the weight that has been assigned to them.
The table view in the "Retrieved Segments" window
The “Retrieved Segments” can be displayed in a table view. To do this, open the local settings as shown in the figure above and select the entry Click the Change to table view ![]() . MAXQDA will then display the coded segments in the same manner as the Overview of Coded Segments in the preview window. This display is interactive: Click on a row to show the corresponding segment in the “Document Browser".
. MAXQDA will then display the coded segments in the same manner as the Overview of Coded Segments in the preview window. This display is interactive: Click on a row to show the corresponding segment in the “Document Browser".

