Memos can be attached to any text or image position similar to sticky notes in a book or article.
You can create memos in documents like this:
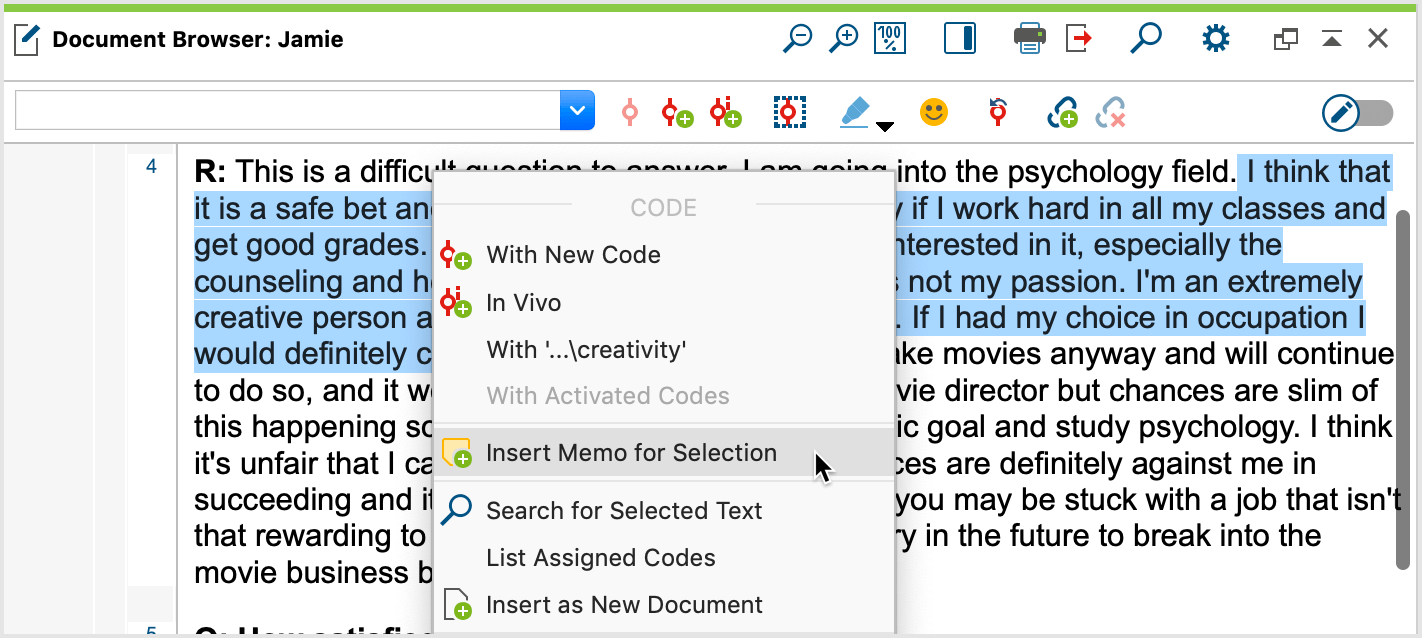
- In the document, select an area to which you want to assign a memo, e.g. a text passage that is interesting for theory or a contradictory text passage.
- Right-click the selected segment and choose Insert Memo for Selection from the context menu.

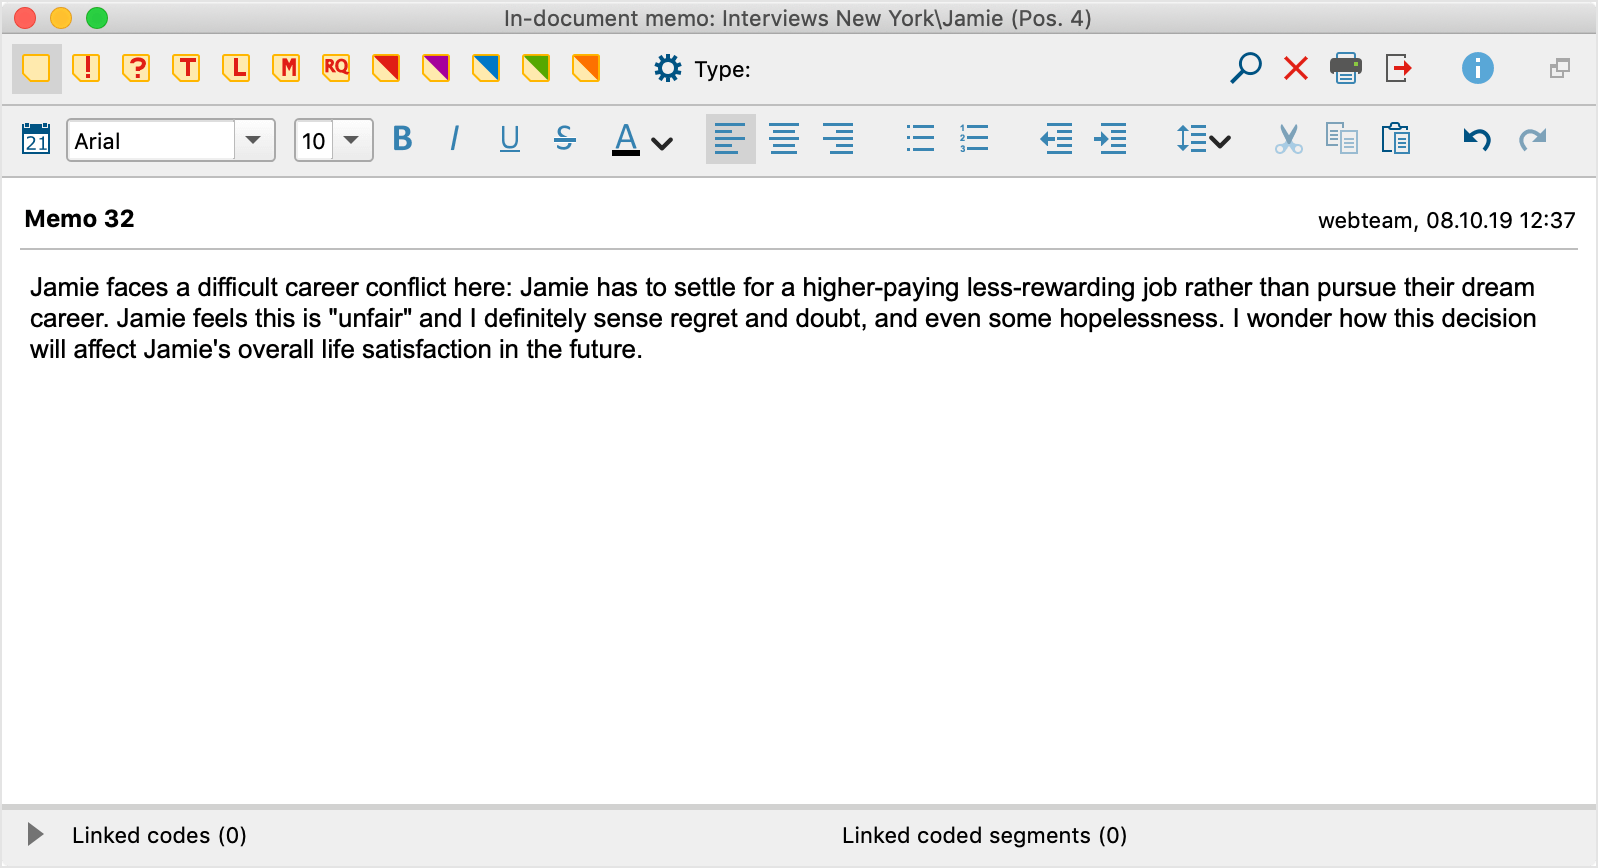
The memo window in which you can write your memo will appear right away. MAXQDA automatically assigns the memo title "Memo x" to new in-document memos, where x stands for a consecutive number. You can change this title at any time, e.g. select a more content-oriented title by clicking on the title with the mouse.

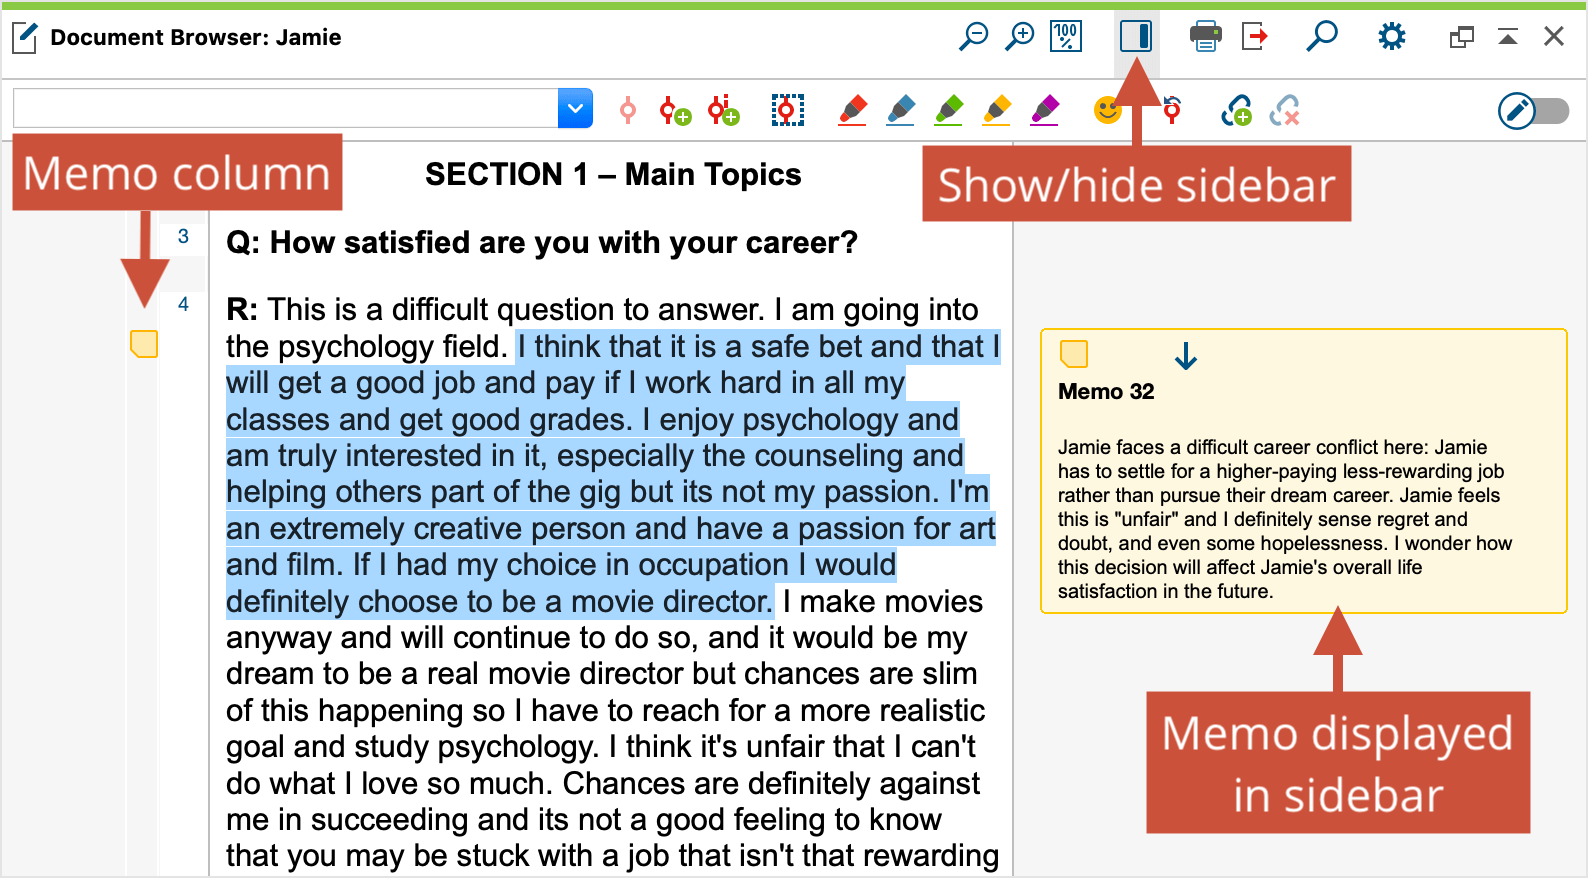
After closing the memo, the selected memo symbol appears to the left of the document in the so-called "Memo column". If the sidebar is switched on, the memo text is also displayed to the right of the document, as it is known from text processing programs, for example.

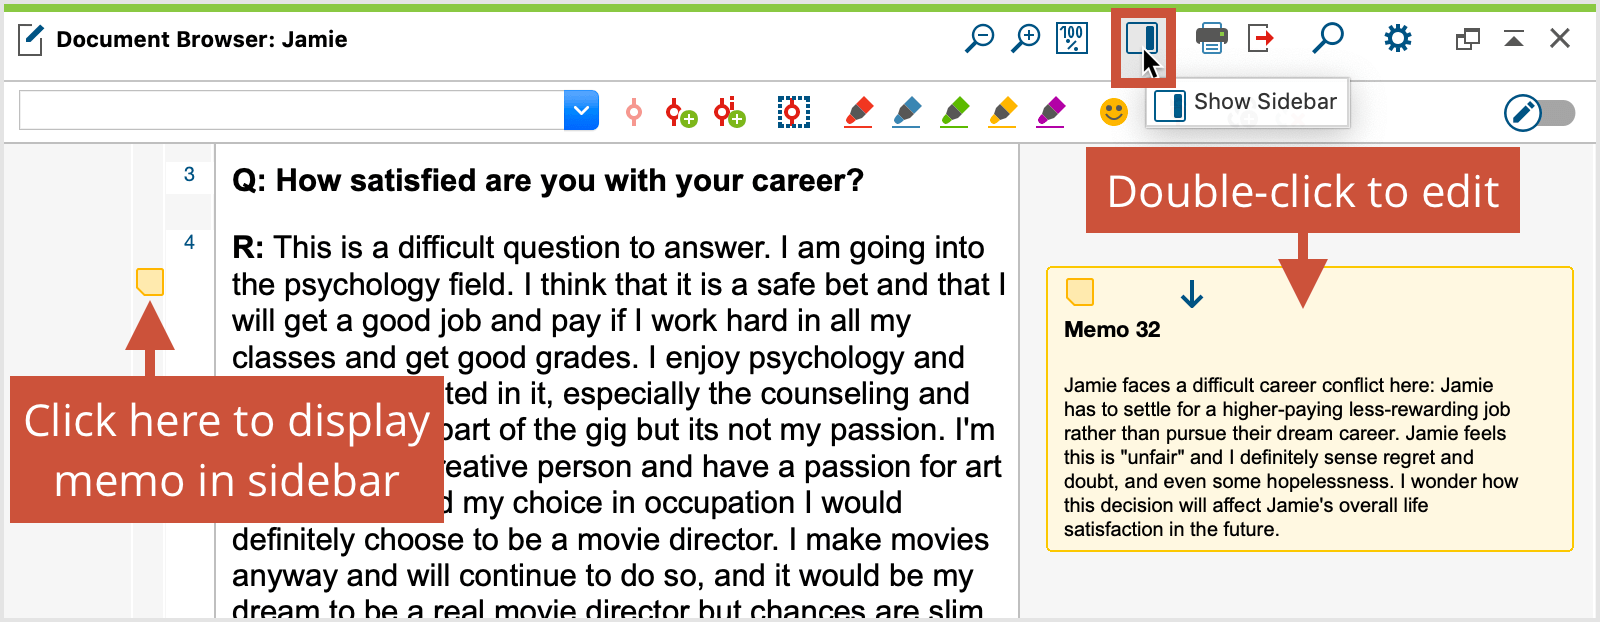
To reopen the memo later, double-click on the memo icon in the left memo column or on the memo display in the right sidebar.
Creating memos by double-clicking in the memo column
You can also create a memo directly in the memo column to the left of the text at any time: Double-click at desired document position to attach the memo.

When creating a memo by double-clicking in the memo column, the memo is automatically attached to the document position at the click position on the left margin.
The number of memos per document and per document location is not technically restricted, i.e. you can create several memos at the same level in the "Document Browser". MAXQDA then automatically displays them next to each other, the memo column is automatically displayed wider.
Changing memo assignments to document segments
You can adjust the assignment of a memo to a text or image section any time:
- Select the area to which you wish to assign the memo.
- Right-click the memo icon in the memo column in the Document Browser and select Attach Memo to Current Selection.
Displaying memos in the sidebar
In the sidebar to the right of the document, you can display memos, paraphrases, and comments on coded segments. To display the sidebar, you can either
- right-click in a document and select Sidebar > Memos or
- click on the small icon Show Sidebar in the upper right corner of the "Document Browser".

The contents of the memos are displayed in the sidebar at the height of the corresponding text or image segment. Since memos can be very long, only one memo at a time is displayed in the sidebar; the blue arrow icons within the yellow memo indicator jump back and forth to the next or previous memo. The memo content displayed is limited to 2,000 characters, corresponding to about three quarters of a page of text.
Displaying memos in the "Document Browser" is interactive:
- Click a memo icon in the left memo column once to highlight the corresponding text or image segment and display the memo content in the sidebar.
- Double-click the memo icon in the left memo column or the right sidebar to open it for editing.
- When you hover the mouse over a memo in the right sidebar, the corresponding text or image segment will be highlighted.
In the sidebar, in addition to the memos, the paraphrases of the document or the comments of coded segments can be displayed, but not at the same time. If you right-click on the sidebar (not on a memo, but on the grey background area), a context menu will appear in which you can specify which content should be displayed in the sidebar.

