You can easily customize the look and position of objects to create a map that suits your analysis.
Selecting and moving objects
To do this, you must first select the objects you want to customize. Click an object with the mouse, or drag a frame that covers multiple objects to select several objects at the same time. Selected objects are indicated by their additional blue frame.
If several objects are already selected, you can add additional objects for selection or remove individual objects from the selection by clicking the objects while holding down the Shift key.
Use the key combination Ctrl + A (Windows) and cmd + A (Mac) to select all objects on a map.
Selected objects can be moved anywhere on the workspace by holding down the mouse button.
The "Format" menu tab
The properties of selected objects are adjusted in tab Format and Line Format. The menu items appear in the upper part of the window as soon as

The Format tab is divided into different areas:
"Label" Area
Here you define the appearance of the label of an object. You can adjust the font and font size as well as the font color. The text width is specified in relative units: A width of 10 means that the label is a maximum of 10 times as wide as the symbol.
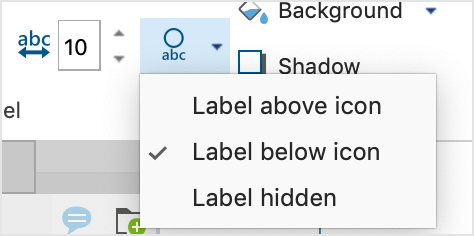
By default, labels are displayed below a symbol. Click on the icon highlighted in the next image to display the label above or not at all:
"Symbol" Area
Depending on the object type, there are different forms for the symbol, for example, the different document symbols for a document from the "Document System".
You can also use a different image than the standard MAXMaps icons:
- First click on the large Symbol icon and then select Add own icon... from the drop-down menu...
- A file dialog appears in which you can select any image from your computer.
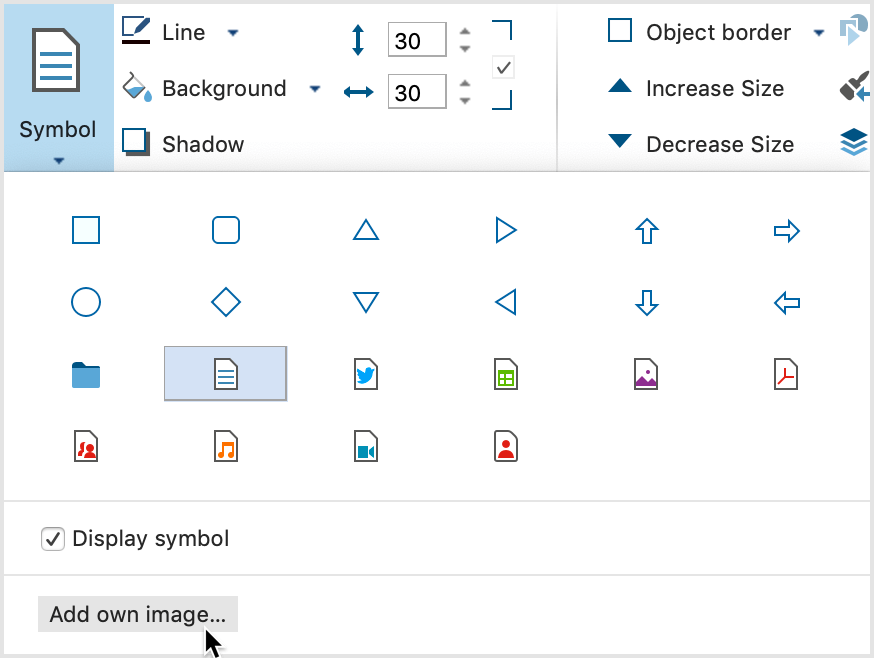
You can use the Display icon option to hide an icon so that only the label text remains visible.
"Object" Area
Here you can define the following properties for the entire object:
- The layer on which the object is located.
- The addition of a frame to the entire object in any color.
"Link" Area
In this area, you can assign two different links to an object after you have clicked the Geo-Link/External Link icon:
External Link - Click on the three dots to select a file.
Geolink - Click on the three points to select a KML file.
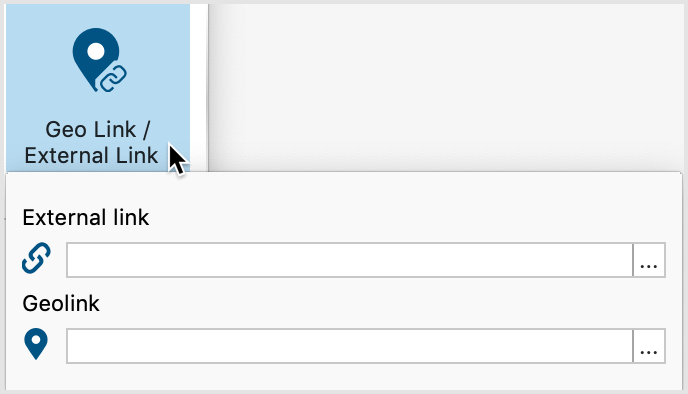
To access the link later, right-click the object and select Open External Link or Open Geolink.
Copying object properties
MAXMaps makes it possible to transfer properties from one object to other objects. This of course makes it easier to give objects a uniform appearance. The function is available for all objects, including link objects. In this case it is possible to transfer the color and the line type from one link line to another.
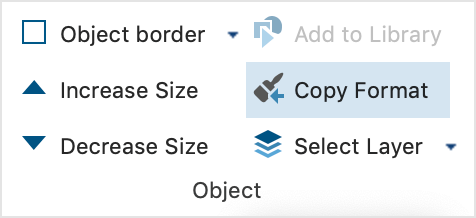
Here's how you do it:
- Select the object whose properties are to be transferred to others.
- Click on the Copy format icon in the Format tab or the Line Format tab.
- Select the object to which you want to apply the format.
Copying objects
Single or multiple selected objects can be copied to an internal clipboard of MAXMaps using the function Start > Copy Object (or the key combination Ctrl/Cmd+C). Start > Paste Object (or the key combination Ctrl/Cmd+V) inserts the objects into the next free space in the top left corner of the map, while of course preserving their design.
You can also right-click directly to the destination and choose Paste from the context menu. The objects will then be inserted into the map in place.
Increasing and decreasing the size of objects
The following options are available for changing the size of selected objects:
- Click on the blue dot at the lower right selection frame and pull the object larger or smaller while holding down the mouse button.
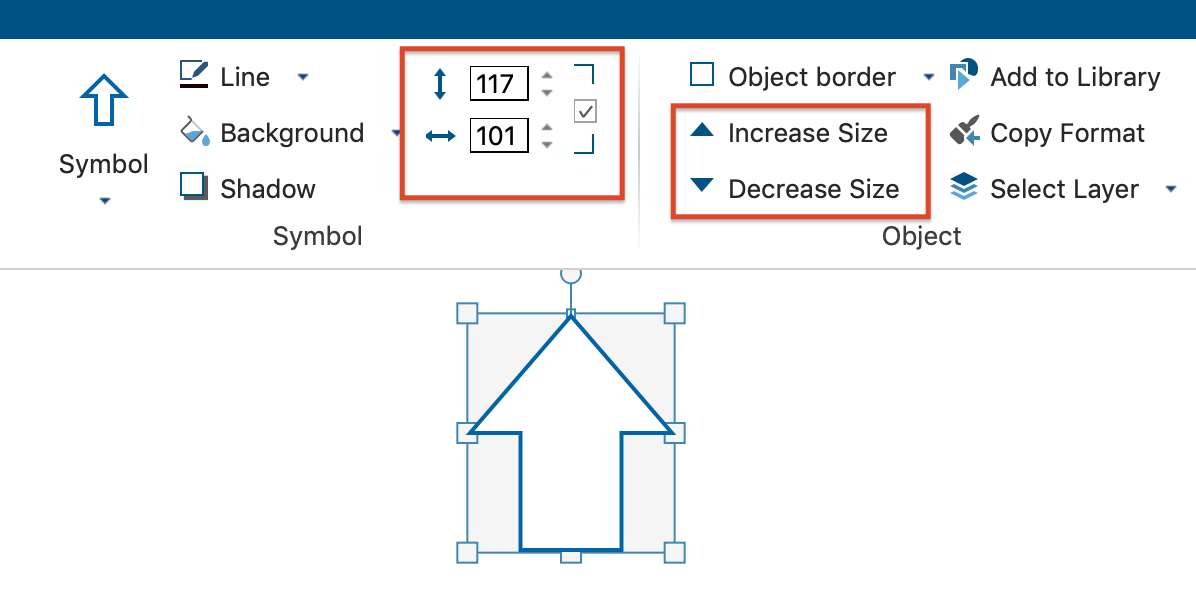
- On the Format tab, set the desired size in the number fields.
- On the Format tab, click Increase Size or Decrease Size.
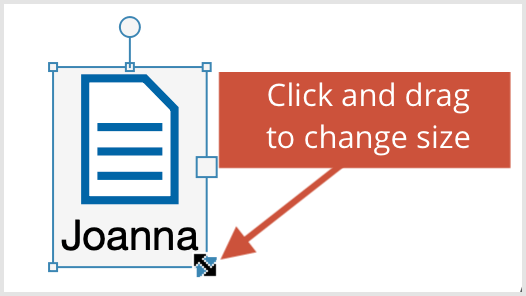
The size ratio of symbol and label to each other can be adjusted by selecting the font size in the object properties.
Adding and editing labels
Double-click a text in the workspace to edit the text in place. Hold down the Shift key ⇧ and press the Enter key to insert a line break.
If an object does not yet have a label, you can add it by right-clicking on the object and selecting the Add Label function.
Add a text to the symbol of a free object
Sometimes you may want to write a text in a free object such as a rectangle or a circle. This can be done, of course, by creating another object via Insert > New Text and placing it on top of the other object.
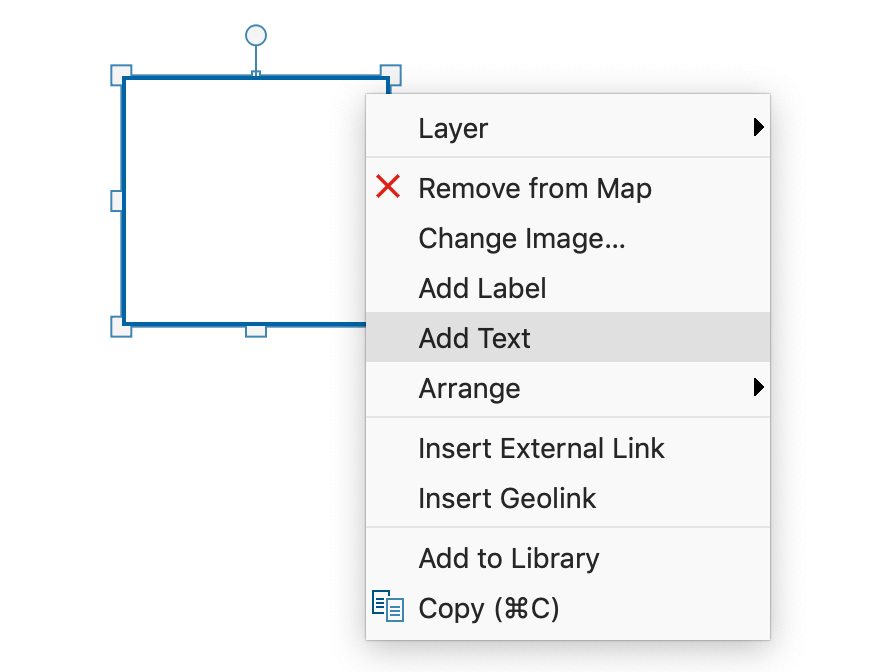
However, it is also possible to write a text that is linked to the object directly in the free object: To do this, right-click on a free object and select Add Text from the context menu.
Grouping objects
Objects can be grouped so that their distances remain constant.
- To do this you first have to drag a frame around the objects with the mouse. As an alternative, you can also select individual objects to be grouped by clicking them one by one while pressing the Shift⇧ key. In the same way, the selection can also be undone for individual objects.
- In the Start tab, click Group Objects, your selection will become a fixed group. Alternatively, the option is also available after right-clicking on one of the selected objects in the context menu.
The objects of a group can't be selected individually, but are always selected together. A change of object properties in the Properties window has the same effect on all objects in the group, including changes in the size.
The group can be split up by clicking on the group and then clicking Ungroup objects in the Start tab. Alternatively, the option is also available in the context menu for the group.
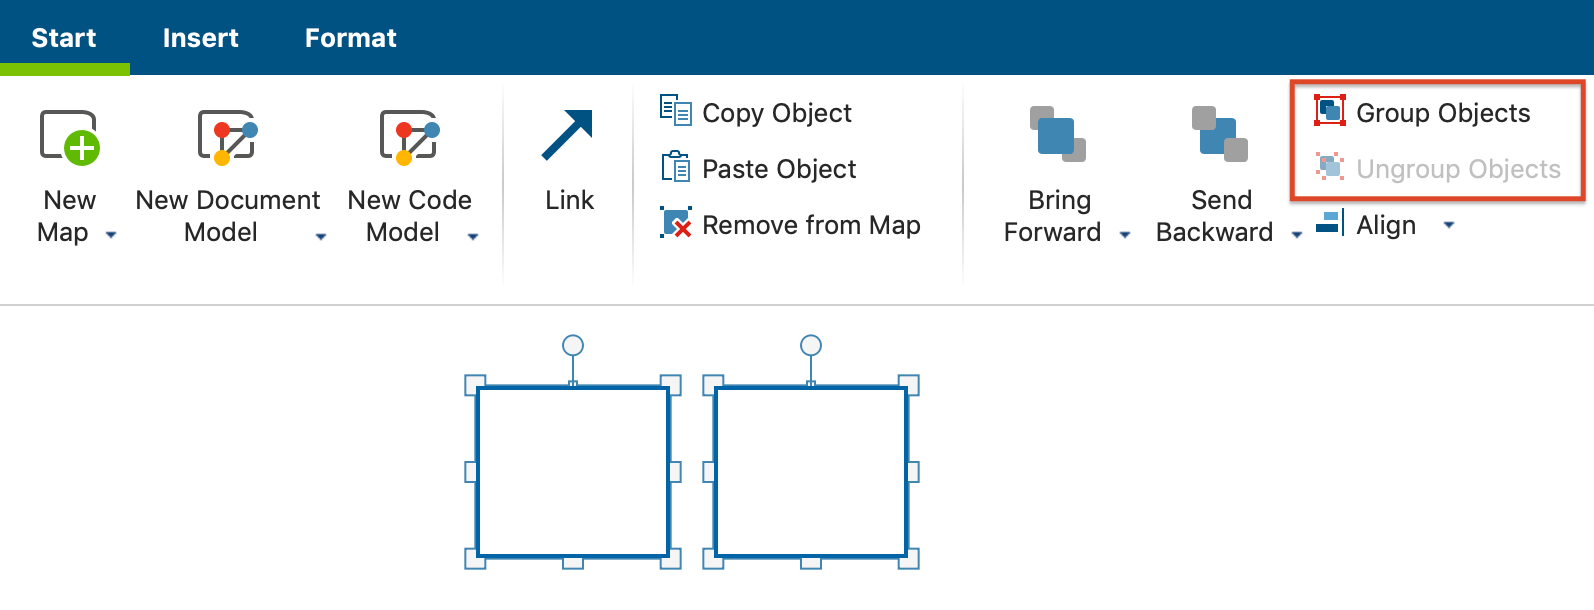
Image exchange - importing images
The icons displayed in MAXMaps for MAXQDA object such as codes or documents, are the standard MAXQDA icons - however, these can be exchanged against another imported image, as follows:
- Click the object with your right mouse button and select Change Image ... from the context menu.
- Instead of the default icon, you can now use any other image. The image formats JPG, PNG and TIF are allowed.
Alternatively, you can use the Format tab to change the icon to a custom image by first clicking the Icon button and then selecting Add own icon... from the pop-up menu that appears.
Move objects to the front or back
To design a map in such a way that it reflects your ideas, you need to be able to determine which objects should be placed in the foreground.
The procedure is quitte intuitive:
- Click the object you want to move. You can also select several objects at the same time with the mouse.
- Click the
 Bring Level Forward or
  Send Level Back icons in the Start tab to arrange the sequence of your objects in the map. By clicking on the arrow below these icons, the options Bring to Front and Send to Back are also visible, which place an object all the way forward or back.
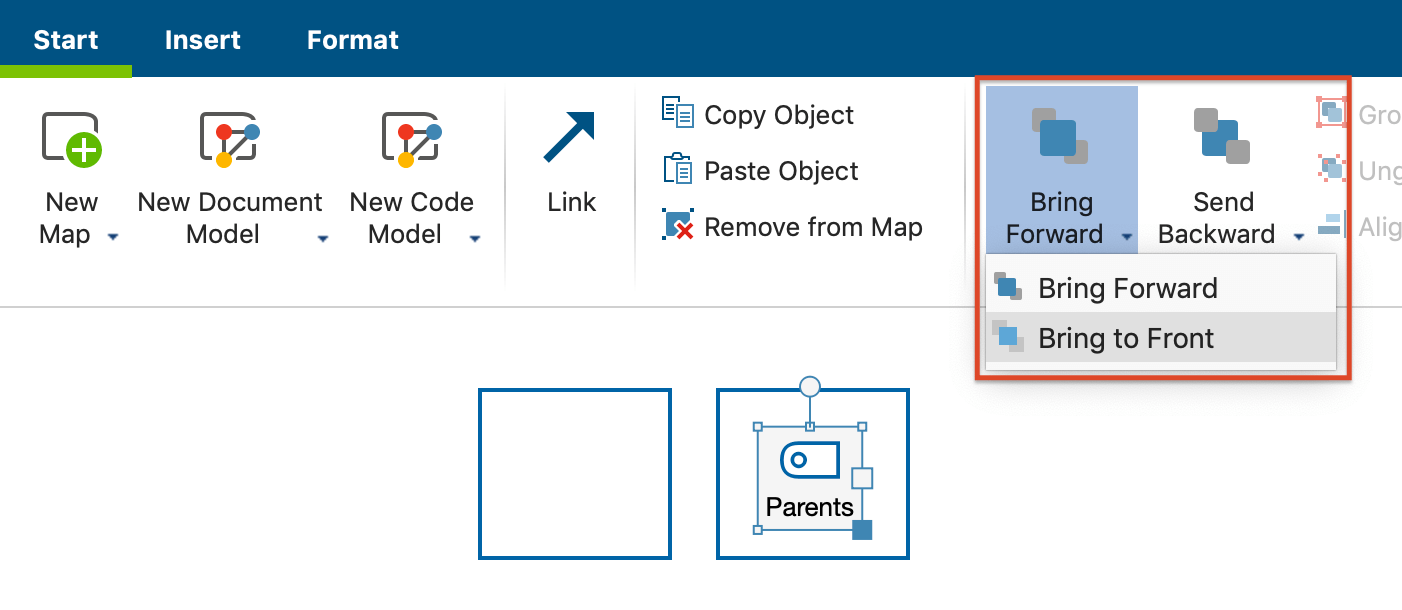
Alternatively, click on an object with the right mouse button and select one of the positioning options in the Arrange menu. This menu also displays the key-shortcuts, for example ⇧ + PgDown for "Move to back".
Aligning objects
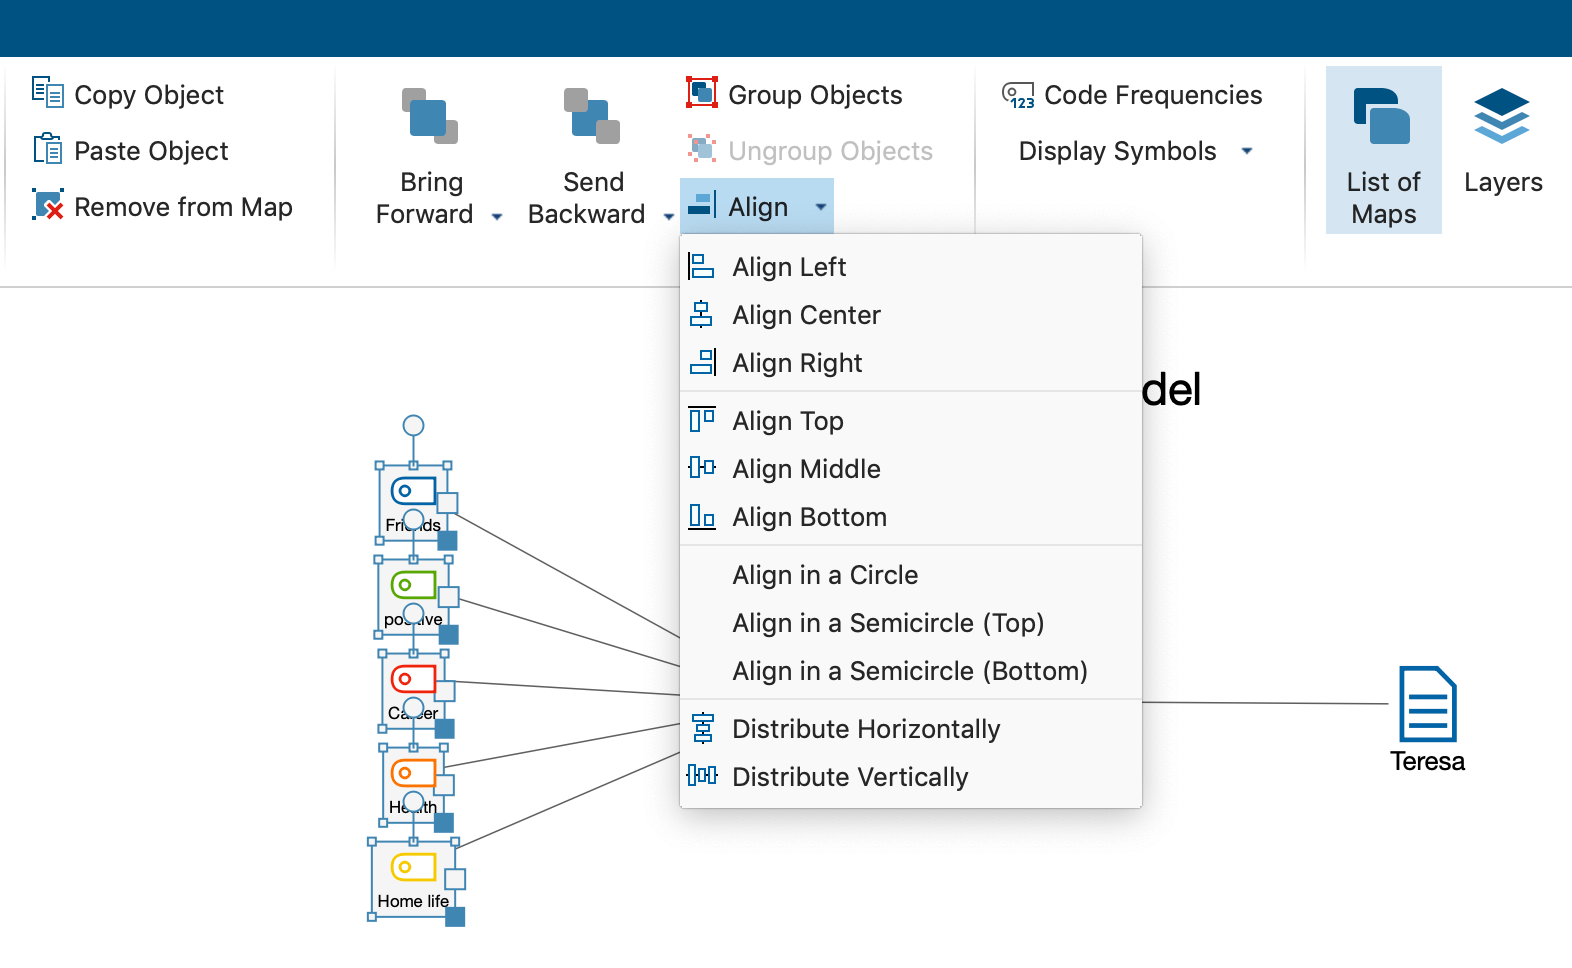
To align several objects to each other, first select them. Then select the Align option in the Start tab, which will give you several options:
The objects can be aligned horizontally, vertically or at the same distance from each other. It is also possible to align the objects in a semicircle or circle. The alignment of the objects always refers to the symbol of the object. Only if this symbol is hidden and only the label is visible does the option refer to the text.
