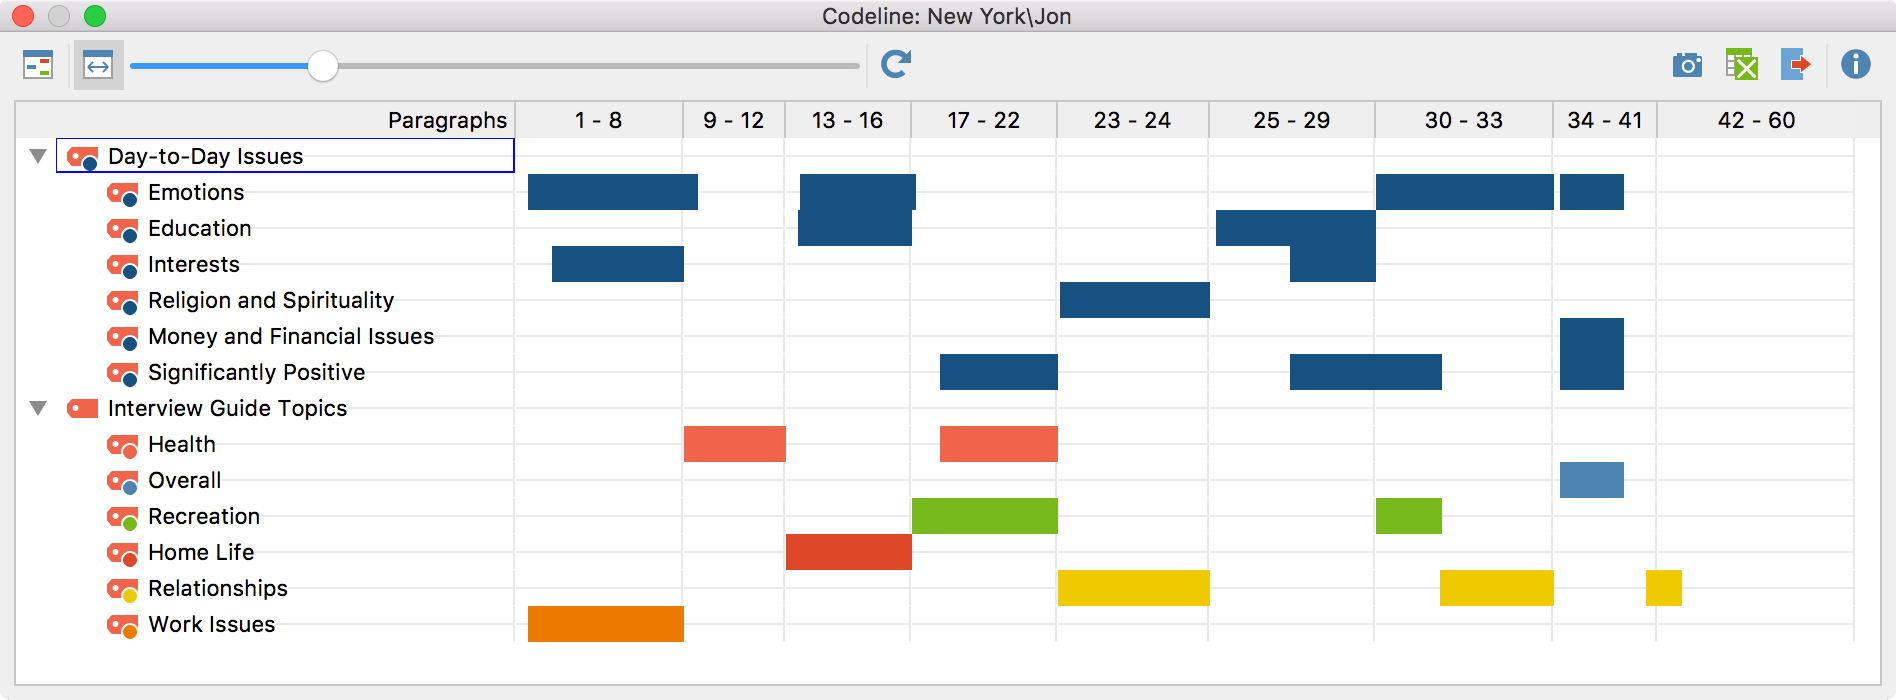
The Codeline visualization looks similar to the Document Comparison Chart, but it is used to analyse the codings in a single document. It clearly shows the names and the corresponding paragraphs of the used codes.
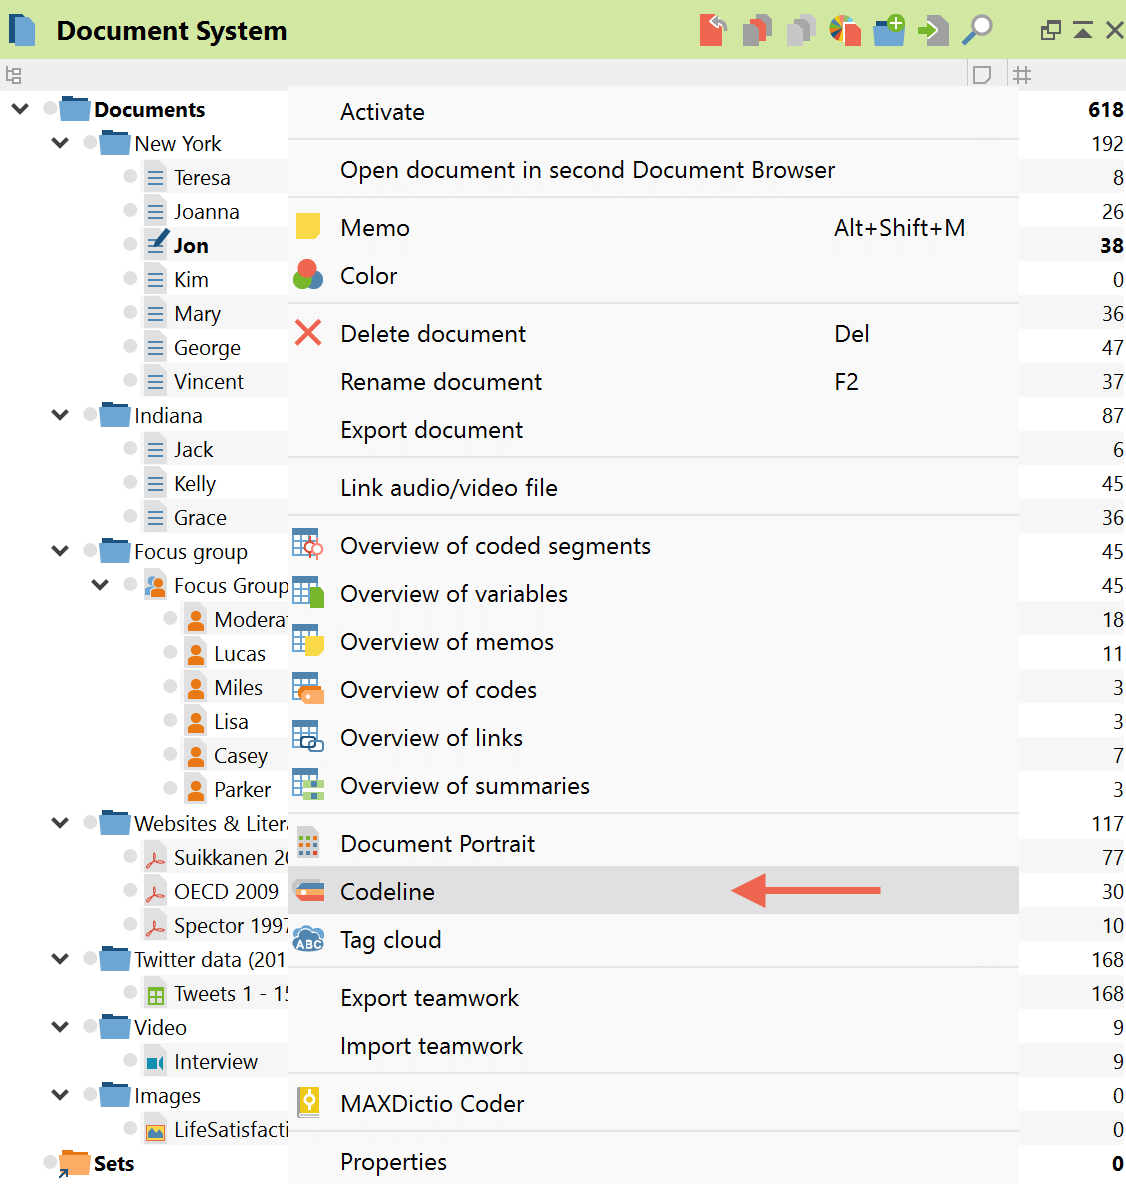
To open the codeline please select a document of the Document System, right-click on it and choose Codeline from the drop-down menu.
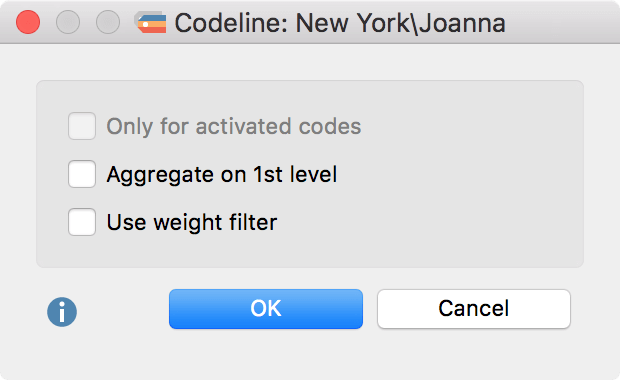
You will then see a dialogue box with the option to only include activated codes (if you have any codes activated) and/or to aggregate subcodes on the first level. You can also use the weight filter to include only segments that match a certain weight, which you will be asked to specify after you check this option and click on “OK”.
On the y-axis you see the codes from the Code System, and on the x-axis are the paragraph numbers for the selected document. The first button of the codeline menu enables you to decide whether your columns will be based on paragraphs or characters. The Fit width to window button ![]() will adjust the codeline to match the length of the window. With the scroll bar you can adjust the length in which the codeline appears manually.
will adjust the codeline to match the length of the window. With the scroll bar you can adjust the length in which the codeline appears manually.
The Refresh button ![]() is especially useful when you analyze your document with the codeline while changing something in the Code System.
is especially useful when you analyze your document with the codeline while changing something in the Code System.
The export function ![]() allows you to save the codeline as vector or .png file.
allows you to save the codeline as vector or .png file.
You can also learn about the Codeline by watching our video tutorial: