MAXQDA lets you insert timestamps into a transcript retroactively in order to link places in the text with the corresponding locations in the audio or video file. This can be helpful if you have already transcribed a recording with a different software - or have access to an existing transcript, for example from the Internet.
Let’s say we want to have a synchronized connection link the text and the audio for the song “I Want You” by Bob Dylan. To save us the time of doing the transcription, we can get the text from Dylan’s website. We can then either copy and paste it into a document in MAXQDA, or we could paste the text into an RTF or DOC/X file and import that file into MAXQDA. For this example, we’ll name the document “Dylan: I want you.” Once the text is in MAXQDA, we need to create the link to the audio file.
- Right-click on the document in the Document System and select Link audio/video file.
- In the dialog window that appears, select the audio/video file you wish to assign to the document. This assignment can later be modified by selecting Properties in the context menu of the document. In the dialog window that appears, you can click on the three dots in the “Media file” row to reopen the file.
The MAXQDA document with the Dylan text is now linked to the audio file, but the audio file wasn’t actually imported as part of the MAXQDA project. You will now see that the symbol next to the “Dylan: I want you” document has changed. This is the symbol for a document linked to an audio file:

Inserting timestamps into a transcript
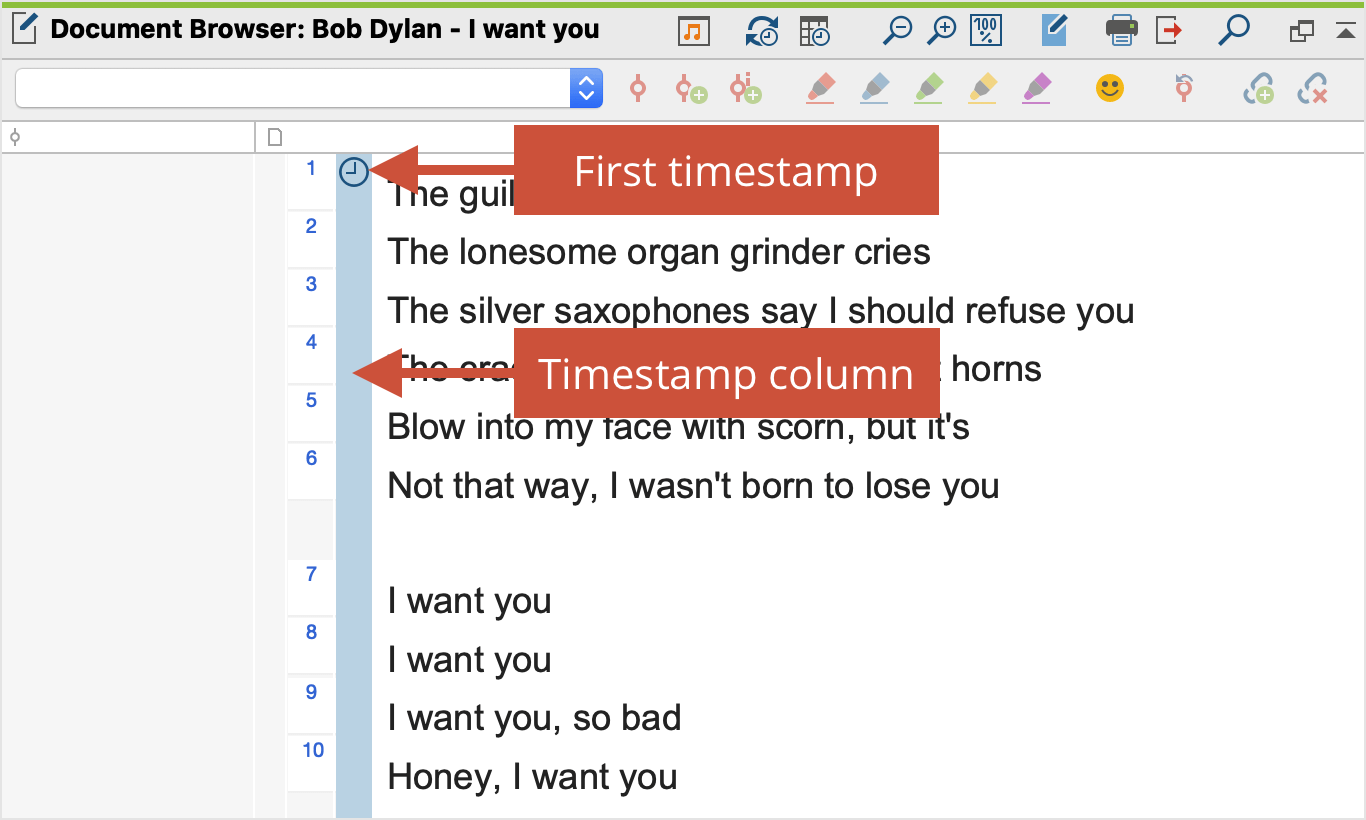
Double-clicking on this document opens it in the “Document Browser” (see below). A new column has been inserted between the text and the paragraph numbers, which will show your timestamps. The document only has one timestamp at this point, representing the very beginning of the song, since we haven’t added any yet.

In order to play the song and to insert the timestamps, two things need to be done first:
- Turn on Edit Mode by clicking on the icon of the same name in the "Document Browser" at the top right.
- Open the "Multimedia Browser" by clicking on the Open audio file icon, which can also be found in the "Document Browser" toolbar.
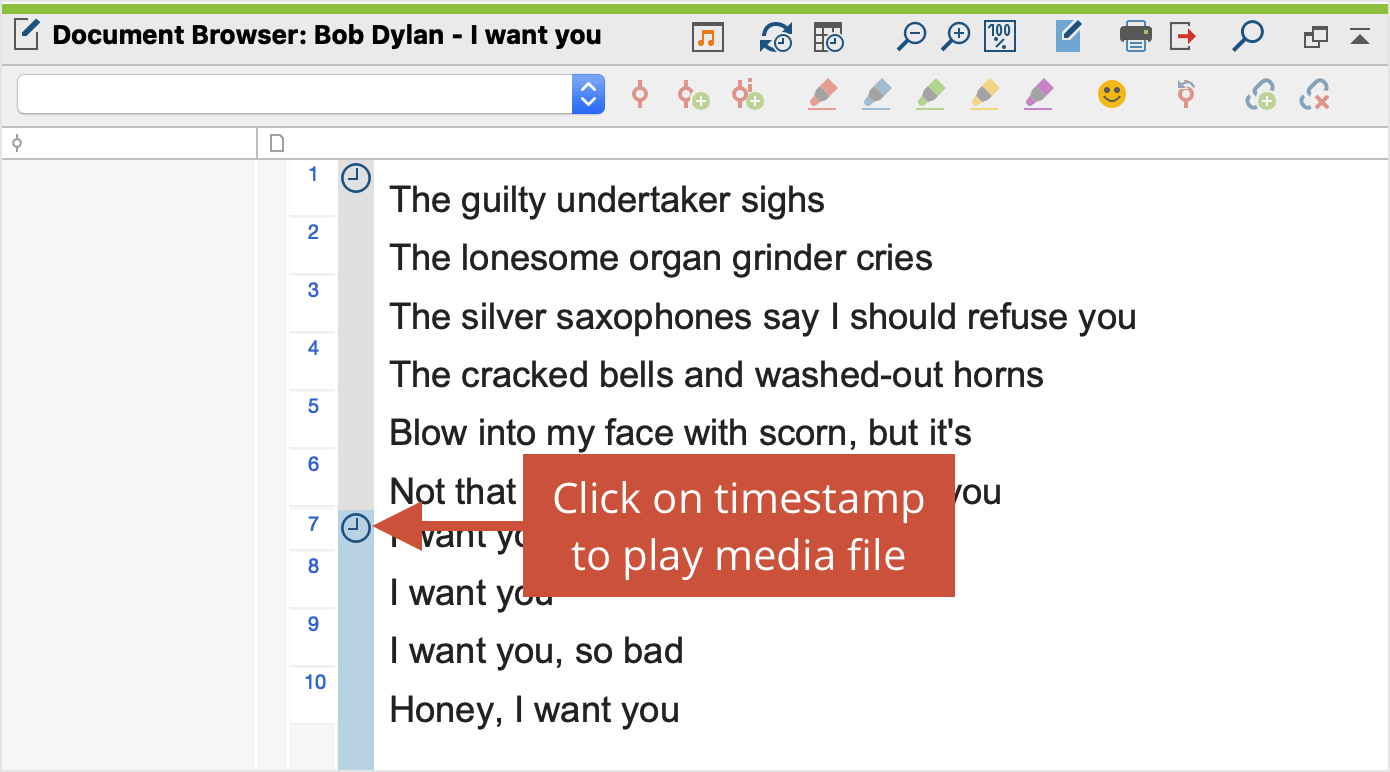
Next, we would want to put the cursor at the beginning of the actual song text, right before “The guilty undertaker …” and start playback of the song. We can do by pressing the F4 or F5 keys on the keyboard or by double-tapping the Ctrl (Windows) or ⇧ (Mac) key. We would then let the song go until right before the singing begins and insert a timestamp by clicking on the New timestamp icon in the "Document Browser" or by pressing the F6 key. We want to do this same thing for the beginning of each verse. We would then see a timestamp symbol next to the first line of each verse.

We can now use the synchronized text and audio together. By clicking on any of the timestamps, we will hear the song played from that point. If you do this with an interview transcript, you can in a similar way get back to various sections that you may want to hear again for tone or emphasis.
If you turn on the Sync Mode in the toolbar and click on the timestamp next to the first verse, the text follows the song, meaning the section of text being sung will be highlighted, similar to the way karaoke works. You can then follow along with the song text as you hear it.
