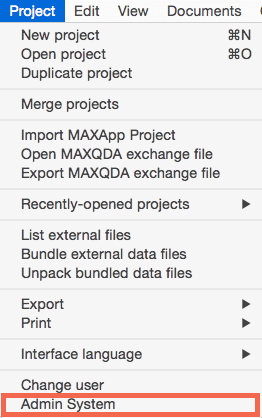
MAXQDA supports teams working on projects with an optional user management system, in which you can set different rights for different groups of users and thereby ensure the security of your projects. To activate user management, select Project > Admin System from the menu.
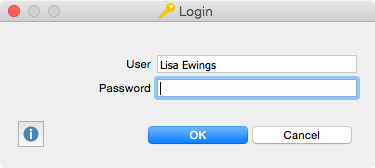
Once you have turned on the User management a dialog box appears. In this box you have to set the user password, which you need to remember. Without this password, the MAXQDA project can no longer be opened. Once the administrator has been established, user management can only be opened with a valid administrator name and password.
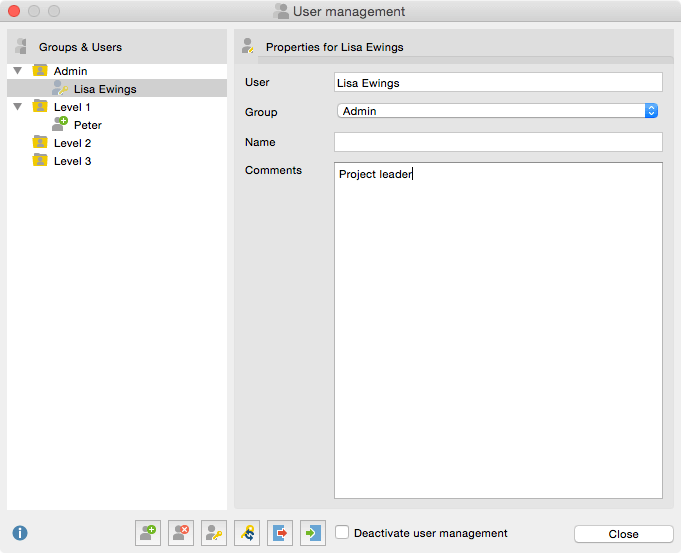
Once you have logged in a window appears in which you can create users, remove existing users, and define the rights of individual user groups. On the left side of the user management window, the various levels (Admin and Levels 1-3) are displayed. The right side of the window contains information about each user, which can be created or edited here. Click on a user name in the left side of the window in order to modify settings in the right side.
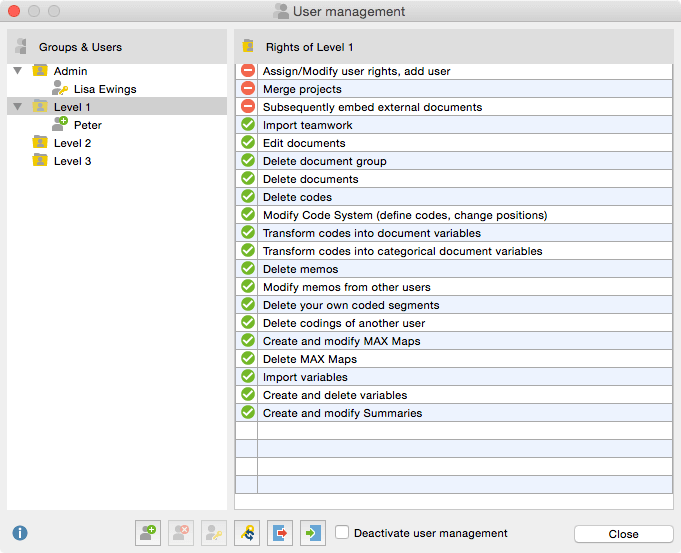
User rights can be modified at any time by clicking on the red or green icon in front each program function.
User management can be complex. For this reason, it is possible to export and import your whole admin system. Just use the standard import / export buttons in the user management toolbar. This way you can use it again, for your next project. The data will be saved in MXUSR format, which is, of course, encrypted. This file can be imported into another MAXQDA project by clicking on the import button. The user management features can also be turned off and back on, without losing all of the usernames and passwords.