Let’s start out by creating a new project.
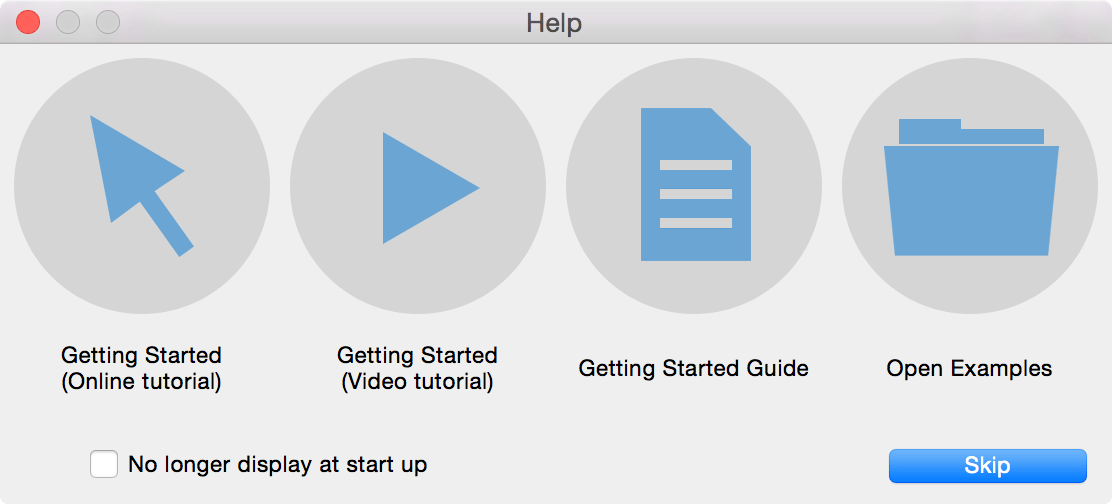
When you start MAXQDA by clicking on the program icon, it opens up with a welcome dialogue, offering helpful links to this online tutorial, a getting started video, the getting started guide and the option to open an example project. Each of these options can be very helpful, especially to new MAXQDA users. Experienced users can stop this window from being displayed by checking the appropriate box in the bottom left corner.
At this point, click Skip.
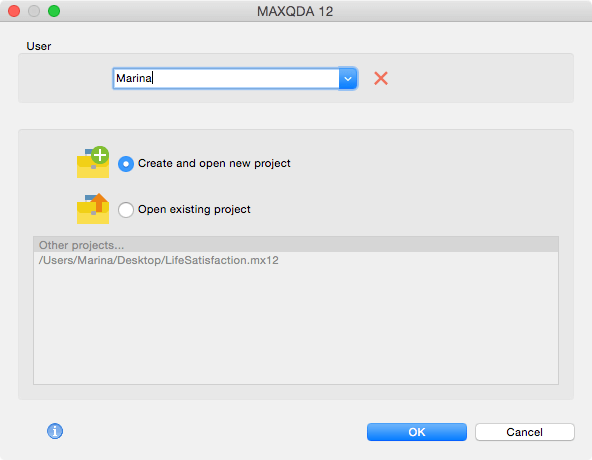
In the next window enter your name at the top and select the option Create and open new project below. The user name will be associated with every action you do later in MAXQDA, e.g. import a document, create a code or write a comment. This feature is especially useful when working in a team.
Click OK to create a new project
Now enter a name for your project and nagivate to the folder you want to save your MAXQDA project to.
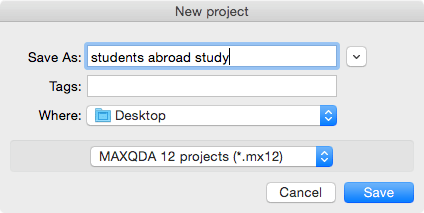
After you hit Save you will see the typical four window user interface of MAXQDA. At this point all of your windows are empty. Read the next chapter to learn how to import data into your project.