After opening MAXQDA, a window will appear with the MAXQDA logo and then the following welcome dialogue, which allows direct access to instructions to help get you started in MAXQDA:

A click on the Open Examples button lists the example projects included in the installation of MAXQDA, allowing you to explore the features of MAXQDA in detail. First click on a project from the list, and then click OK to open the selected sample project.
After clicking Next, the following start and login window appears. If you selected Open Examples, the startup window appears immediately.
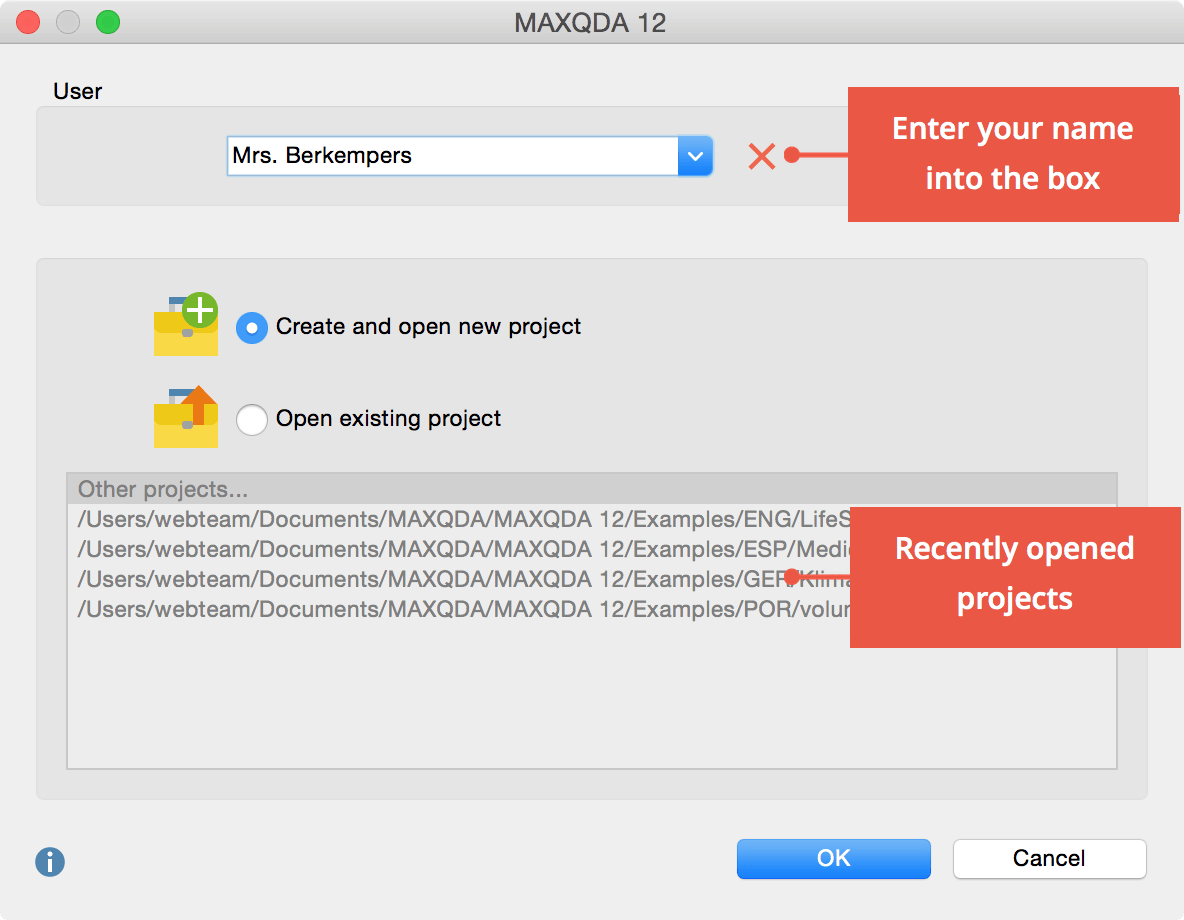
You can enter your name or initials in the user field, so that all of your actions, whether they be importing documents, coding segments, or writing memos, are marked with your user signature. This user system is especially helpful when you are working in a team. You can then look to see who in the team did each action.
To create and open a new project, click OK. Otherwise select Open Existing Project. In the bottom pane select a recent project, or click on OK to open another project.
Project files from MAXQDA 12 have the extension MX12. If your computer system hides file extensions, you can identify data by the MAXQDA symbol and by the file type “MAXQDA 12 Project File.” You can now enter your data including interview transcripts, reports as PDF files or video clips, as well as import documents into the created or opened project.