To be able to share your project with your team using MAXQDA TeamCloud and invite other people to collaborate, you as the team lead need to convert it into a team project first.
- Open the local project you want to share with your team.
- In the TeamCloud tab, click Upload Project for Team (Start Cycle 1).

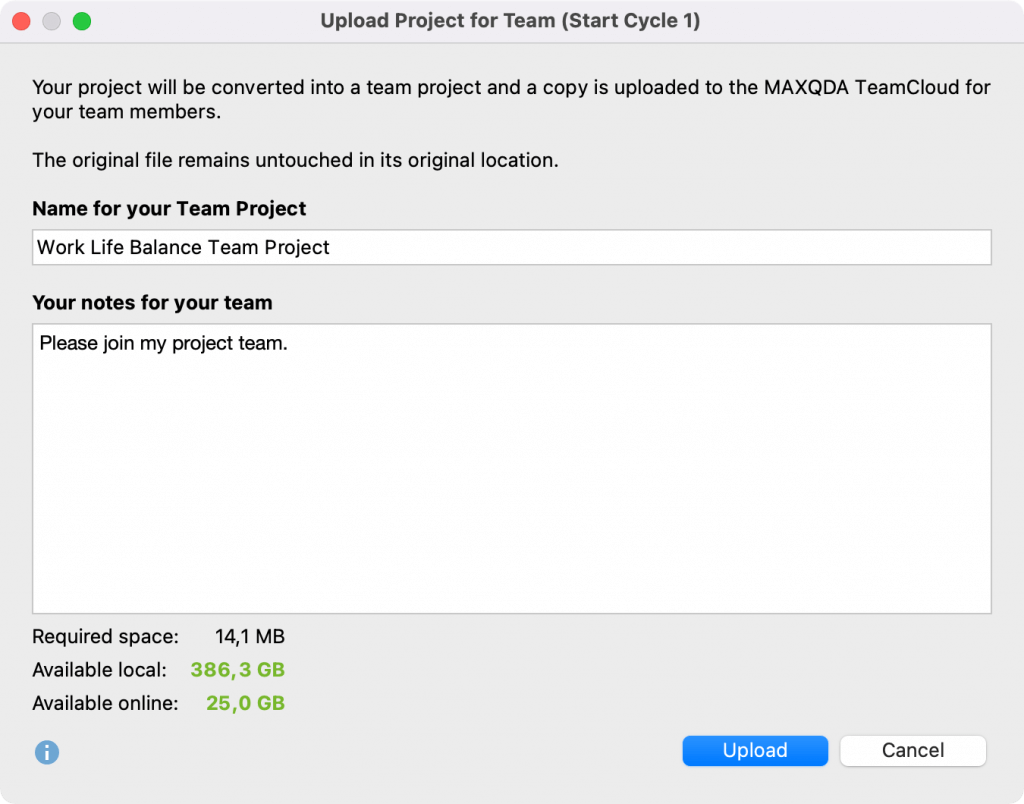
- A dialog box opens where you can assign a name for the team project as well as add an optional comment for your project team.

- The minimum length for the project name is 3 characters, the maximum length can be 63 characters.
- The comment can be up to 600 characters long.
- The lower part of the dialog provides information about how much storage space your project will need in the cloud and how much free space you still have locally (since the converted project will also be stored in the local cloud workspace) and in the cloud.
- After clicking Upload, a progress bar will appear to inform you about the conversion process.
During conversion into a team project, the following things happen in the background – so to speak "under the hood":
- The local project is converted to a TeamCloud project with the *.mc22 file format and stored in the local cloud workspace.Please note: By default, the local cloud workspace is located in the Documents/MAXQDA/MAXQDA2022/TeamCloudWorkspace directory.
You can change the location for TeamCloud projects in the TeamCloud menu under the Account > Preferences menu item. - All PDF and image files are swapped out as external files.
- All external files are copied to the local cloud workspace.
- If user management is enabled for local teamwork, MAXQDA will disable it.
- A copy of the TeamCloud project with all associated data and external files is uploaded to the MAXQDA TeamCloud storage.
- The source project remains unchanged in the original location.
Voilà, you have successfully started project cycle 1!
After the upload has successfully finished, the project is available for download in MAXQDA TeamCloud for team members. If you have uploaded very large project files, this may take a few minutes.
Invite team members to the project
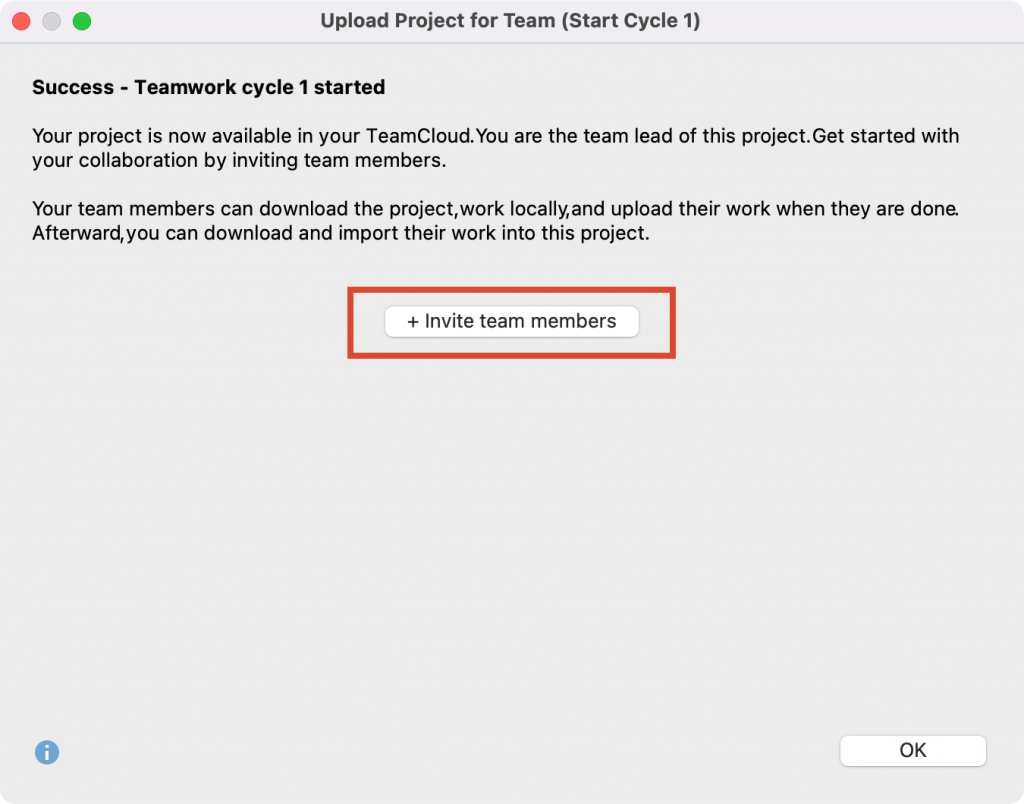
In the next step, MAXQDA prompts you to invite team members to collaborate on your MAXQDA TeamCloud project. To do so, click on the Invite team members button in the success message following the upload.

After the click you will be redirected to the MAXQDA TeamCloud website, where you can manage your team members and cloud projects.
If you are already logged in to the TeamCloud website, after clicking Invite team members you will be redirected directly to the corresponding members page of your just-uploaded cloud project.
The login window may appear first because you were not yet logged in to the MAXQDA TeamCloud website at the time you clicked.
In this case:
- Log in with your MAXQDA account and password.
- After logging in, the overall project overview appears.
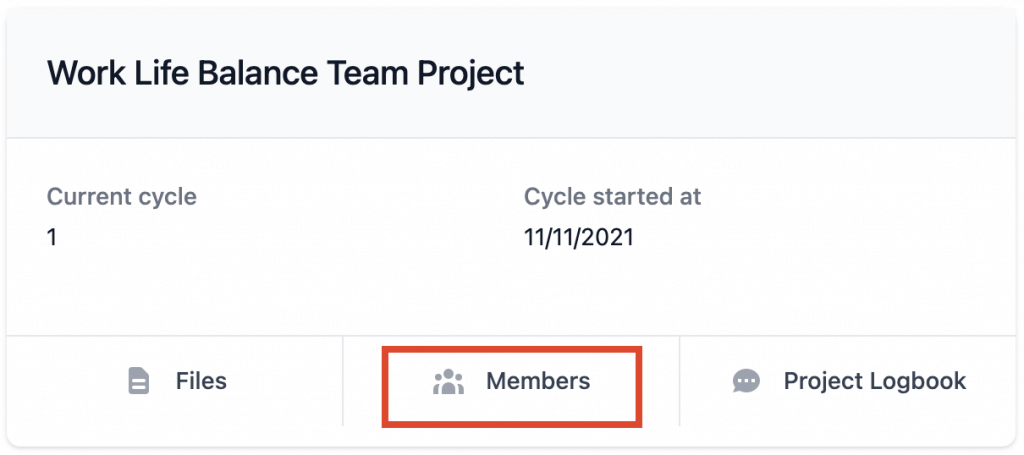
- The project you just uploaded appears at the top. Click Members.

Click + Invite project members and enter the email addresses of the people you want to invite to your project. Add a message for your team and click Invite project member. The invited team members will then receive an email.
Team members join the project
In the project invitation email sent to the team members there is a confirmation button. By clicking it, the team members accept the invitation and join the TeamCloud project.
As soon as a team member has accepted the invitation, the team lead receives an email for information. In MAXQDA, the team lead also receives a corresponding notification that the team member in question has joined the project.
Furthermore, this information is also visible on the MAXQDA TeamCloud website on the respective project page under "Recent Activity".
Later, you will be able to manage and maintain your project team at any time via the MAXQDA TeamCloud website.


