Getting Started
Welcome to MAXQDA Tailwind! Ready to start analyzing your data with MAXQDA Tailwind’s AI-powered tools? This guide will walk you through the first steps.
🚀 What You Need to Get Started
Before you start working with MAXQDA Tailwind, make sure you have the following:
- A MAXQDA Tailwind License: A valid license is required to use MAXQDA Tailwind.
- If you need help with purchasing or managing your license, visit “Licensing & Subscriptions.”
- A MAXQDA Account: You need a MAXQDA Account to log in and use MAXQDA Tailwind.
- For steps on creating and managing your account, see “Managing Your Account.”
Once you have these ready, you can begin creating projects and analyzing your data with MAXQDA Tailwind.
Logging In
You can log in to MAXQDA Tailwind using your MAXQDA Account here: https://tailwind.maxqda.com/login.
🪐 MAXQDA Tailwind at a Glance
MAXQDA Tailwind is your AI-powered workspace for making sense of complex data. Start by creating a project and importing your documents; Tailwind will automatically generate document summaries for you.
You can add topics to identify patterns in your data by entering them yourself or using AI extraction. Tailwind will also create summaries for these topics. Next, create summary tables that compare topics across documents in a clear, tabular view. You can also generate reports for an in-depth look into your data, or chat with your data at any point to explore your ideas and observations in a conversational way.
If you use MAXQDA, you can take your Tailwind projects further by exporting them for seamless import into MAXQDA, where you can deepen your analysis.
🧭 Navigating the Interface
The MAXQDA Tailwind interface consists of two primary components: the navigation sidebar on the left and the main workspace on the right. The image below demonstrates this layout.
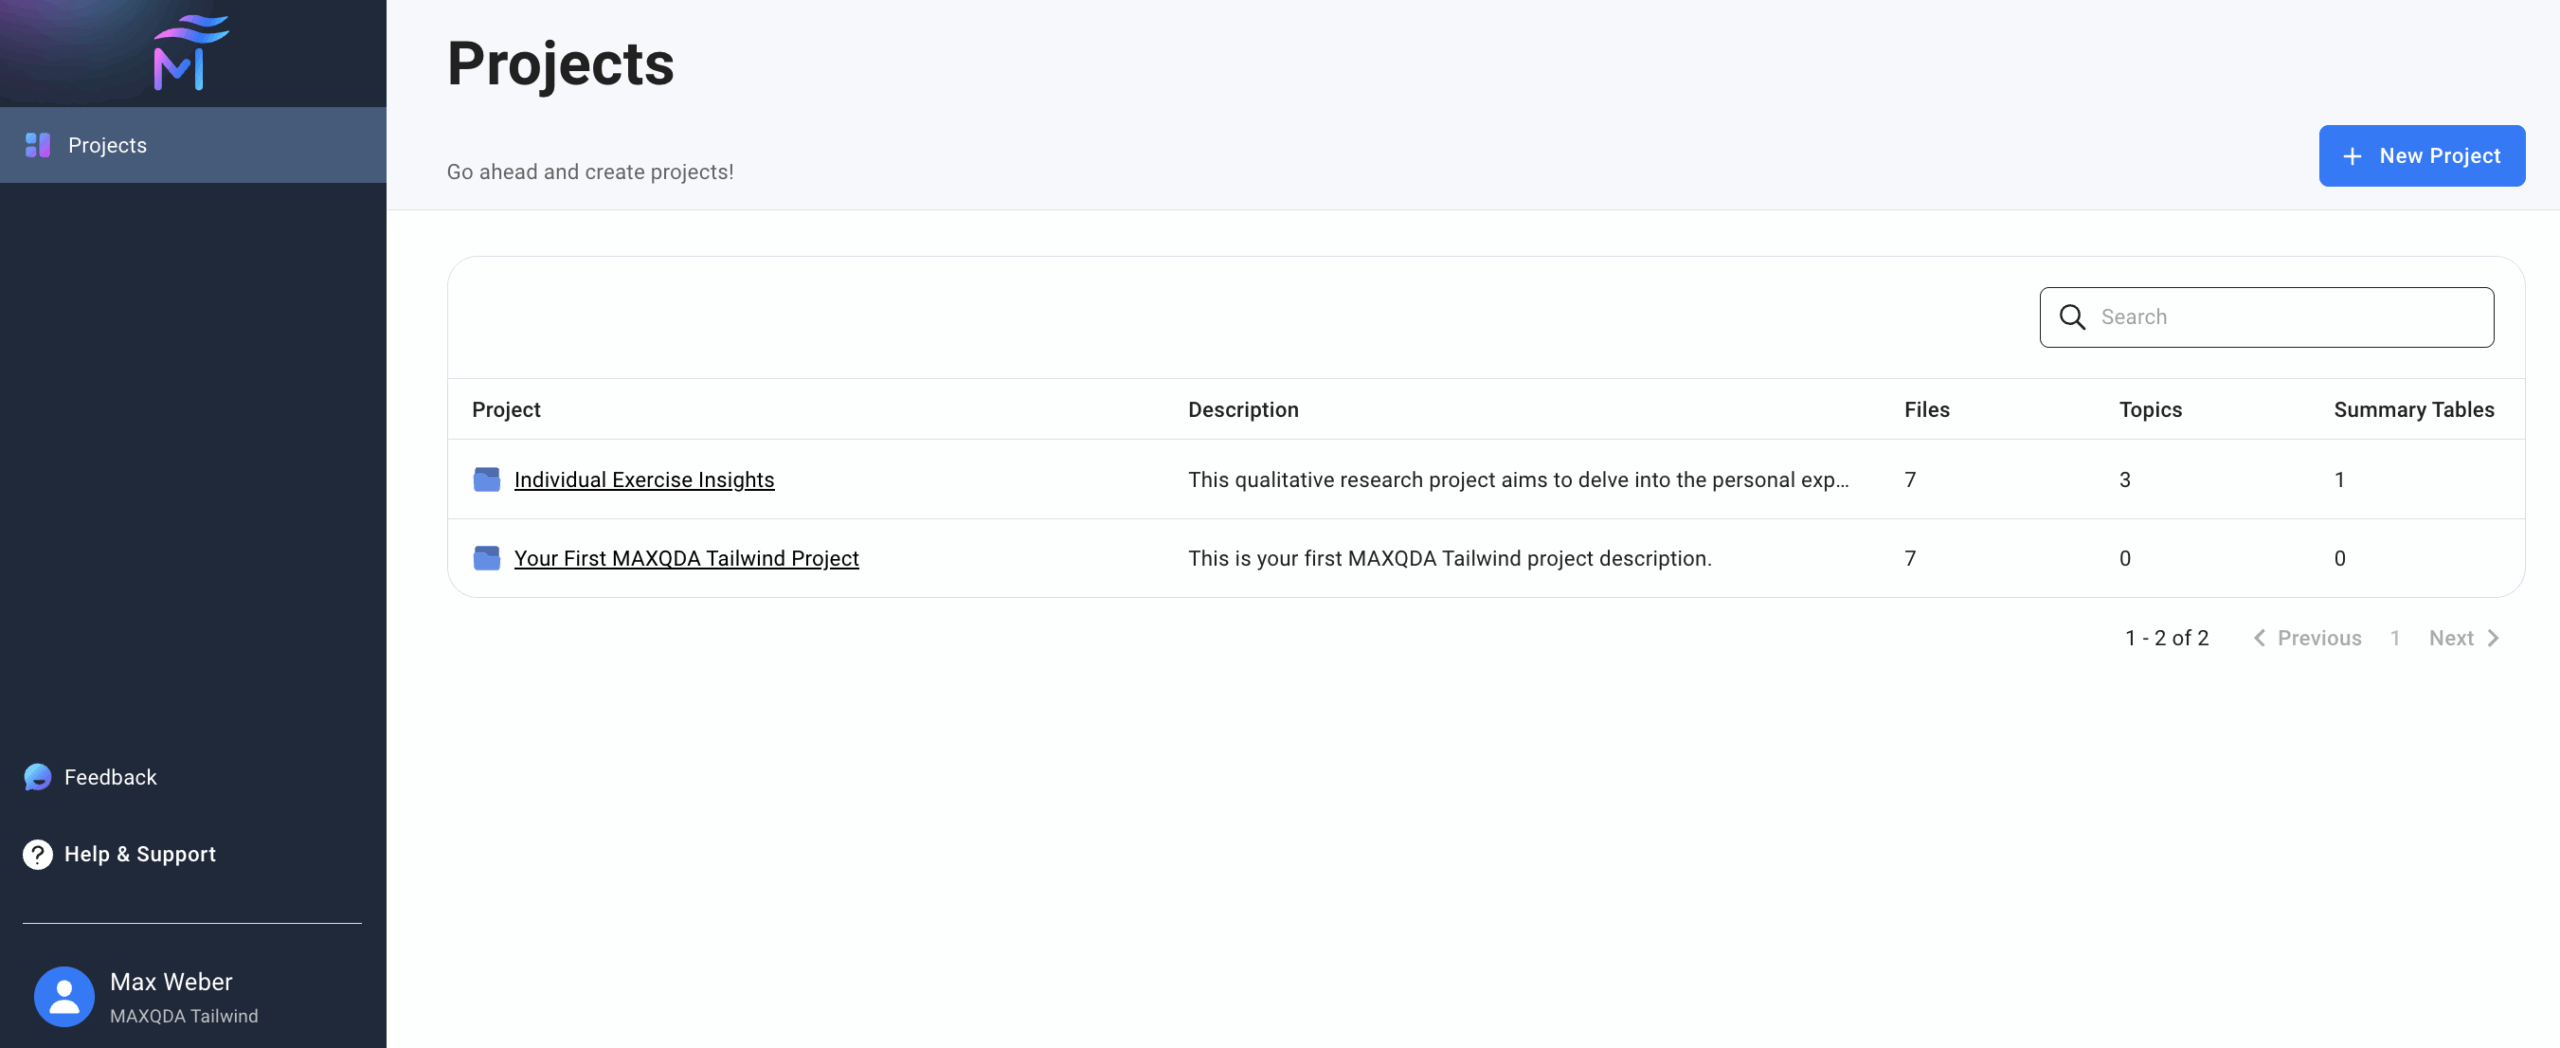
- When you first log in, you see the
 Projects dashboard. This is MAXQDA Tailwind’s homepage, the central hub where you create and manage your projects. To get started, click + New Project.
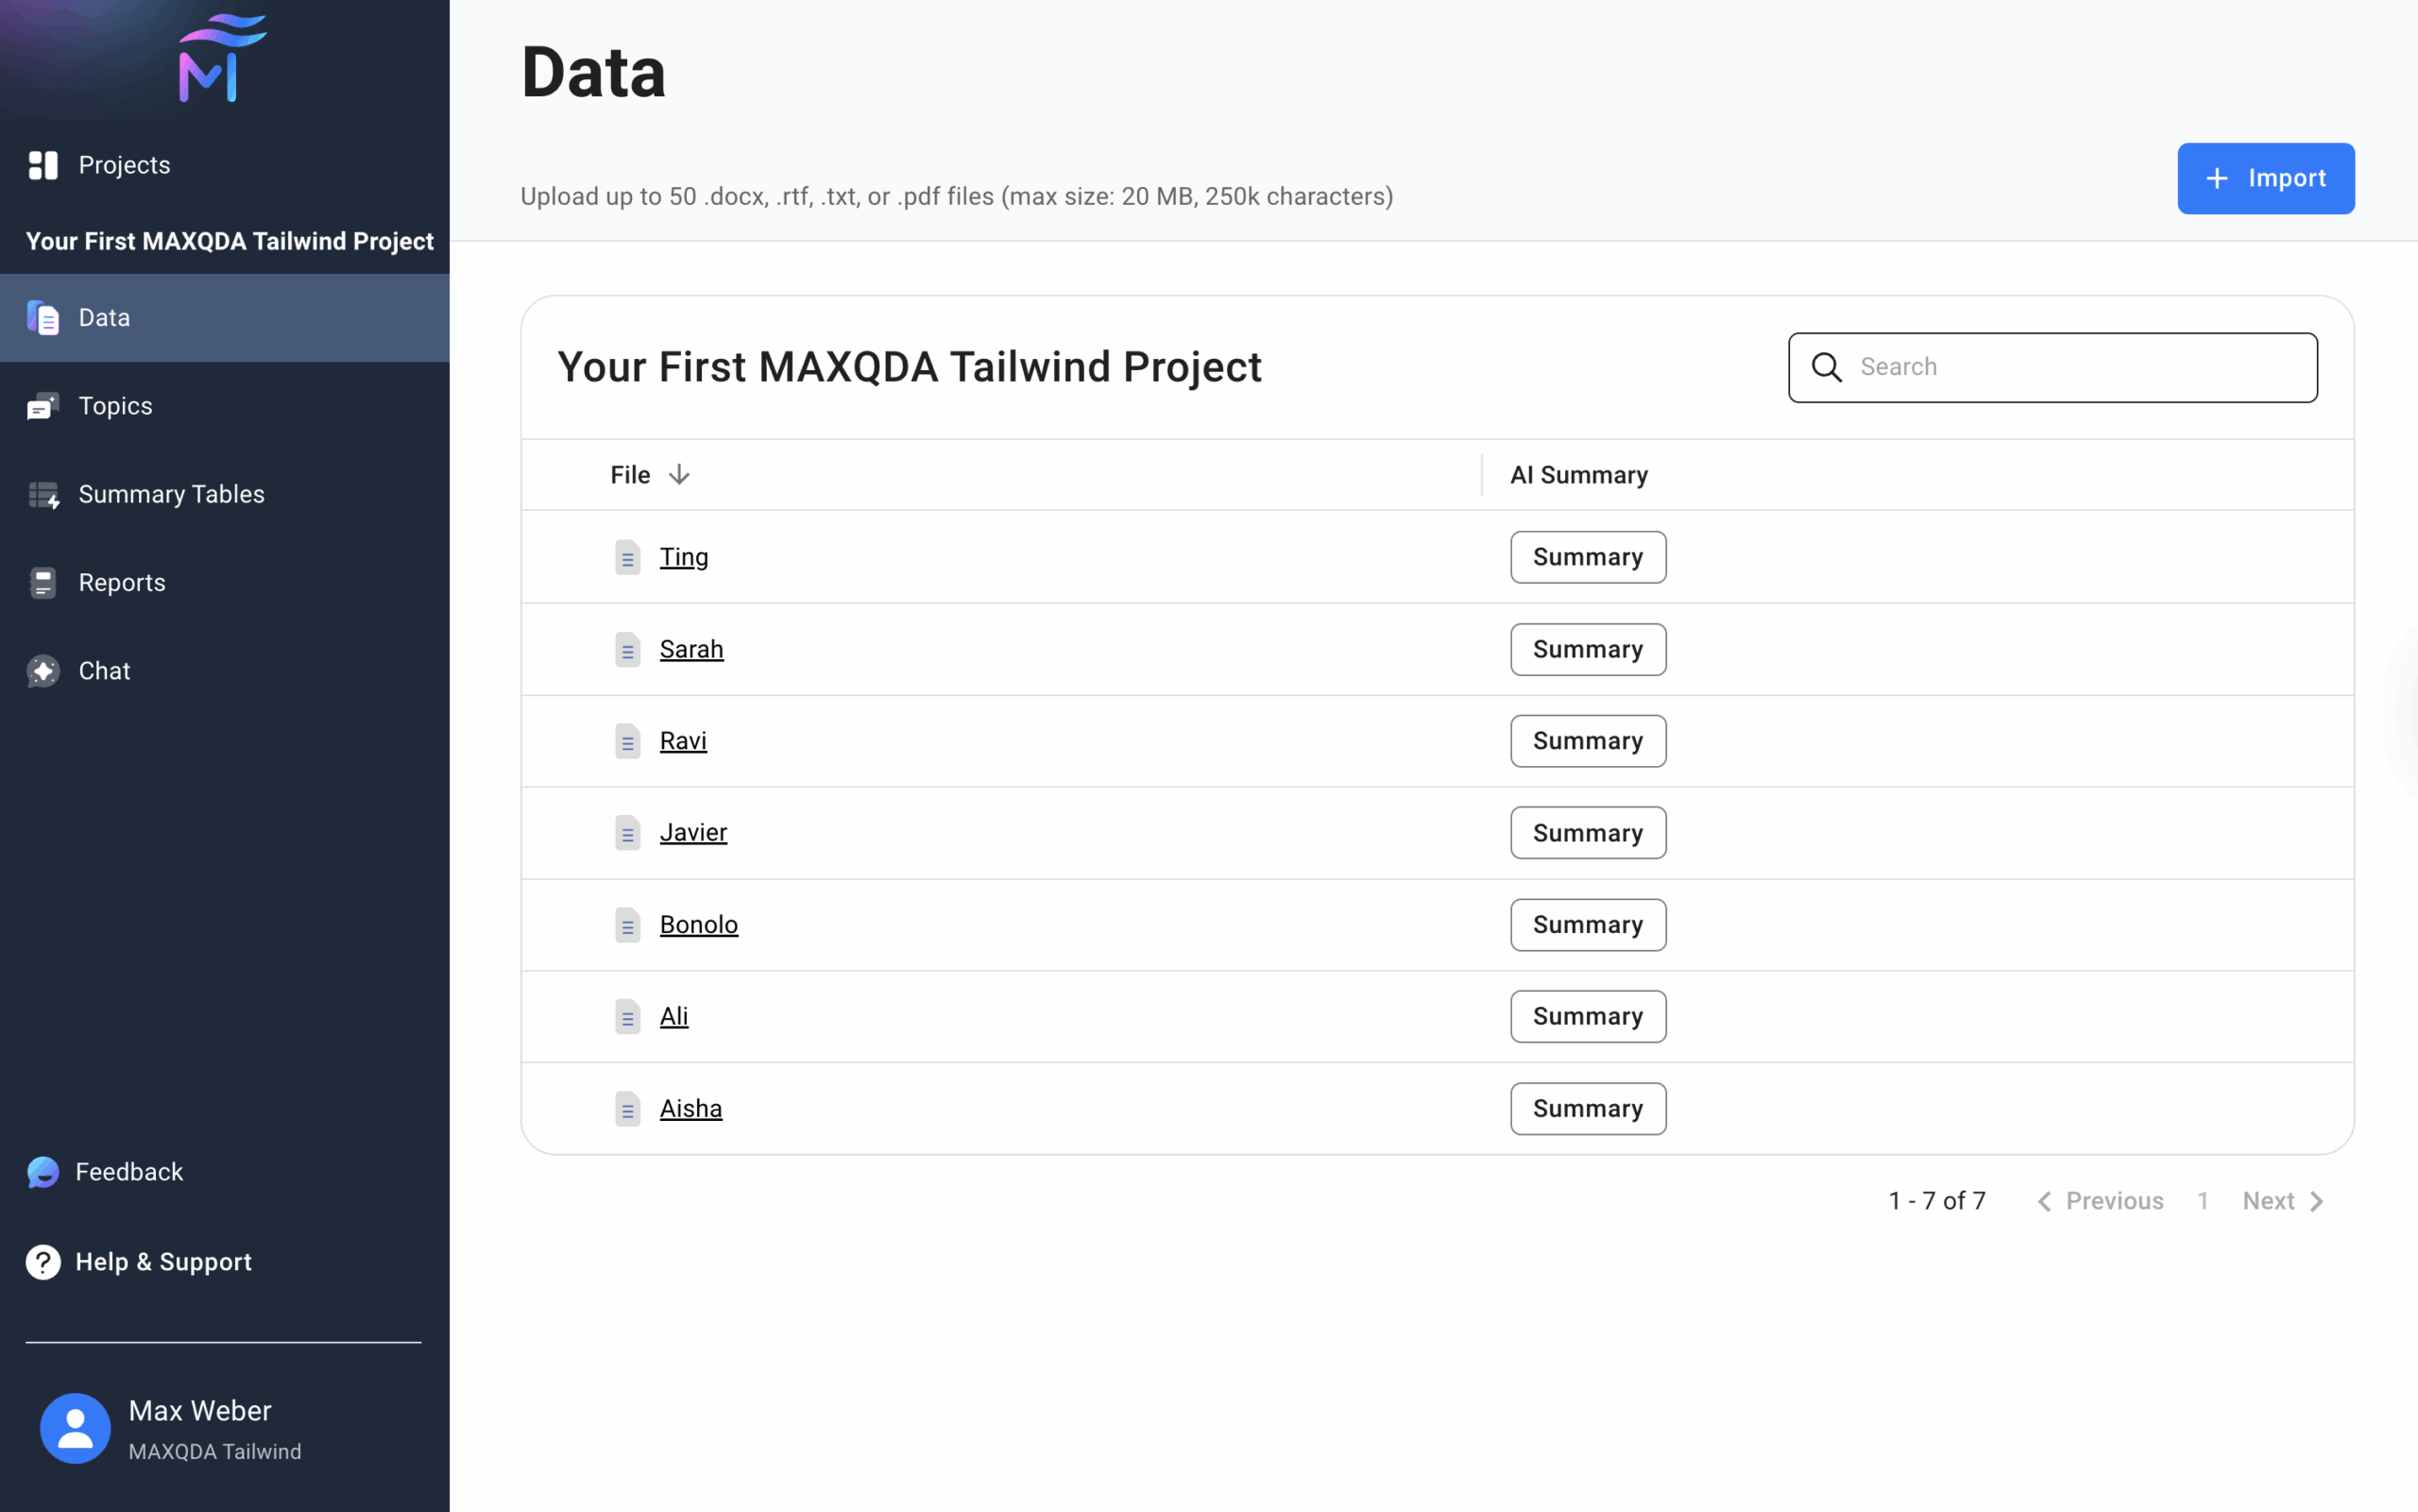
 - After you open a project by clicking on it, additional menu items appear automatically, including Data, Topics, Summary Tables, Reports, and Chat. You’ll be redirected directly to the Data section of your project, where you can click + Import to start importing documents, as shown in the image below.
- Navigate to other workspaces by clicking their menu items in the navigation sidebar.
Collapsing and Expanding the Sidebar
The sidebar navigation on the left lets you access menu items for managing various aspects of your project. You can minimize this sidebar to maximize your working space:
- To hide the sidebar, hover over the navigation bar and click Slide In to collapse it.
- To show the sidebar again, click Slide Out to expand it.