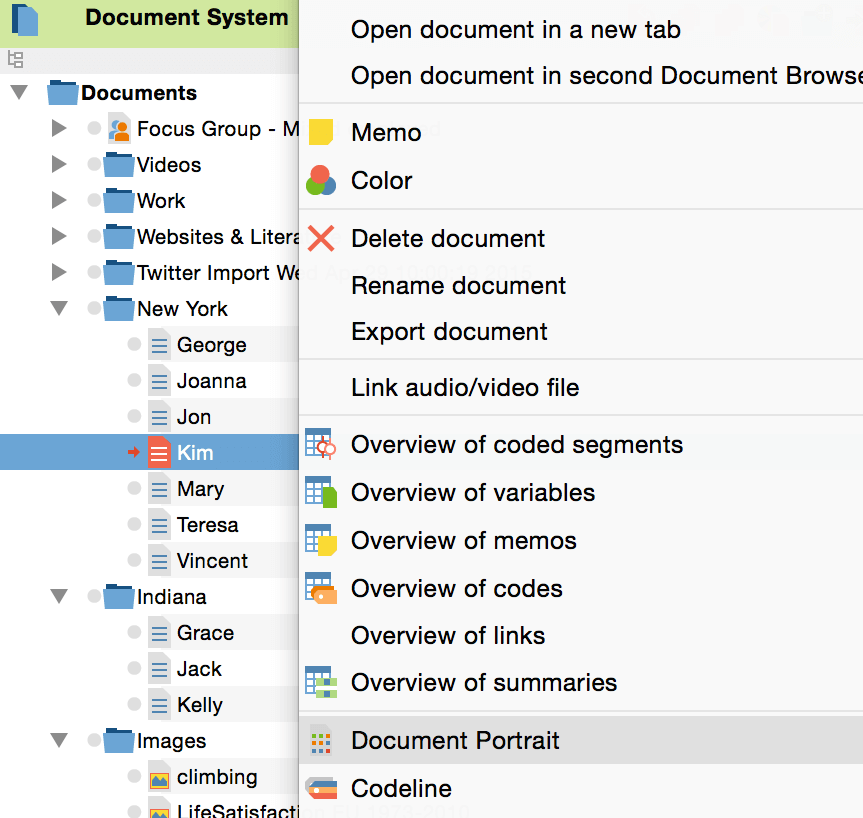
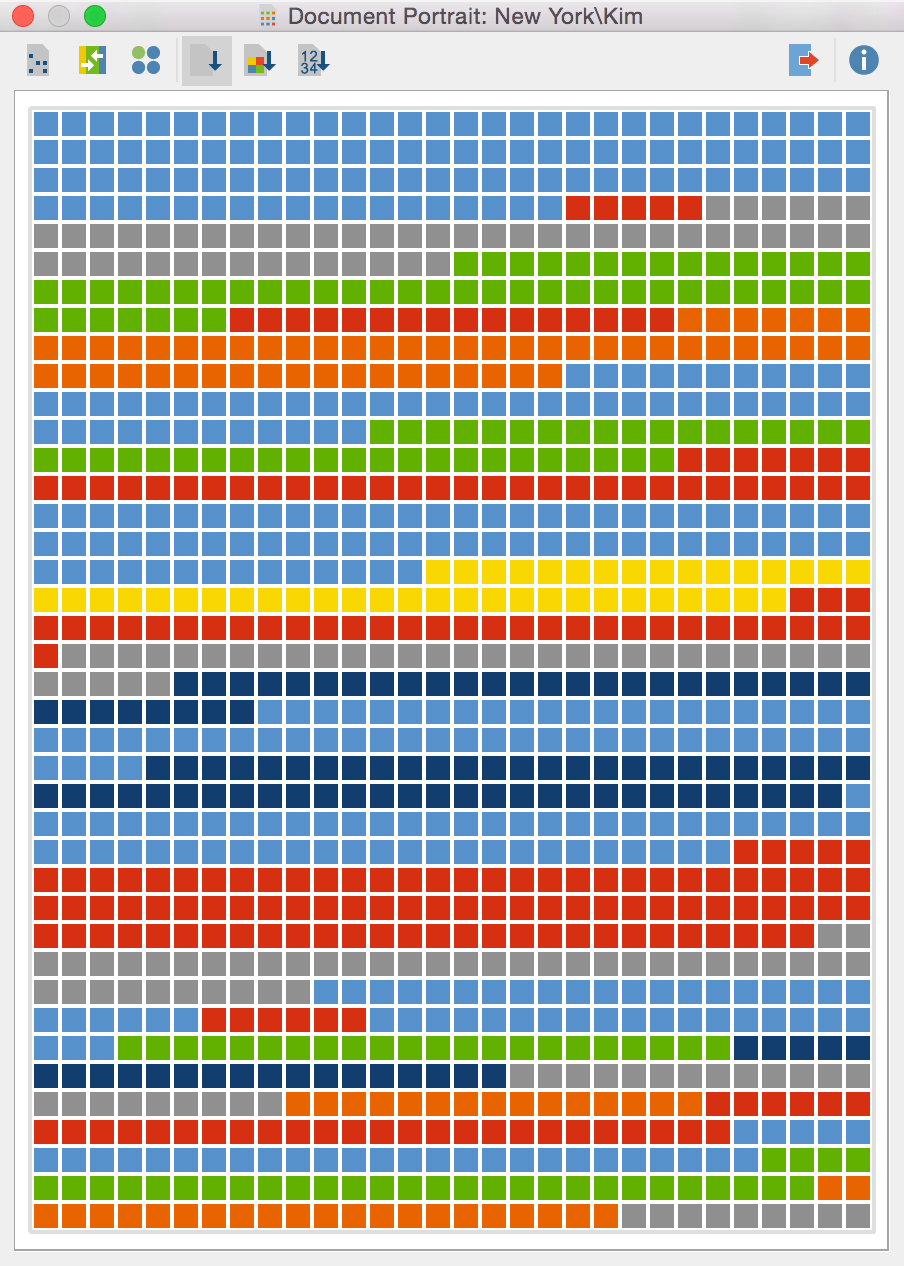
The Document Portrait is a visual representation of all the coded segments in a selected document. Select a document in the Document System, right-click on it and choose Document Portrait.

If you have activated codes, you will be asked if you want to visualize those codes only. Click No if you want all codes to be included. The visualization window will appear.
The colored squares represent the codings in the document. You can now see which codes are used in the document and get an idea of the proportions between various codes. You may switch to a view where overlapping codes are visualized by mixing their colors by clicking on the ![]() icon.
icon.
If you click on a colored section of the visualization, the corresponding data segment will be highlighted and displayed in the Document Browser. Alternatively you can right click into a color and select the option to Retrieve coded segments with this color to display these coded segmentes in the “Retrieved Segments” window of MAXQDA.

Document Portrait Sorting Options
View everything new in MAXQDA 12
You may want to display the coded segments as circles instead of squares by clicking on the ![]() icon. The Sorted by color icon
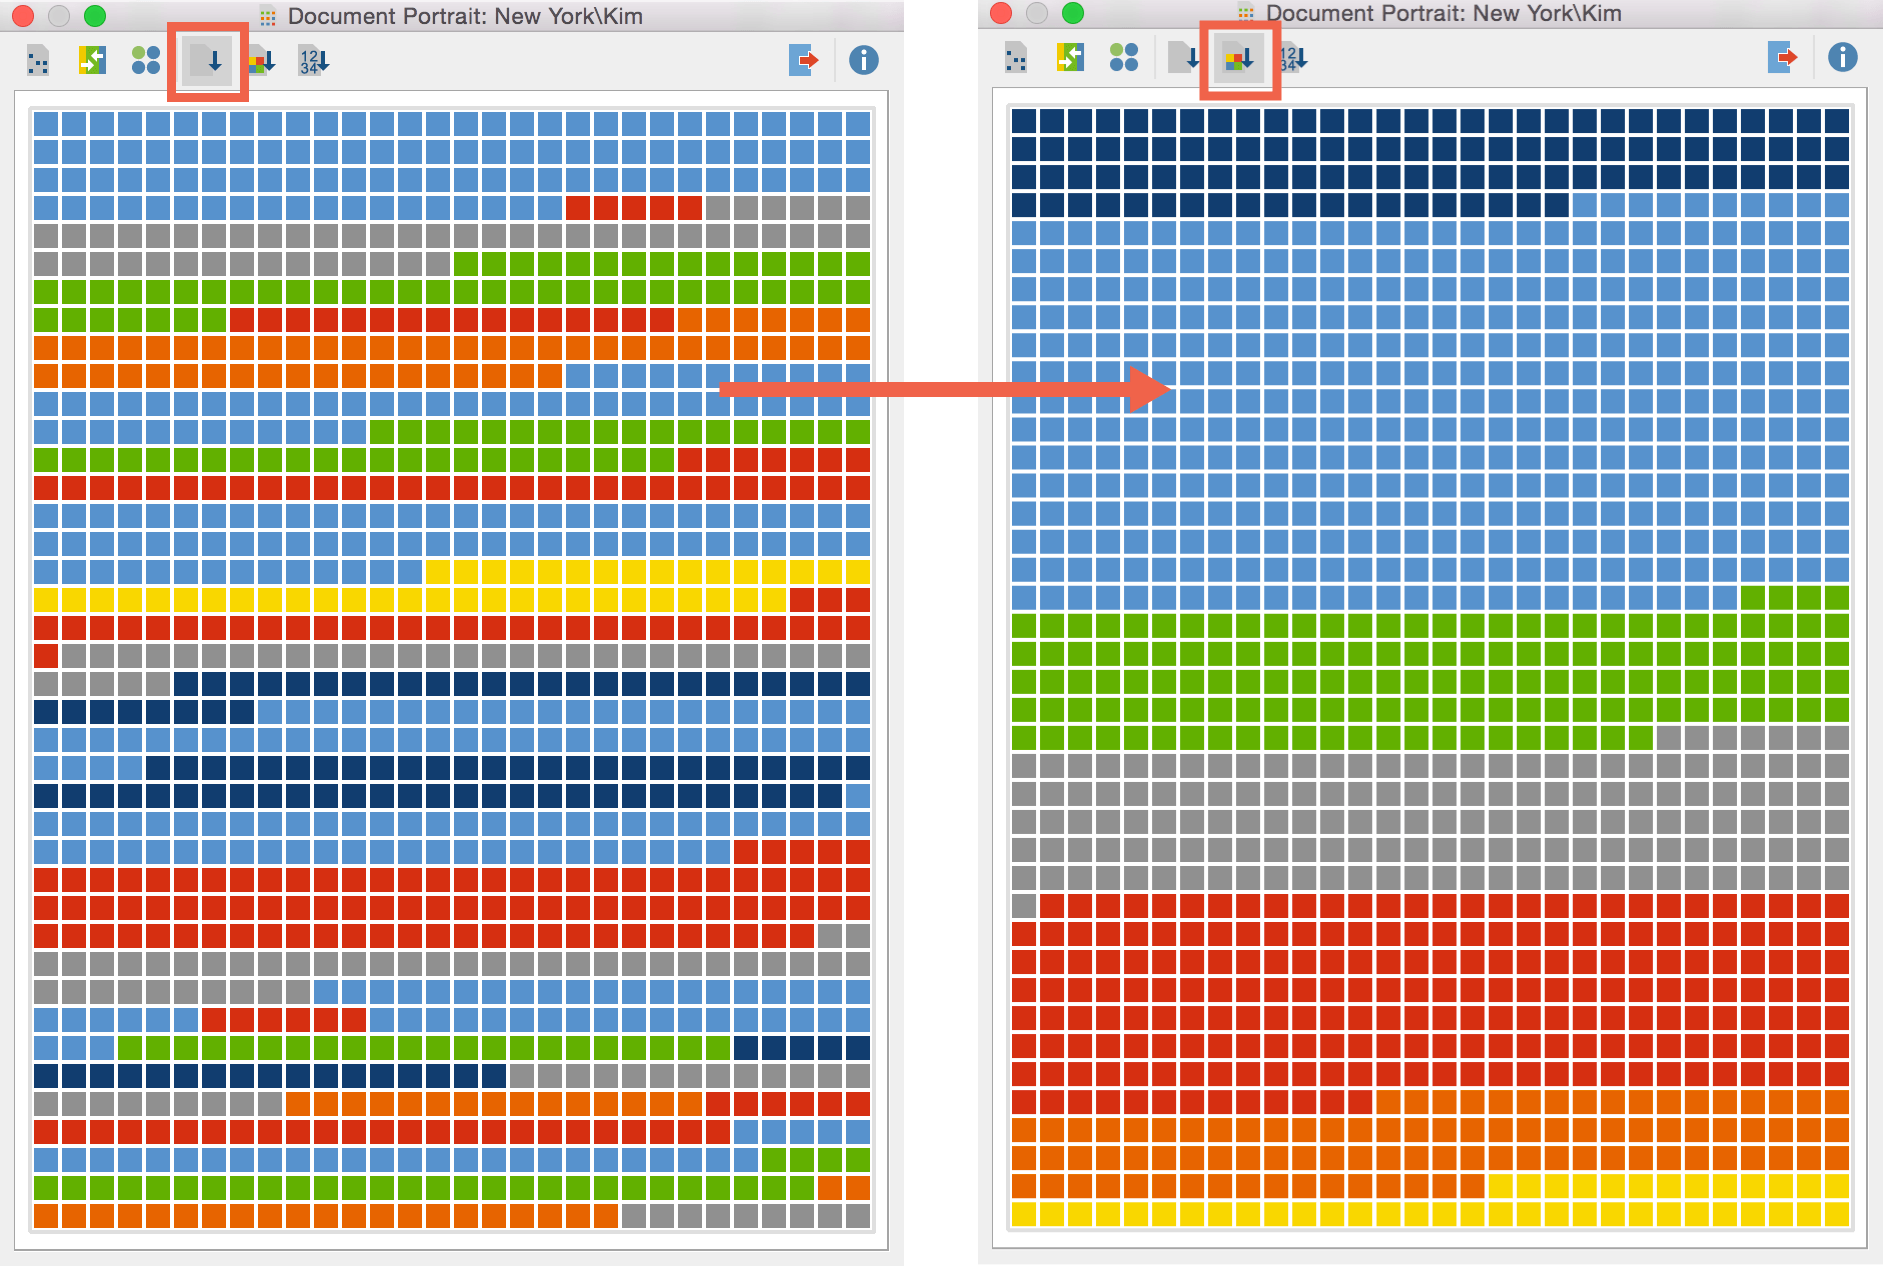
icon. The Sorted by color icon ![]() sorts the visualisation by code color.
sorts the visualisation by code color.

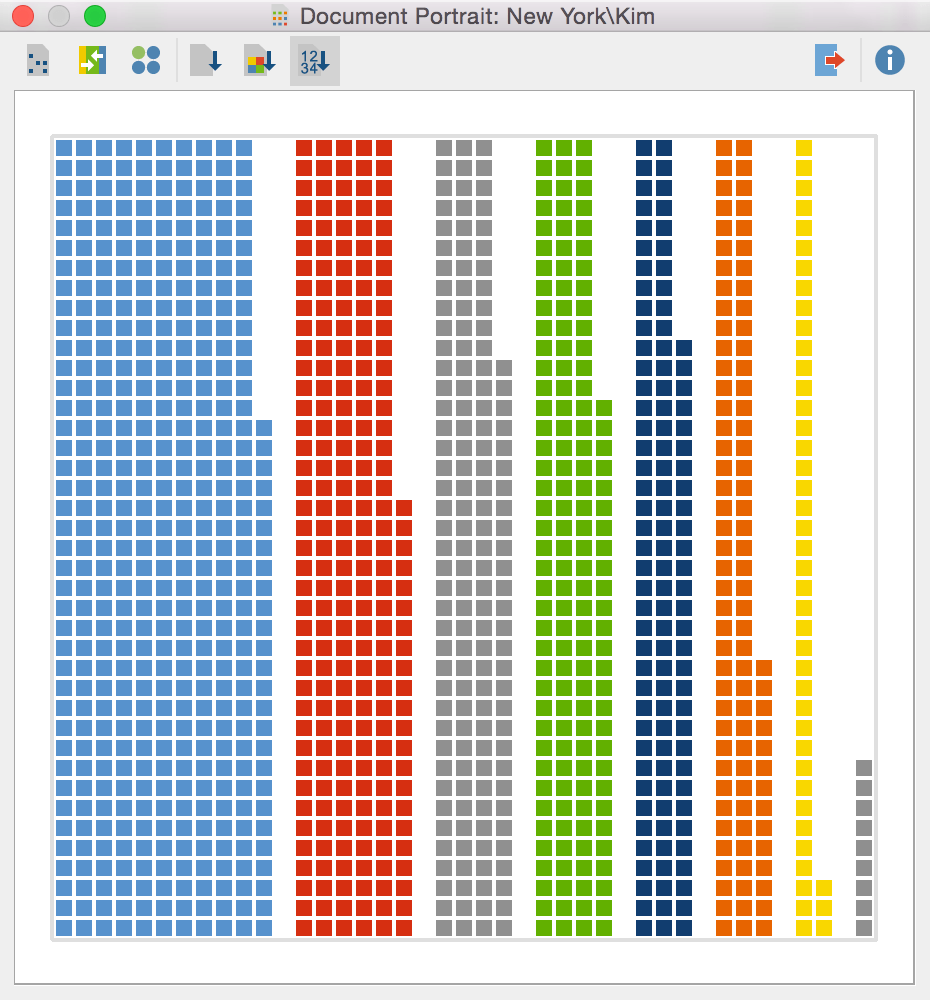
It might be very useful to know which code colors you assigned the most in any document. By clicking on the ![]() icon it is possible to see at first glance how often you used which code color.
icon it is possible to see at first glance how often you used which code color.

You can also learn about the Document Portrait by watching our video tutorial:
